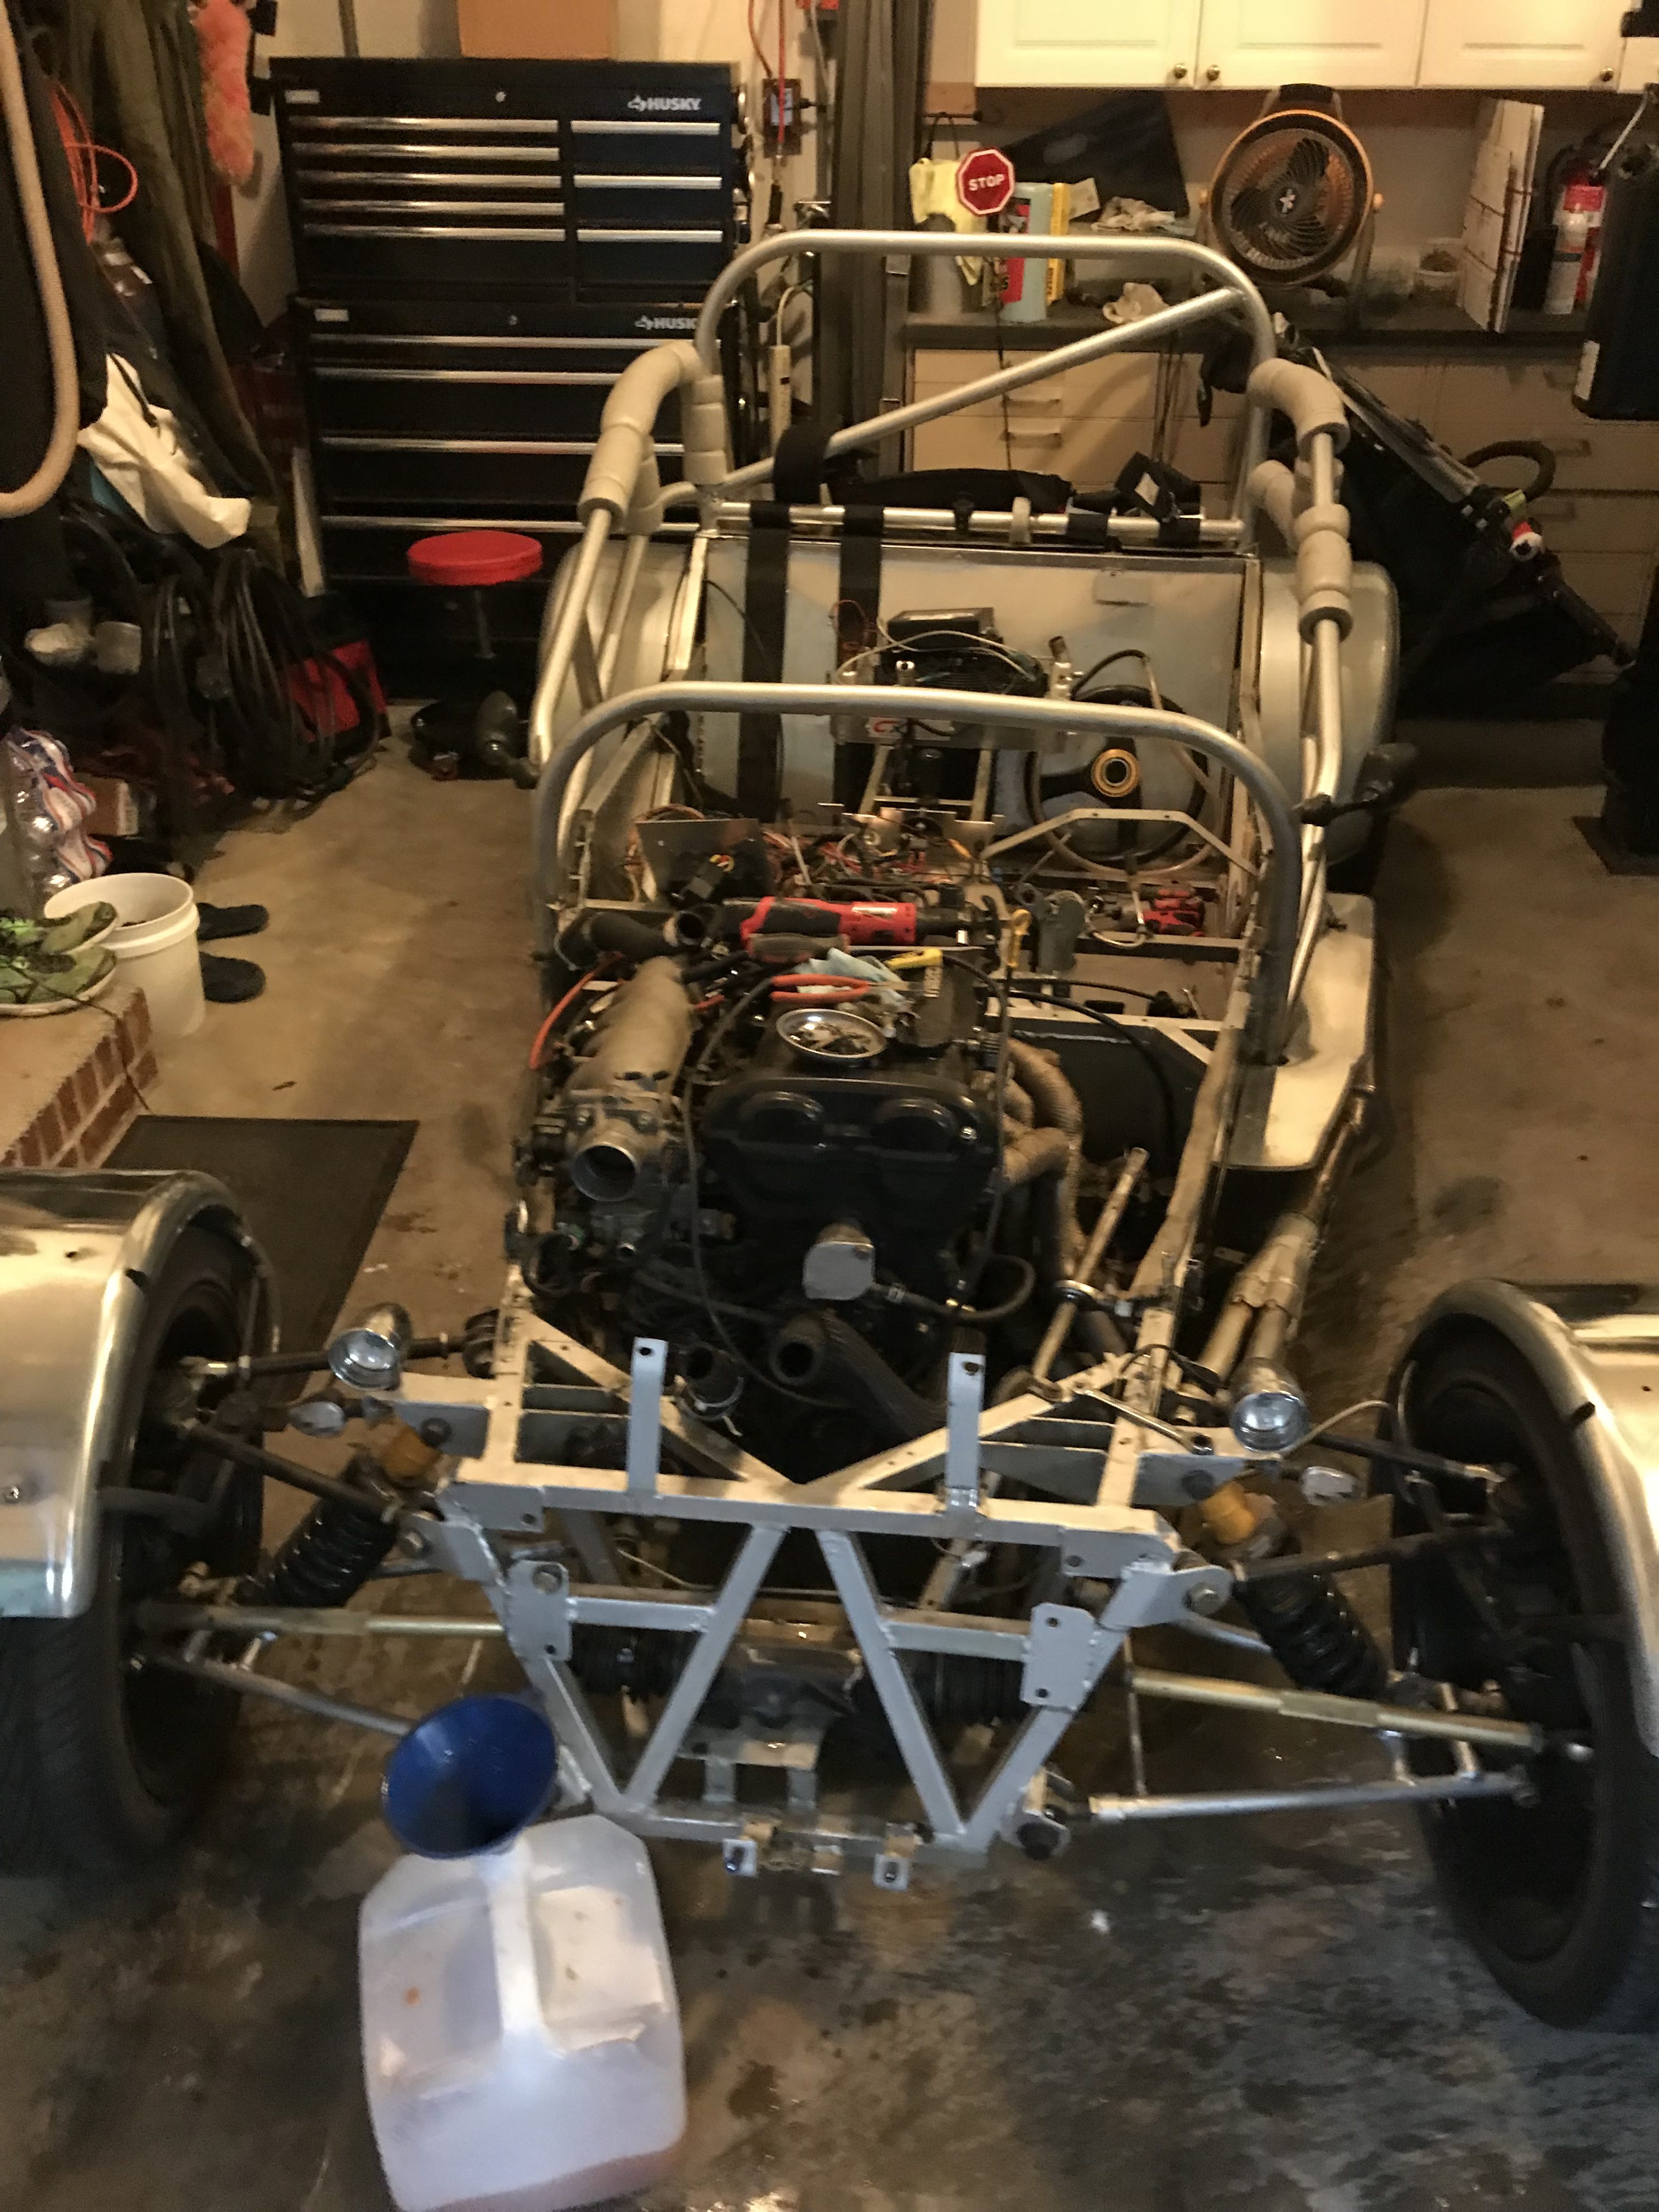
After many months of collecting parts I believe I am finally in a position to start pulling the car apart in preparation for the engine swap. For those who haven’t seen or heard- I will be removing the Miata Engine and replacing it with a 2.0 GM Ecotec engine (with Turbocharger and direct injection..)
Here is a short video on the overview : https://www.youtube.com/watch?v=IajZ-zl0AzY
I will admit- I had a large amount of anxiety (and still do..) about pulling apart a car that was driving and running quite well. Especially not knowing if this new engine would fit or how many modifications are needed.
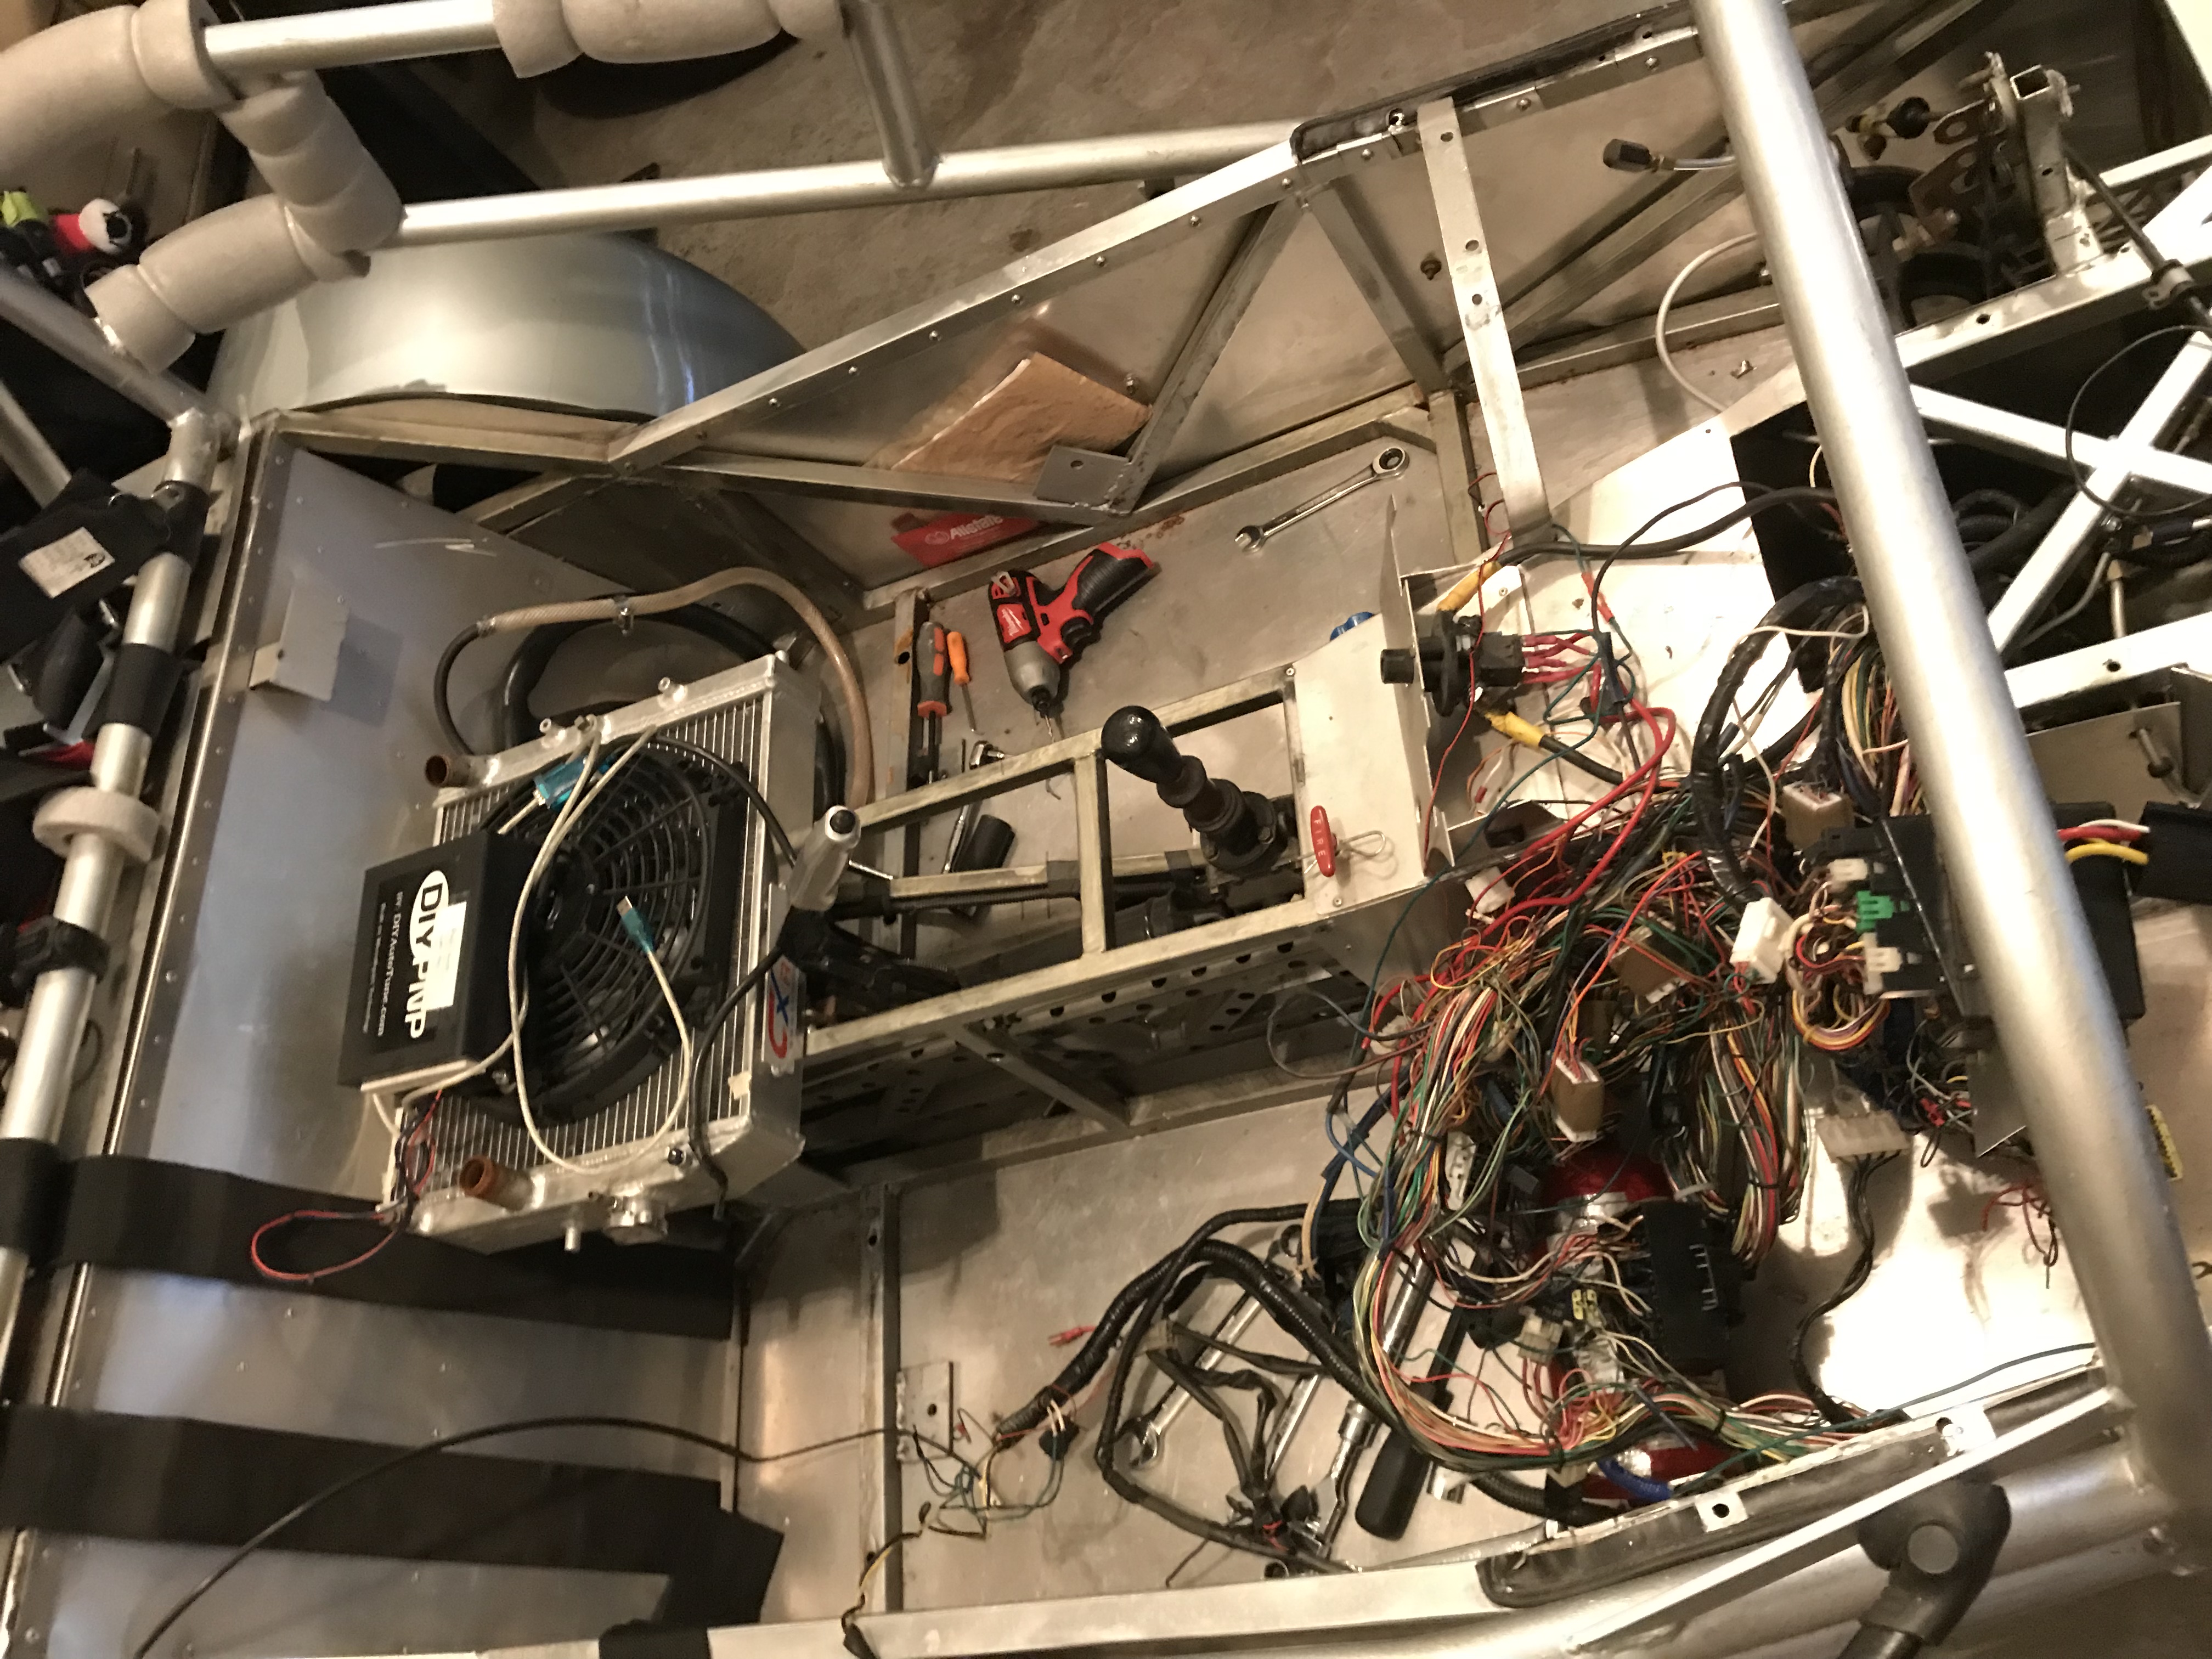
Starting with the seats, then the transmission tunnel, Radiator, scuttle and some sheet metal I started to pull off the covers and find things to remove- There certainly is no shortage.
The radiator was long overdue for a flushing, the seats had crap under them from 2010 and the questions continue. I also made the decision to remove the installed Halon Fire system and replace it with a single hand held unit in future. There are a few pounds I feel we can save!
Looking at all the wiring and I certainly think there is a good 40 or 50lbs of wiring that will be coming out of the already trimmed down harness
Mitch from Swap Time recently did a video about the harness. It is set to arrive on Wednesday of this week. Following that I will probably try find an hour or 2 to pull the engine this weekend and see if the new one fits!
Here was a video of the harness he made- https://www.youtube.com/watch?v=1jGzw7sIMFI
I suspect I will need to wire in headlights, tail lights and turn signals as well. The goal there is to keep them all as minimal as possible
Subscribe if you wish to follow along. The YouTube video channel as well as this webpage should both see a few updates in the coming weeks!