Almost done..

Finally got to one of the finish lines… After many pieces coming together we made some big progress.

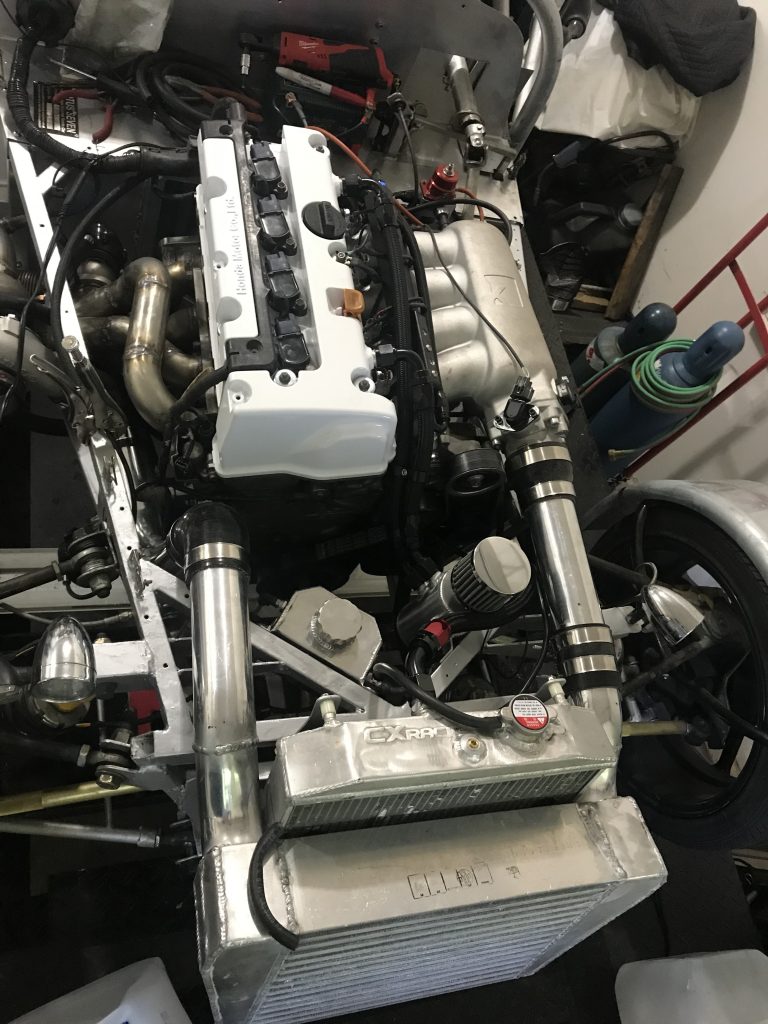
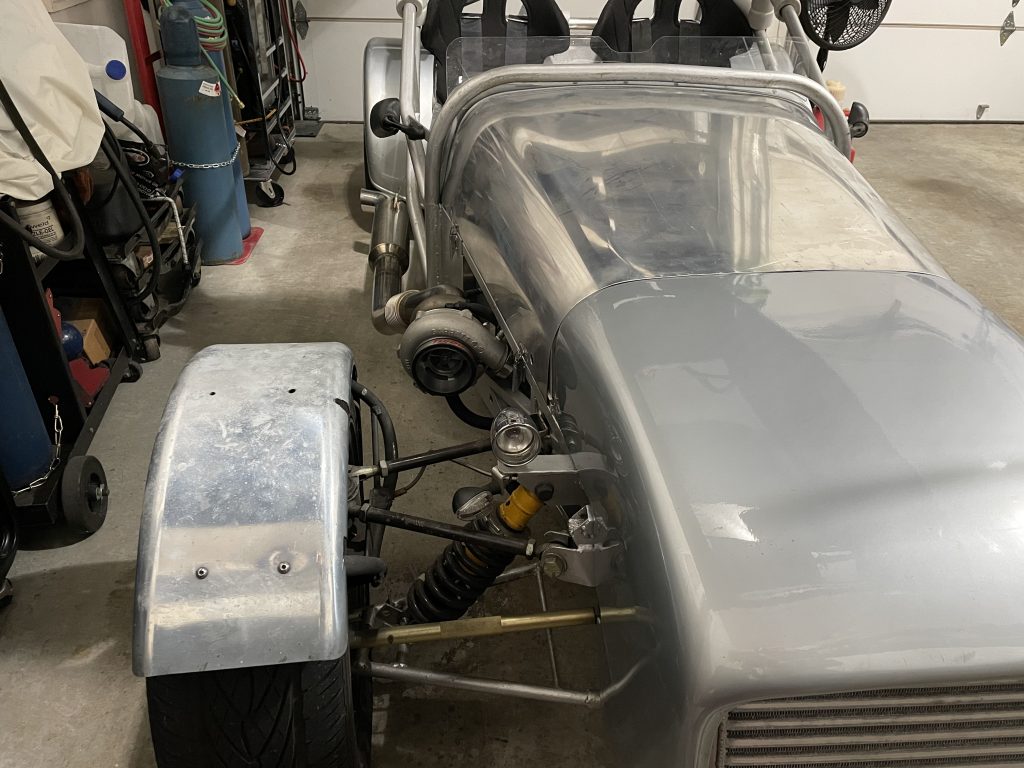
First was the valve cover. I did not need to replace the black unit I had before but I did need to weld to -10AN bungs on the cover for routing to the catch can. I went with white because it is the easiest to see dirt/oil etc. The 2 ports route forward and empty into a tank at the front.

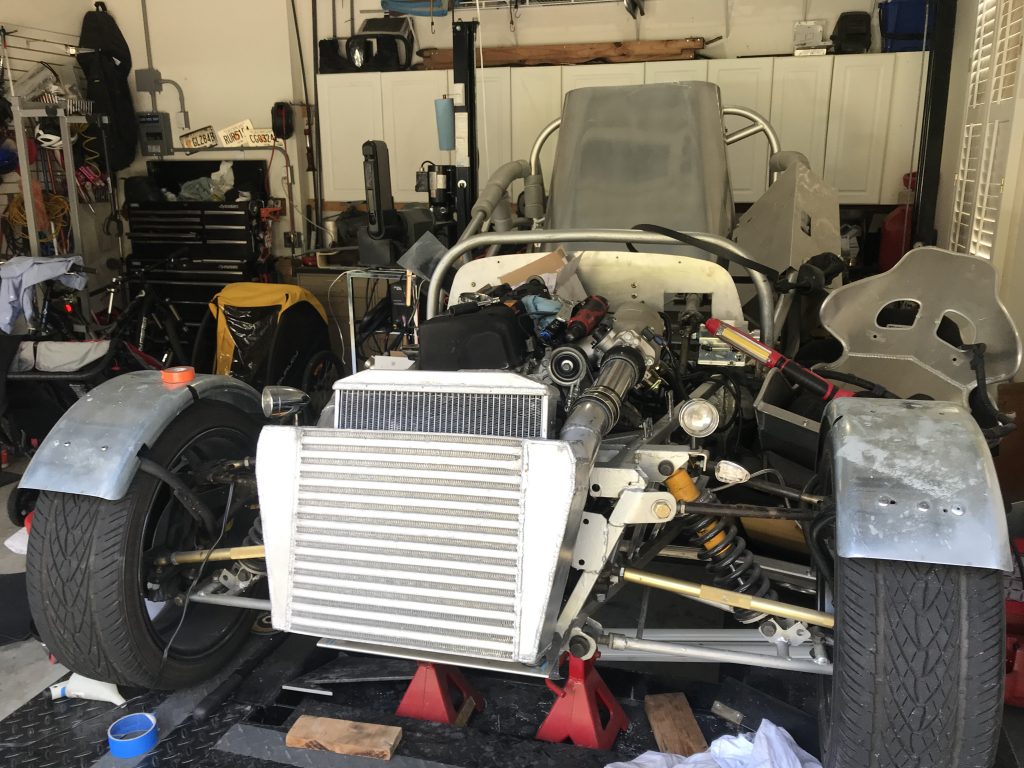
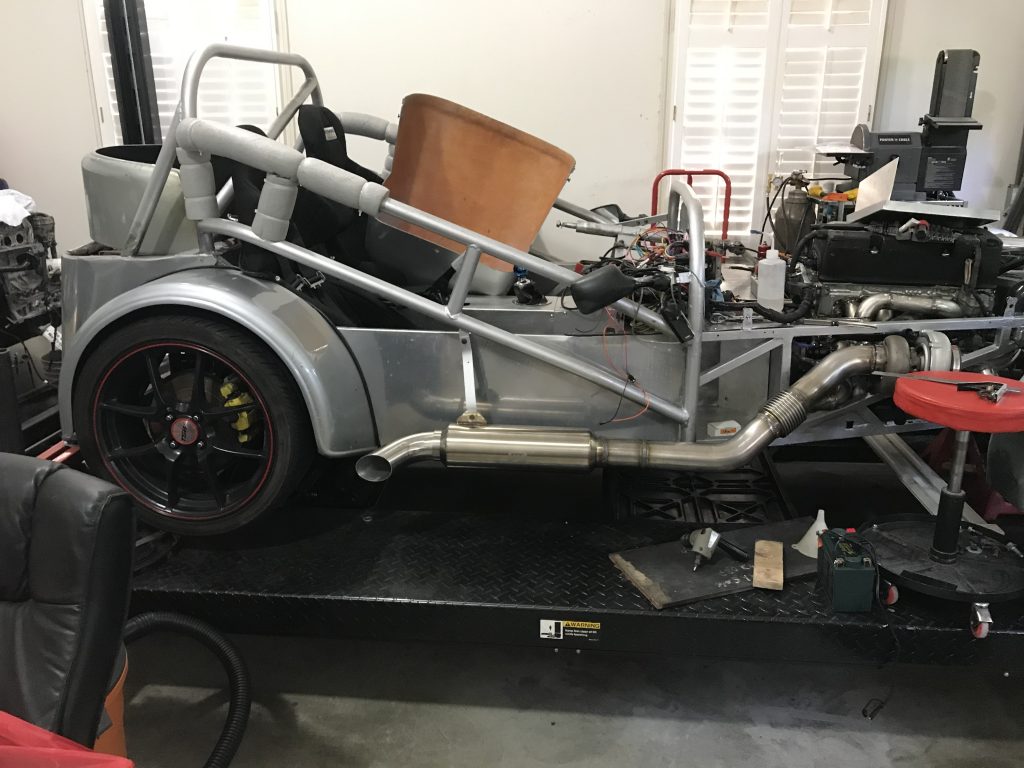
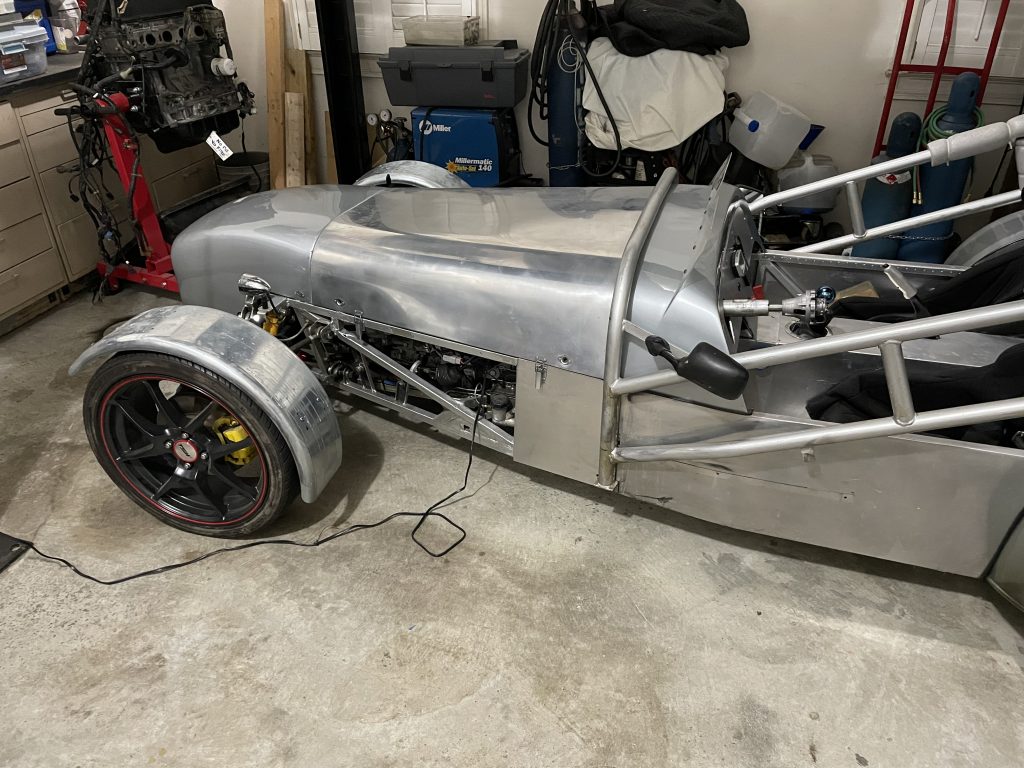
Body work was rather simple. I was able to get keep the sides open to vent out a lot of heat.

Long term I would probably place several pieces here to allow air to exit better. It is nice to be able to get to the jacking port so easily.

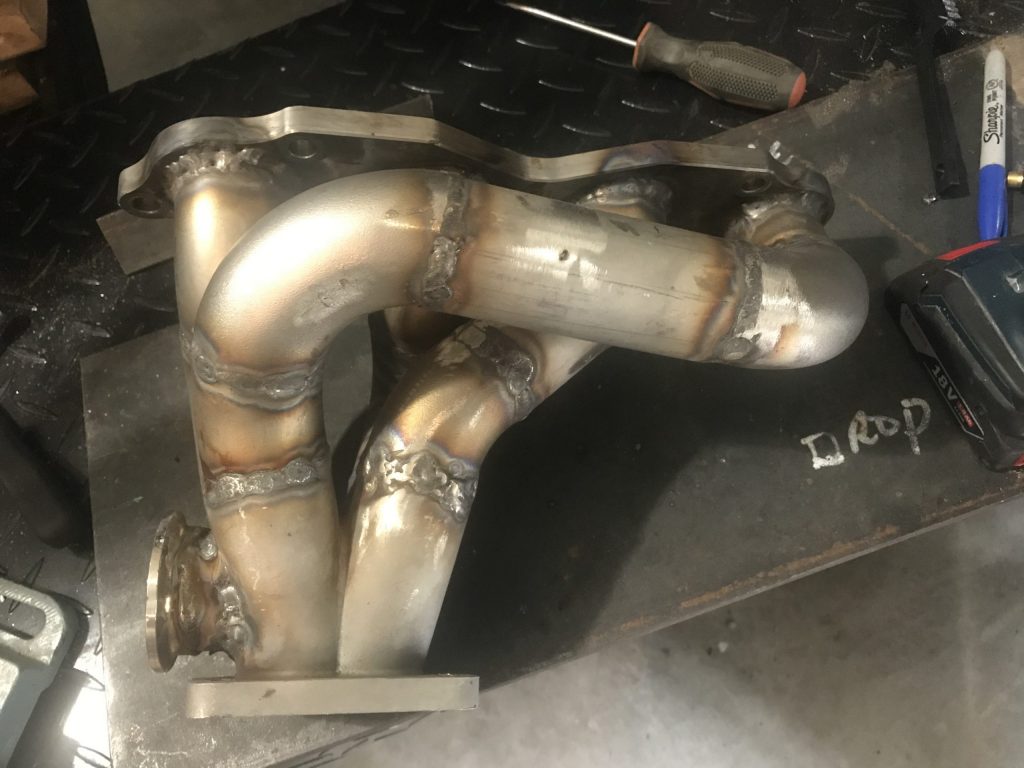
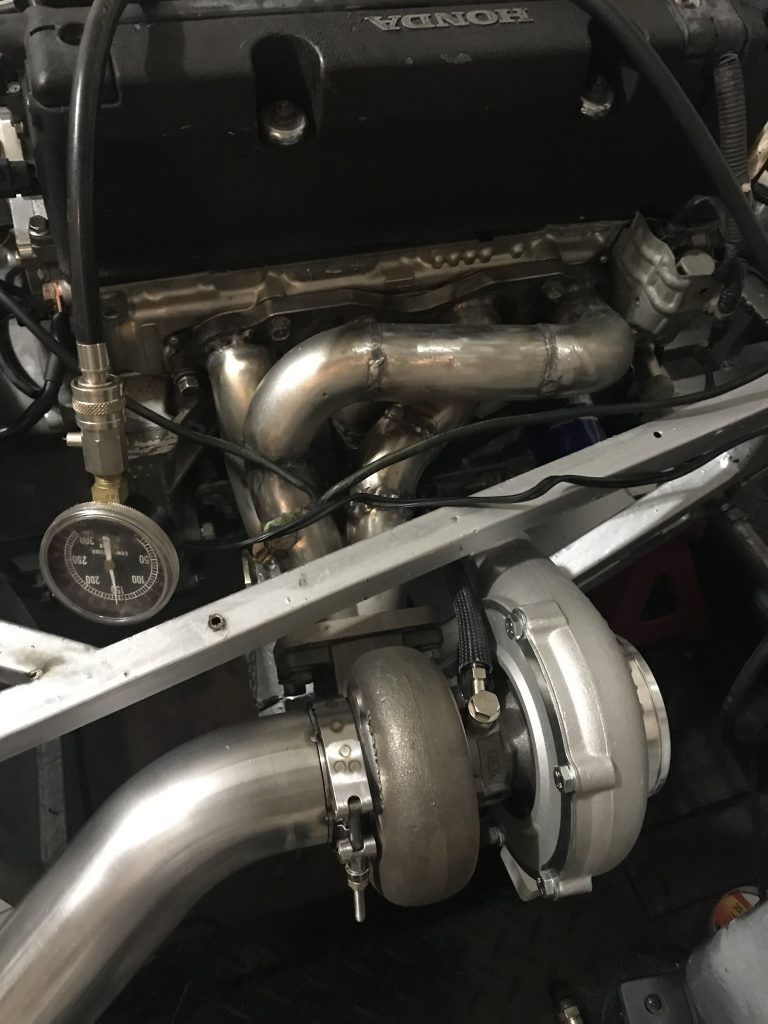
Everything under hood looks good and tucks nicely. The turbo guard is hopefully up to the job. If not we will have to get creative.

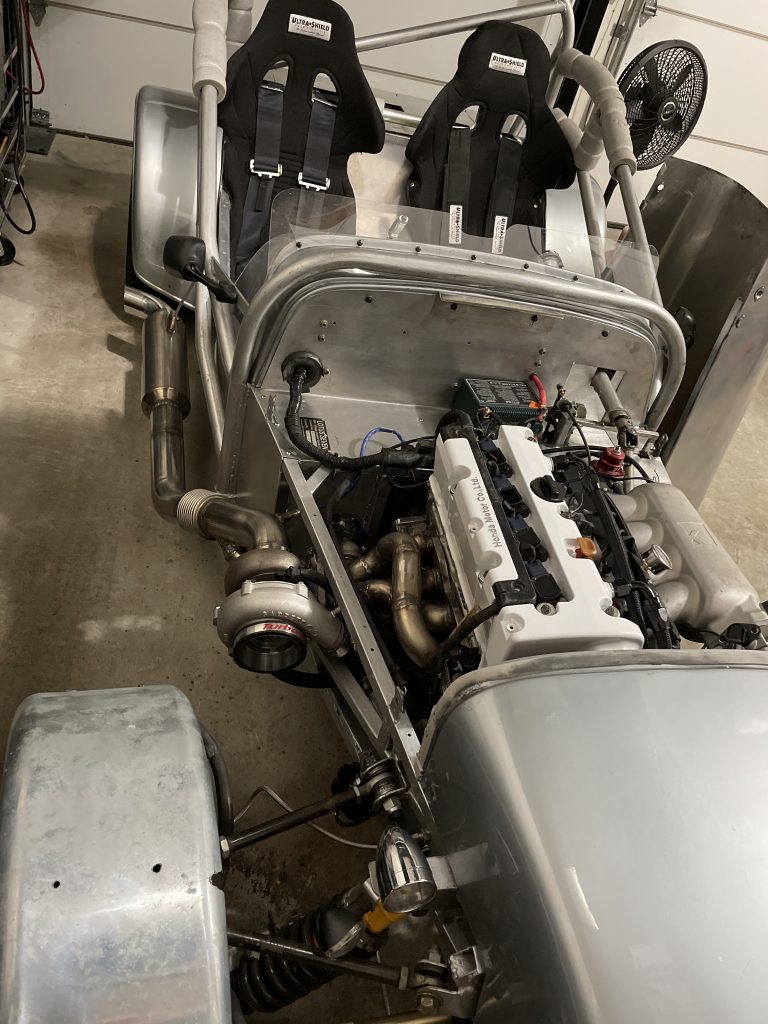
With the hood on- You can see the turbo but generally it looks fairly clean and sleek.

Intercooling!

Originally I thought the intercooler would be a quick and cheap project I could simply throw money at.. I was wrong. The sizes I could find were either too small or too large. The issue of exits being incorrectly placed was not a major issue.. So what was?

I wanted the intercooler to be placed in front of the radiator but also not block any more surface area with end tanks than needed. The solution? I turned to CAD- Cardboard aided design! I used the dimensions of a Garrett intercooler core and worked out how big I could make the end tanks to fit.

The CAD model was perfect and I was able to remove the pieces and lay them out in some 1.8″ 5052 Alumunium. After some cutting and tacking we had a pretty great looking intercooler! I fired up the Primeweld 225 and went to town. Things were going very well!

Until the pressure test… After several attempts to find the leak I kept on chasing an area between the core and the end tank. I would grind it down and reweld it a few times. Eventually I got frustrated and took it to a radiator repair place and they verified what I couldn’t believe- the core was leaking but in an area that would require the end tanks cut off and welded. After talking to the company I bought the core from they told me that Garrett was not being helpful and “they were truly sorry.” I won’t buy anything from Garrett again and had to cut off the tank, fix the core and then weld it again. Visually it doesn’t look as good as it did originally and I am going to hold a grudge on this one!

The end result should work well. The end tanks do not block the radiator and it appears to work well. One more project in the books!

Turbo Time!

From the beginning I knew I wanted to turbocharge the 7. I started looking online and bought all the pieces from Ace Race Parts and started cutting, chopping and grinding to get a manifold together. Initially I had the manifold pictured but landed up replacing it with one that accepted round tubes directly.

Above shows where we started but the finished manifold is seen below.

I got some great tips from my friend Jim and should have used a bigger cup. Lesson for next time! I did backpurge the manifold and the inside loops perfect! You can see the wastegate flange off the side. It isn’t optimal but they are oversized to do what they can about the gases.

Pictured is the GT3076 Garrett turbo charger. It wouldn’t fit inside the body work very well so I opted to put it outside the bodywork.

The Precision 46mm gate was picked to keep tabs on the gases. I considered the ebay generics which are substantially cheaper but opted to “buy once and cry once”after the intake manifold situation.

Thanks to Jim I got my welds to look much better. Flexible bellows were installed on the downpipe and the wastegate tube that merged back into it.

Above is the finished exhaust. The muffler tip was cut back further but all in all it sounds great and looks great in person. Up next the intake piping and intercooler work