It took a while but I snuck a half day into working on the car with my dad. While I thought it was 3 hours of work it actually took 6.
First thing was to pull the k20a3 and remove the transmission and adapter plate.
Up next was moving those parts to the K20z3 and bolting them all back together.
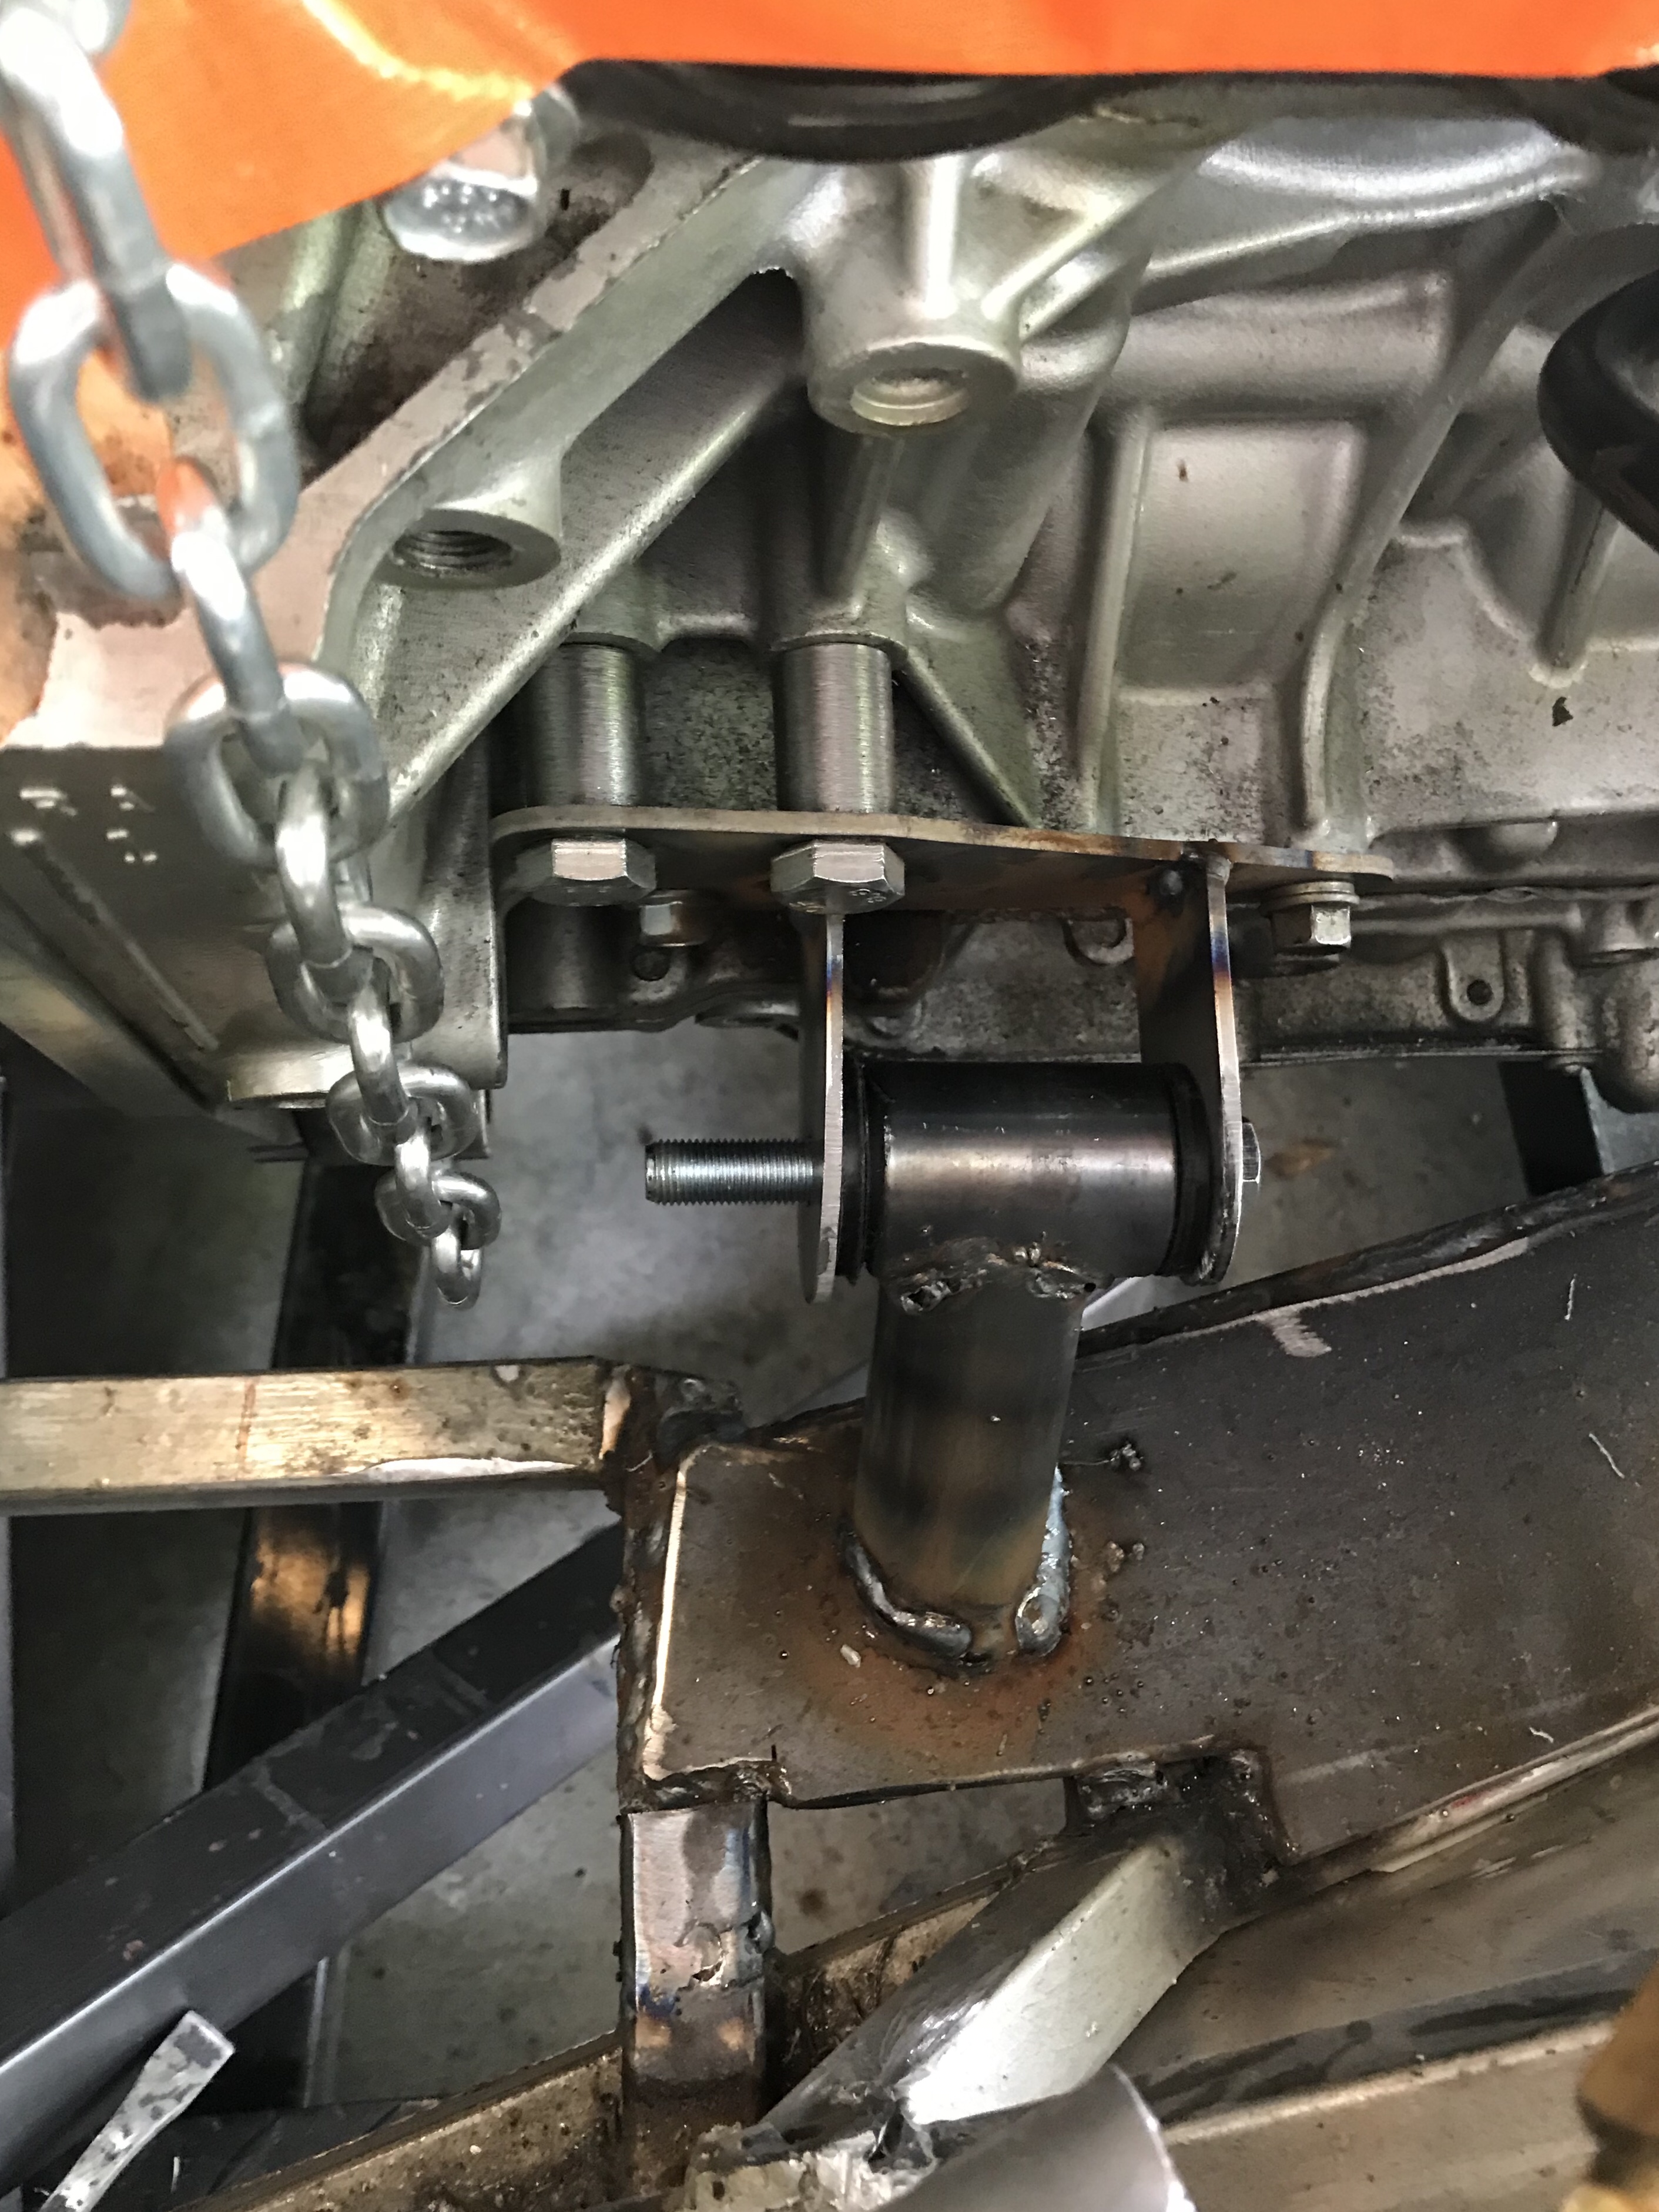
From there we worked out what needed to be changed and we we removed and replaced a tube in the chassis. We also removed the old motor mounting plate and cut a new piece. After 5-10 minutes of welding we started to position the engine.
After measuring and cutting several tubes we had the left side mounted. Next we leveled the engine to 0.6 degrees and started on the driver side. They came out quite well
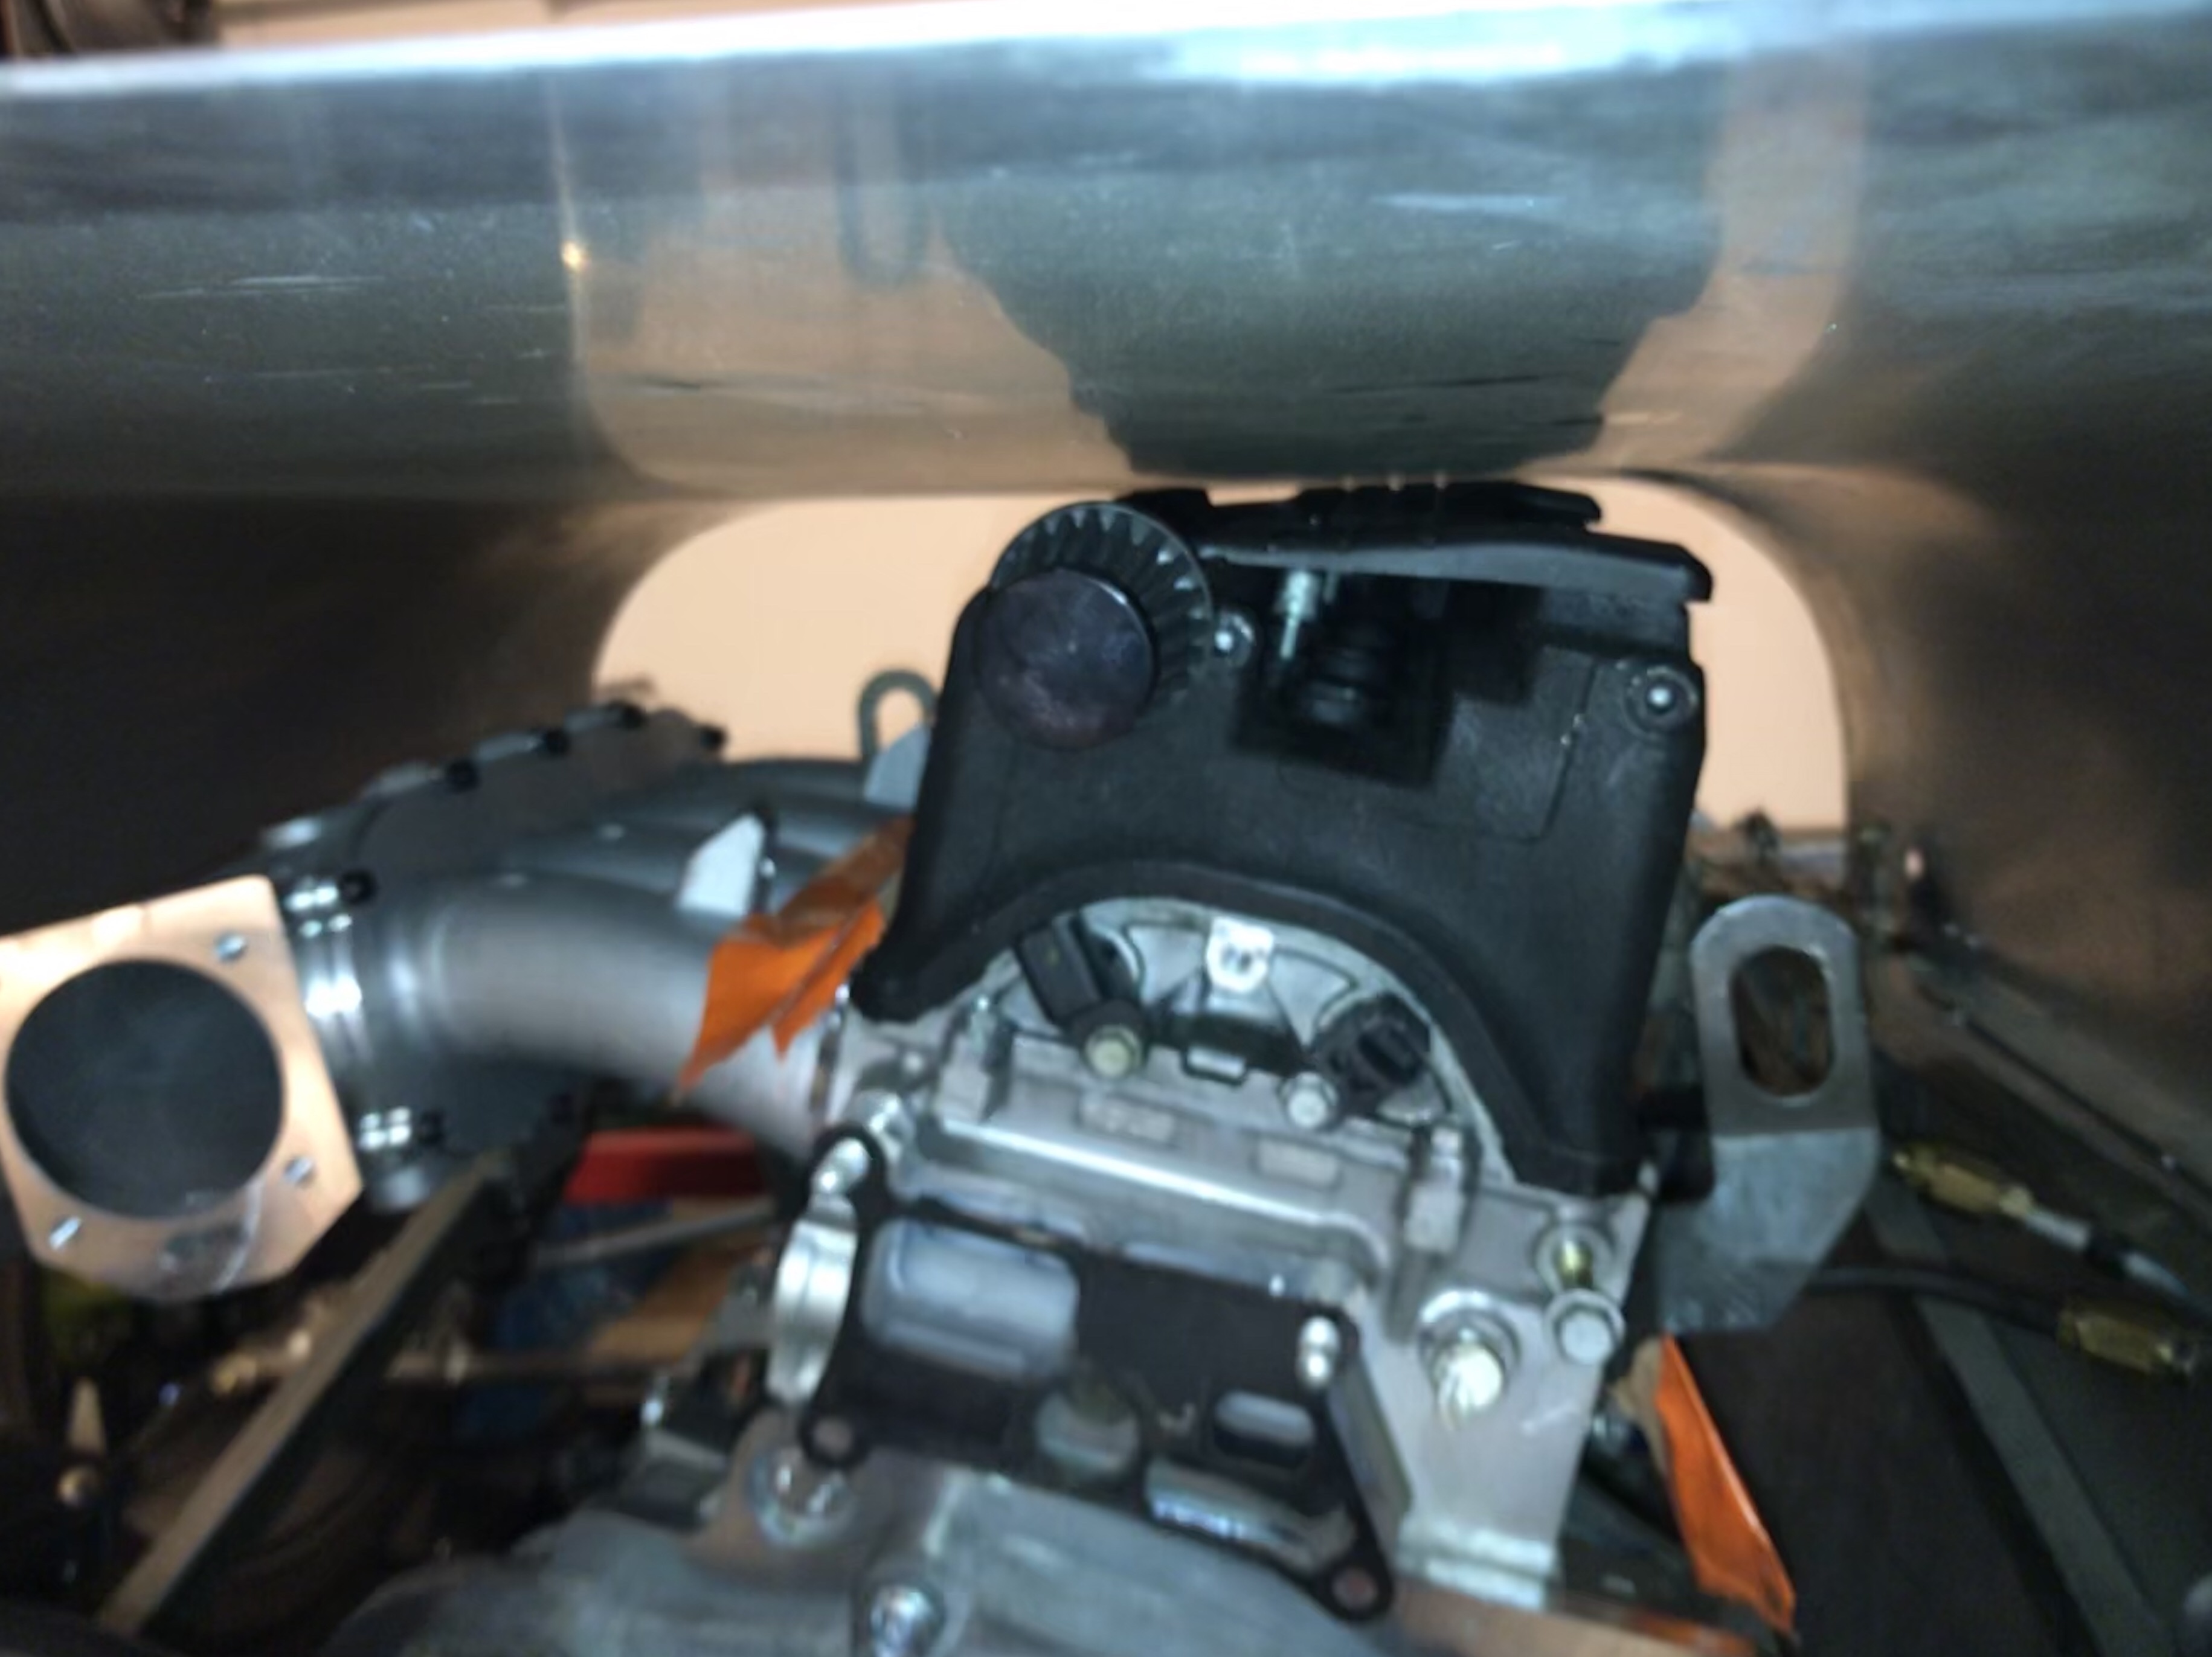
The final step was to check hood clearance. I didn’t expect it to fit but was nicely surprised. 3 mm to spare!
There week be some challenges with the steering and alternator but those are for a different day!
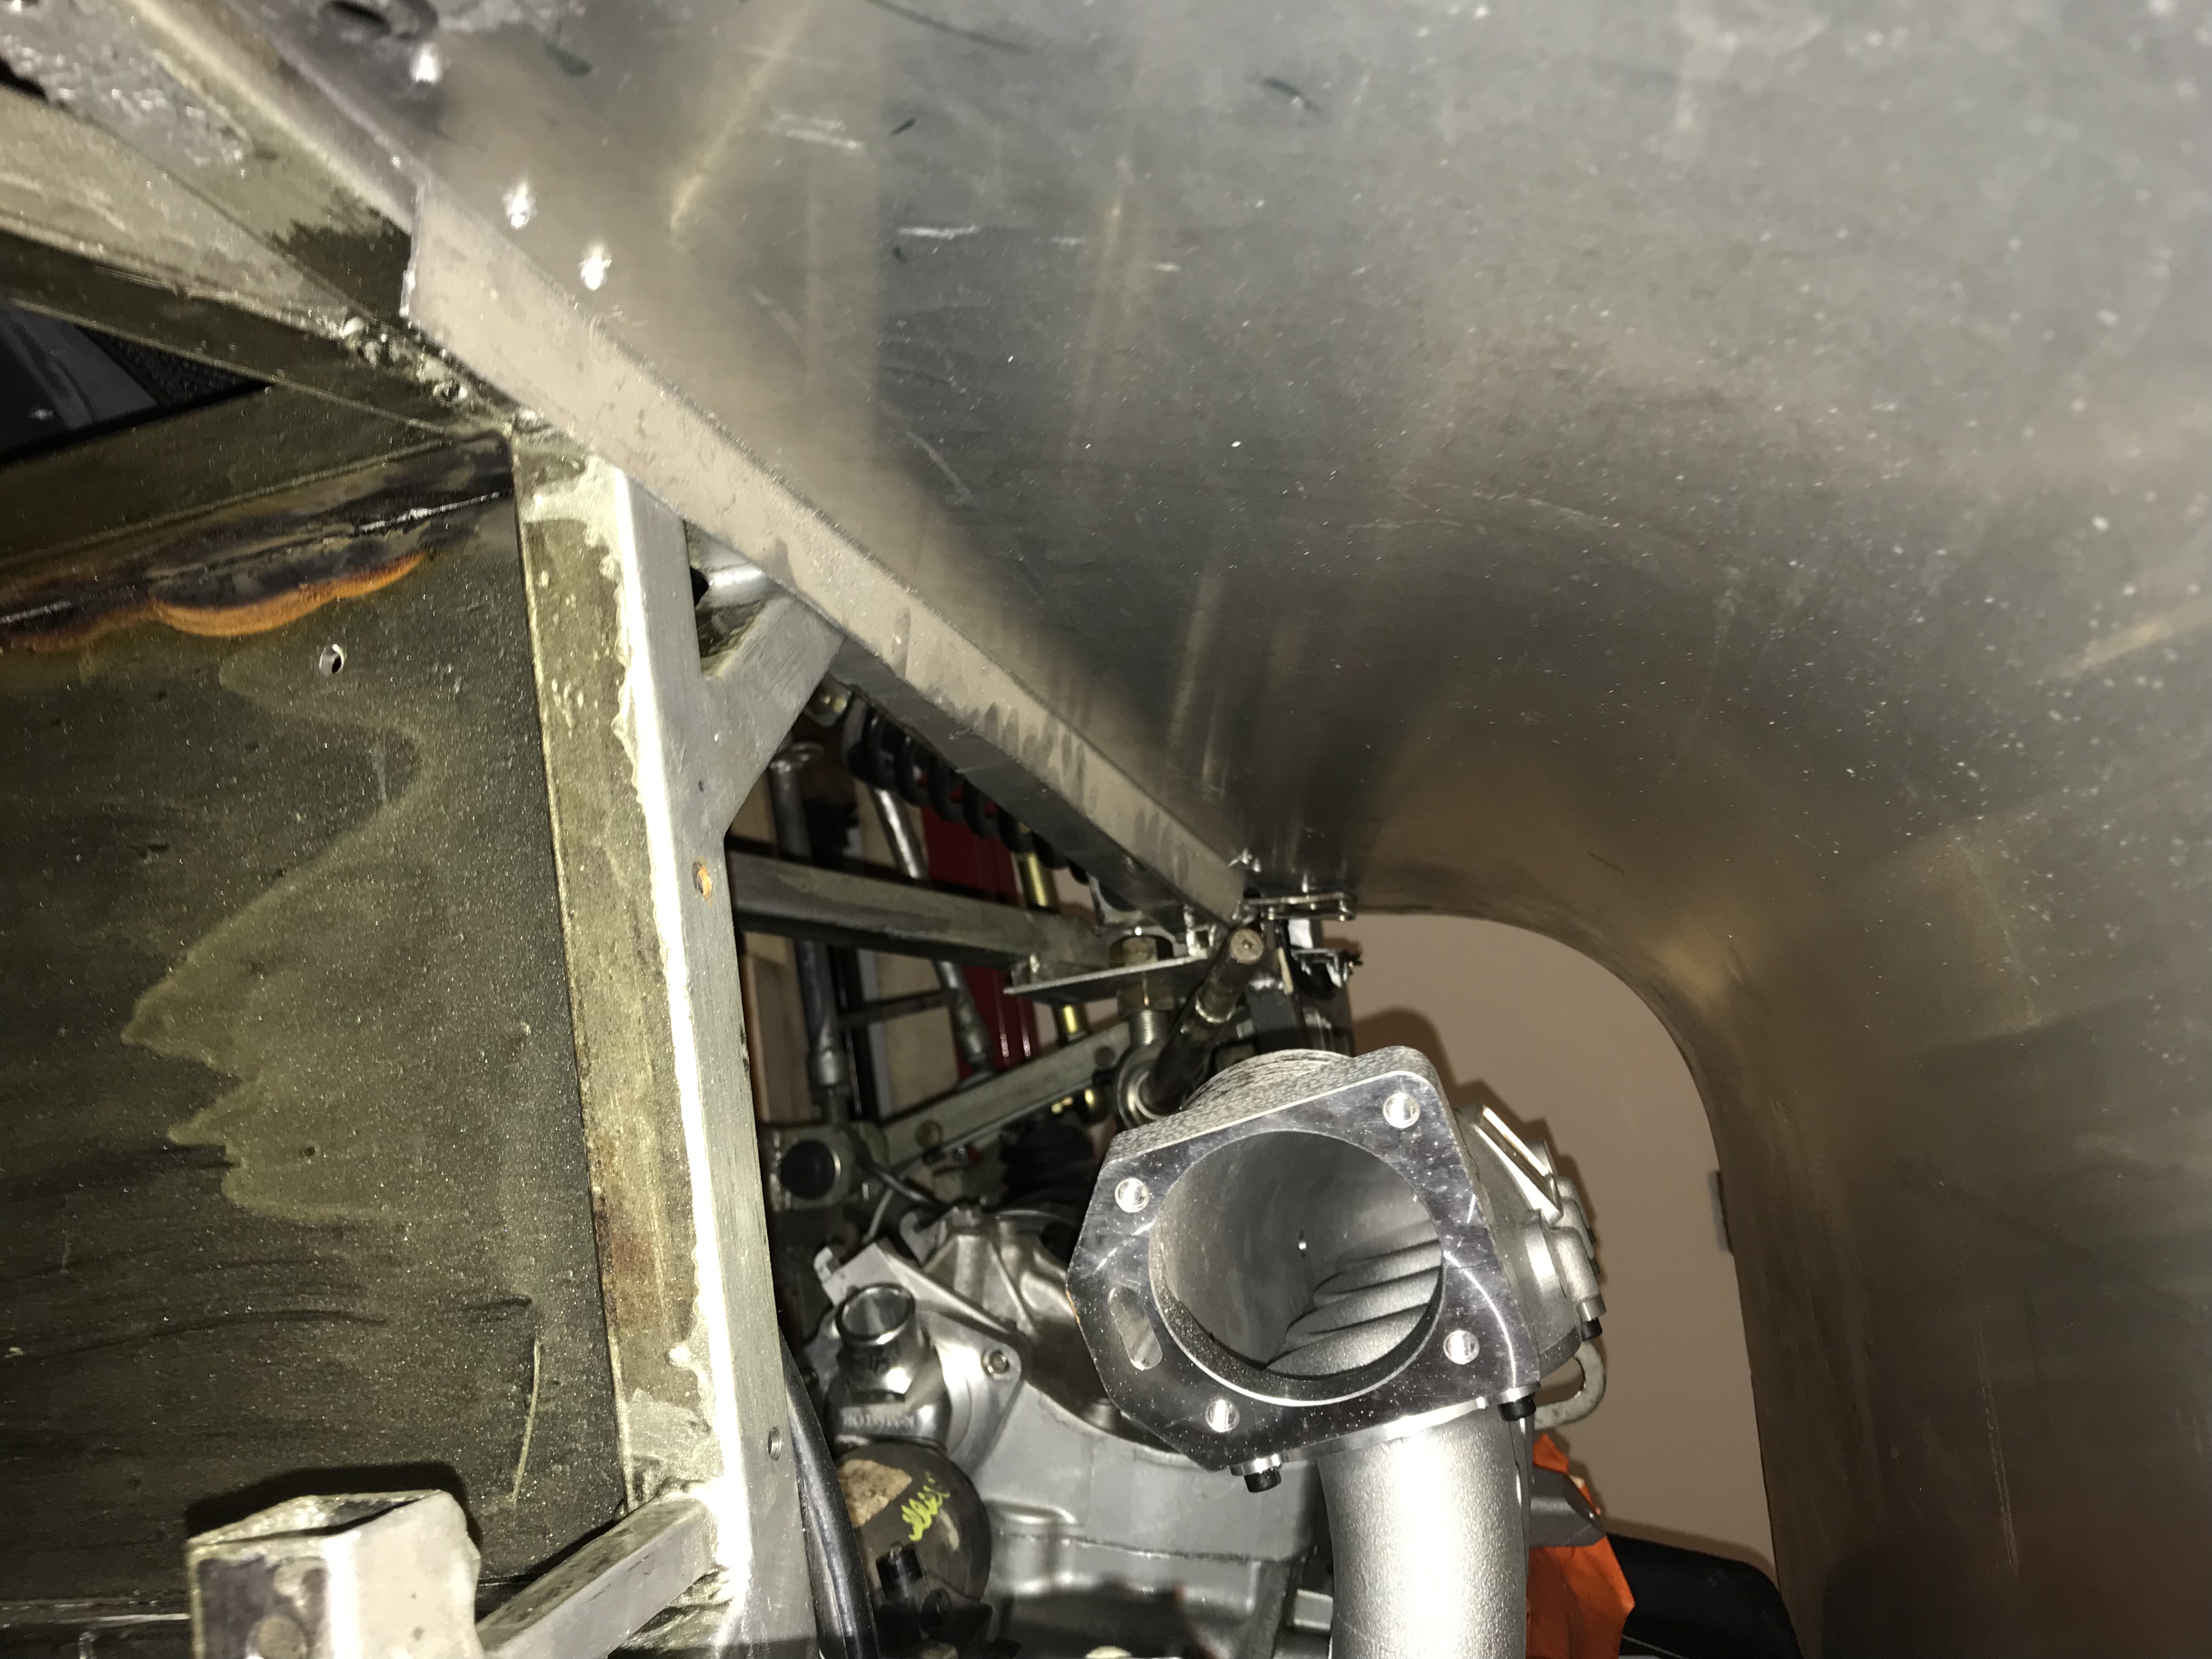
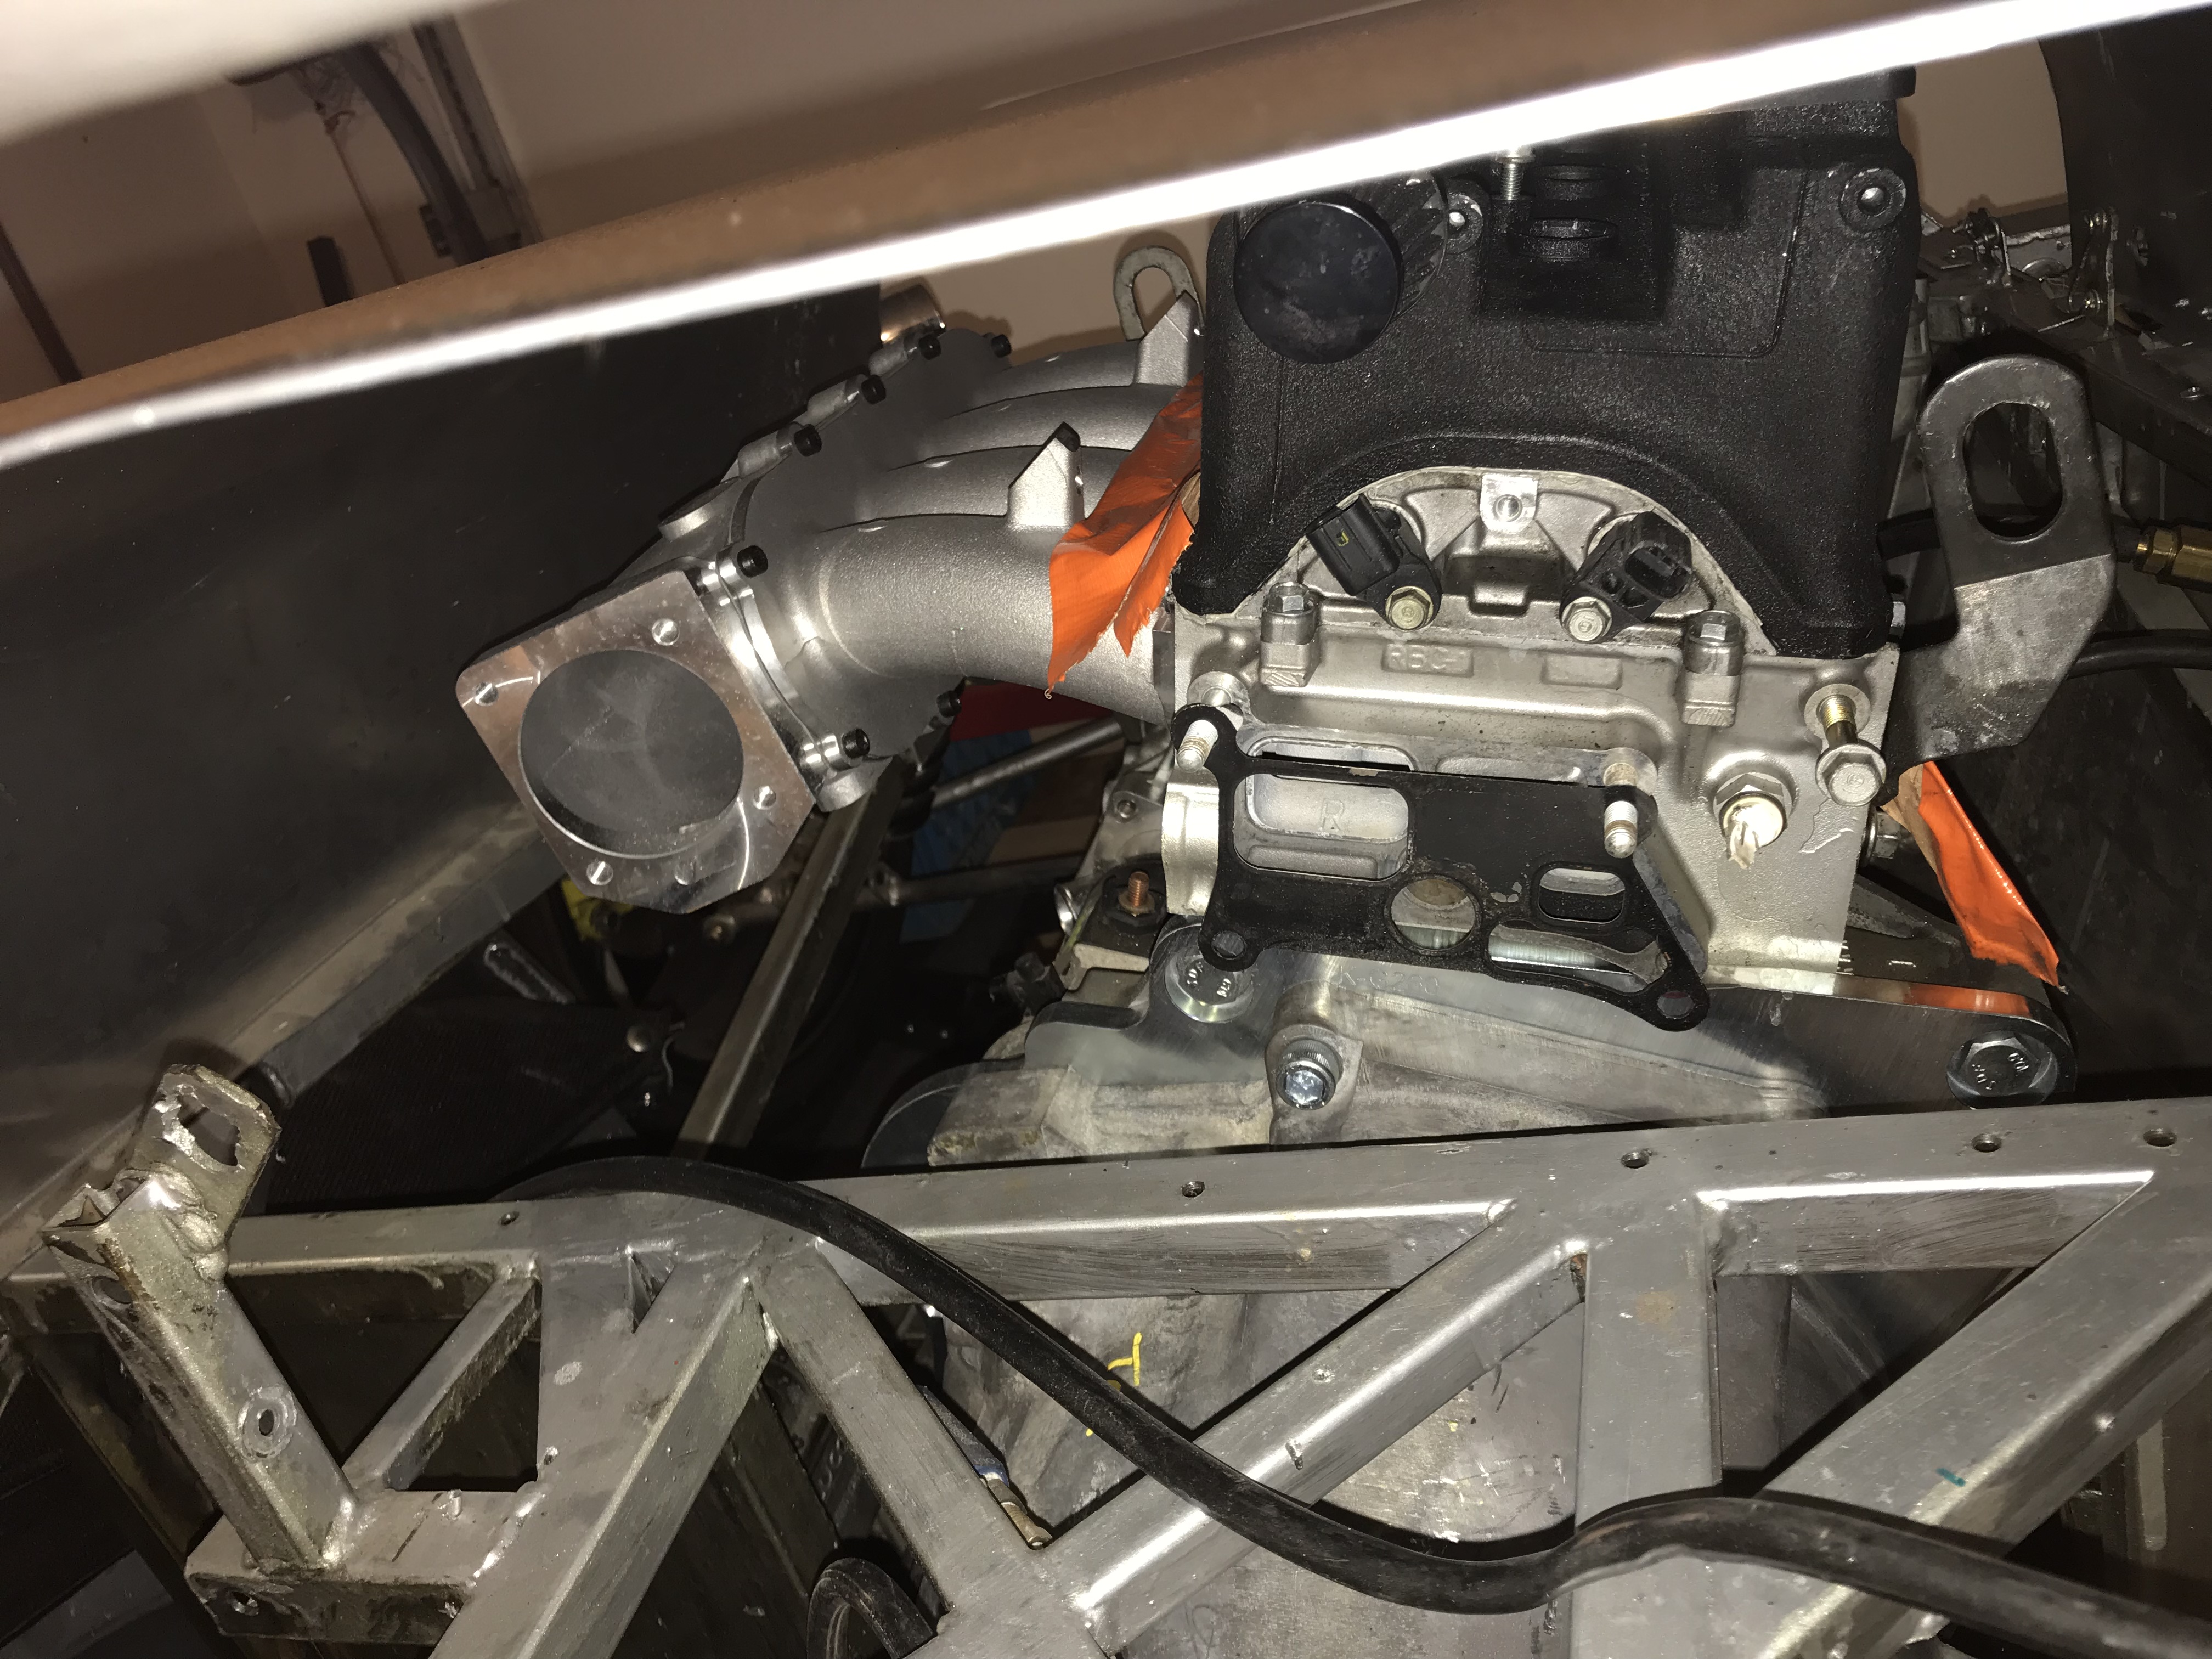
Ground clearance is a nice and acceptable 4″
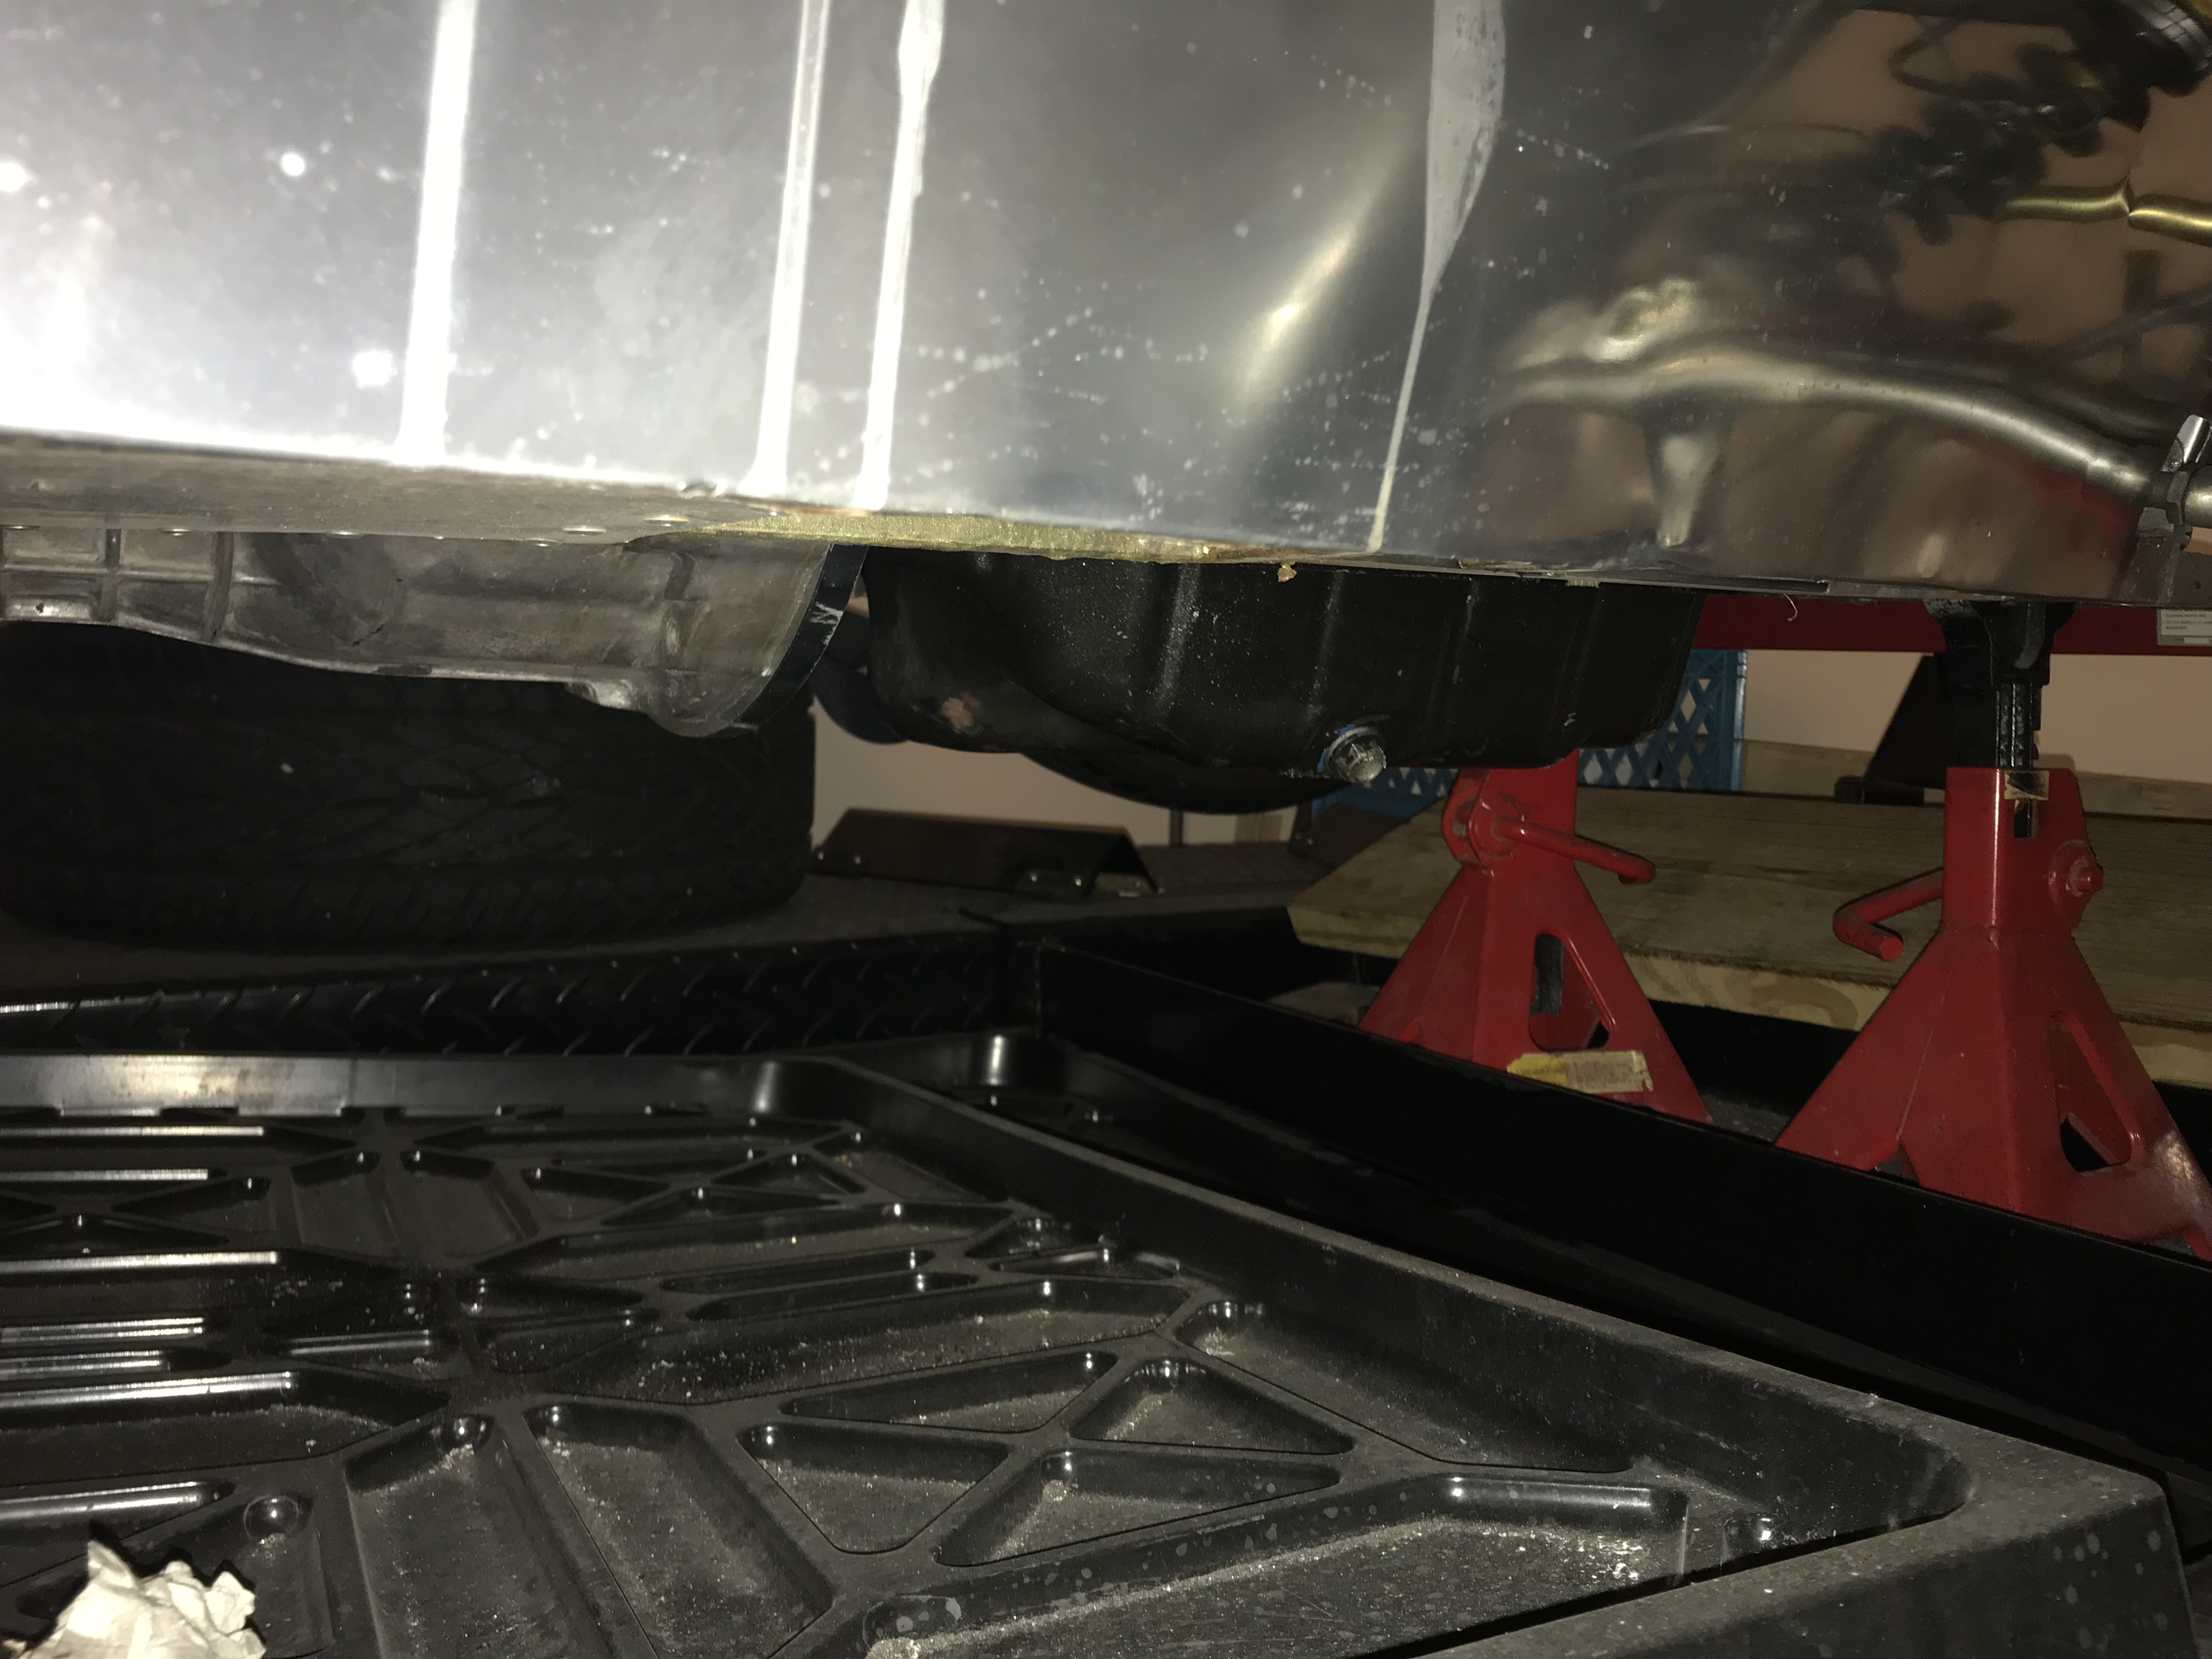
Up next is the transmission mounts!

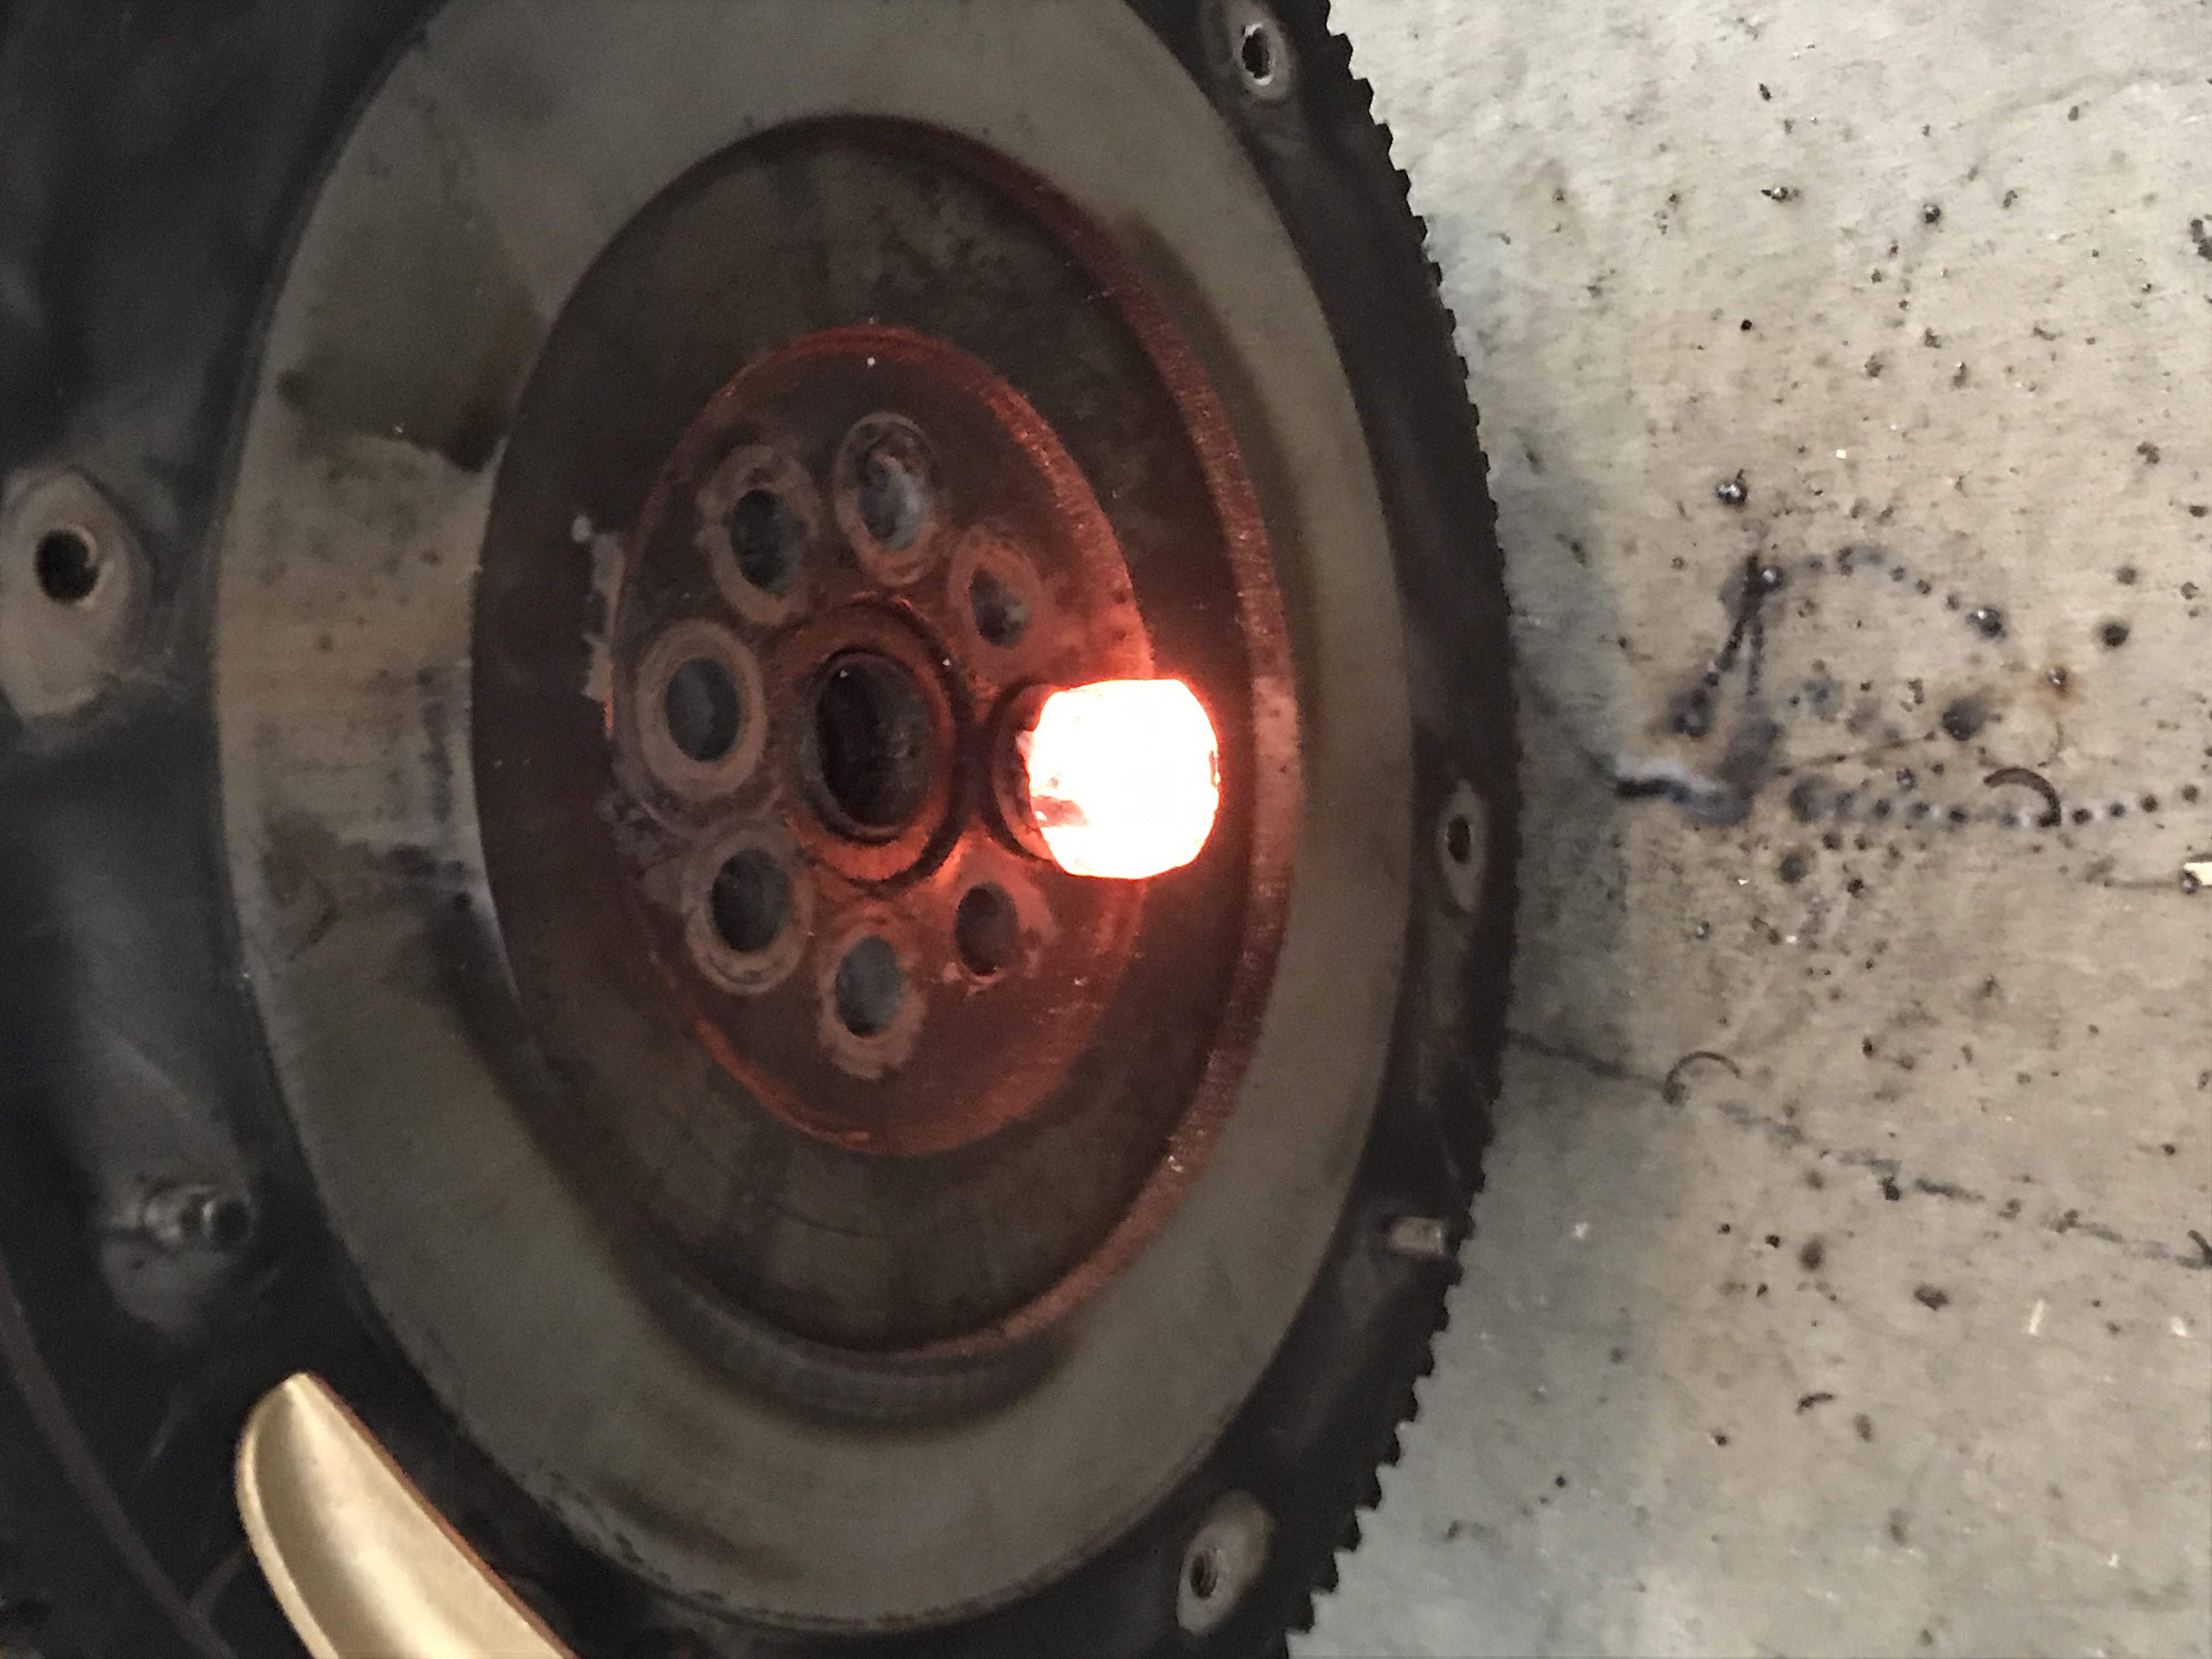 From the moment I bought the engine it has fought me every step of the way. It seems the “Honda mechanic” that I bought it from was either a fantastic liar or had a love affair with red locktite.