Hitting the dyno

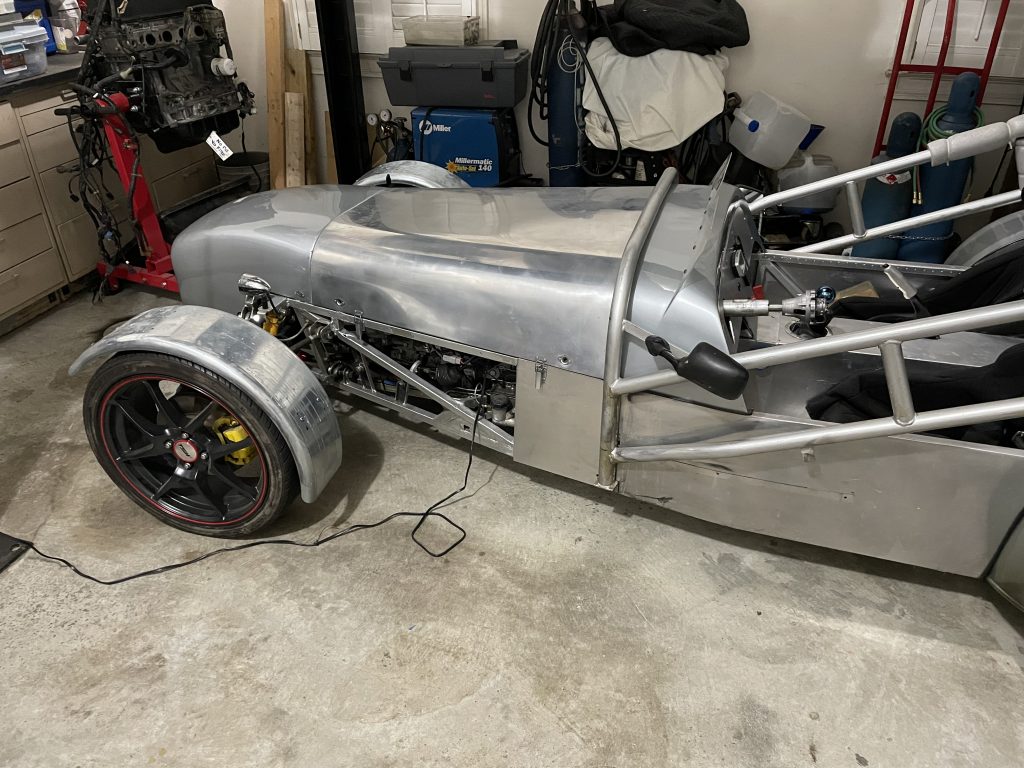
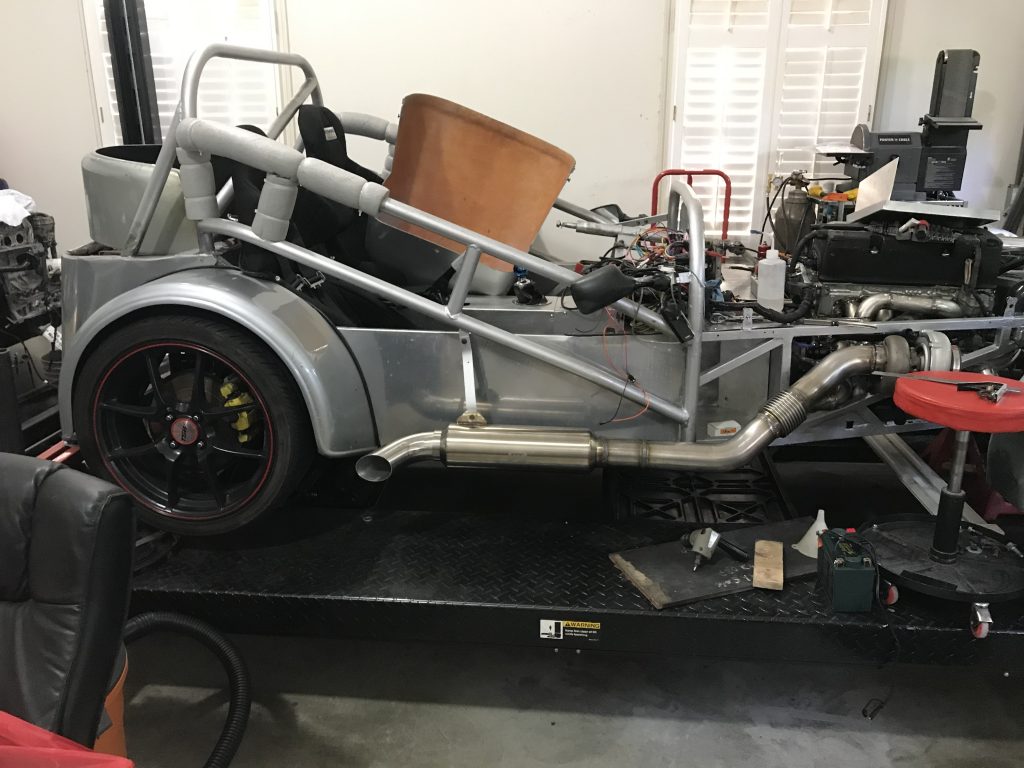
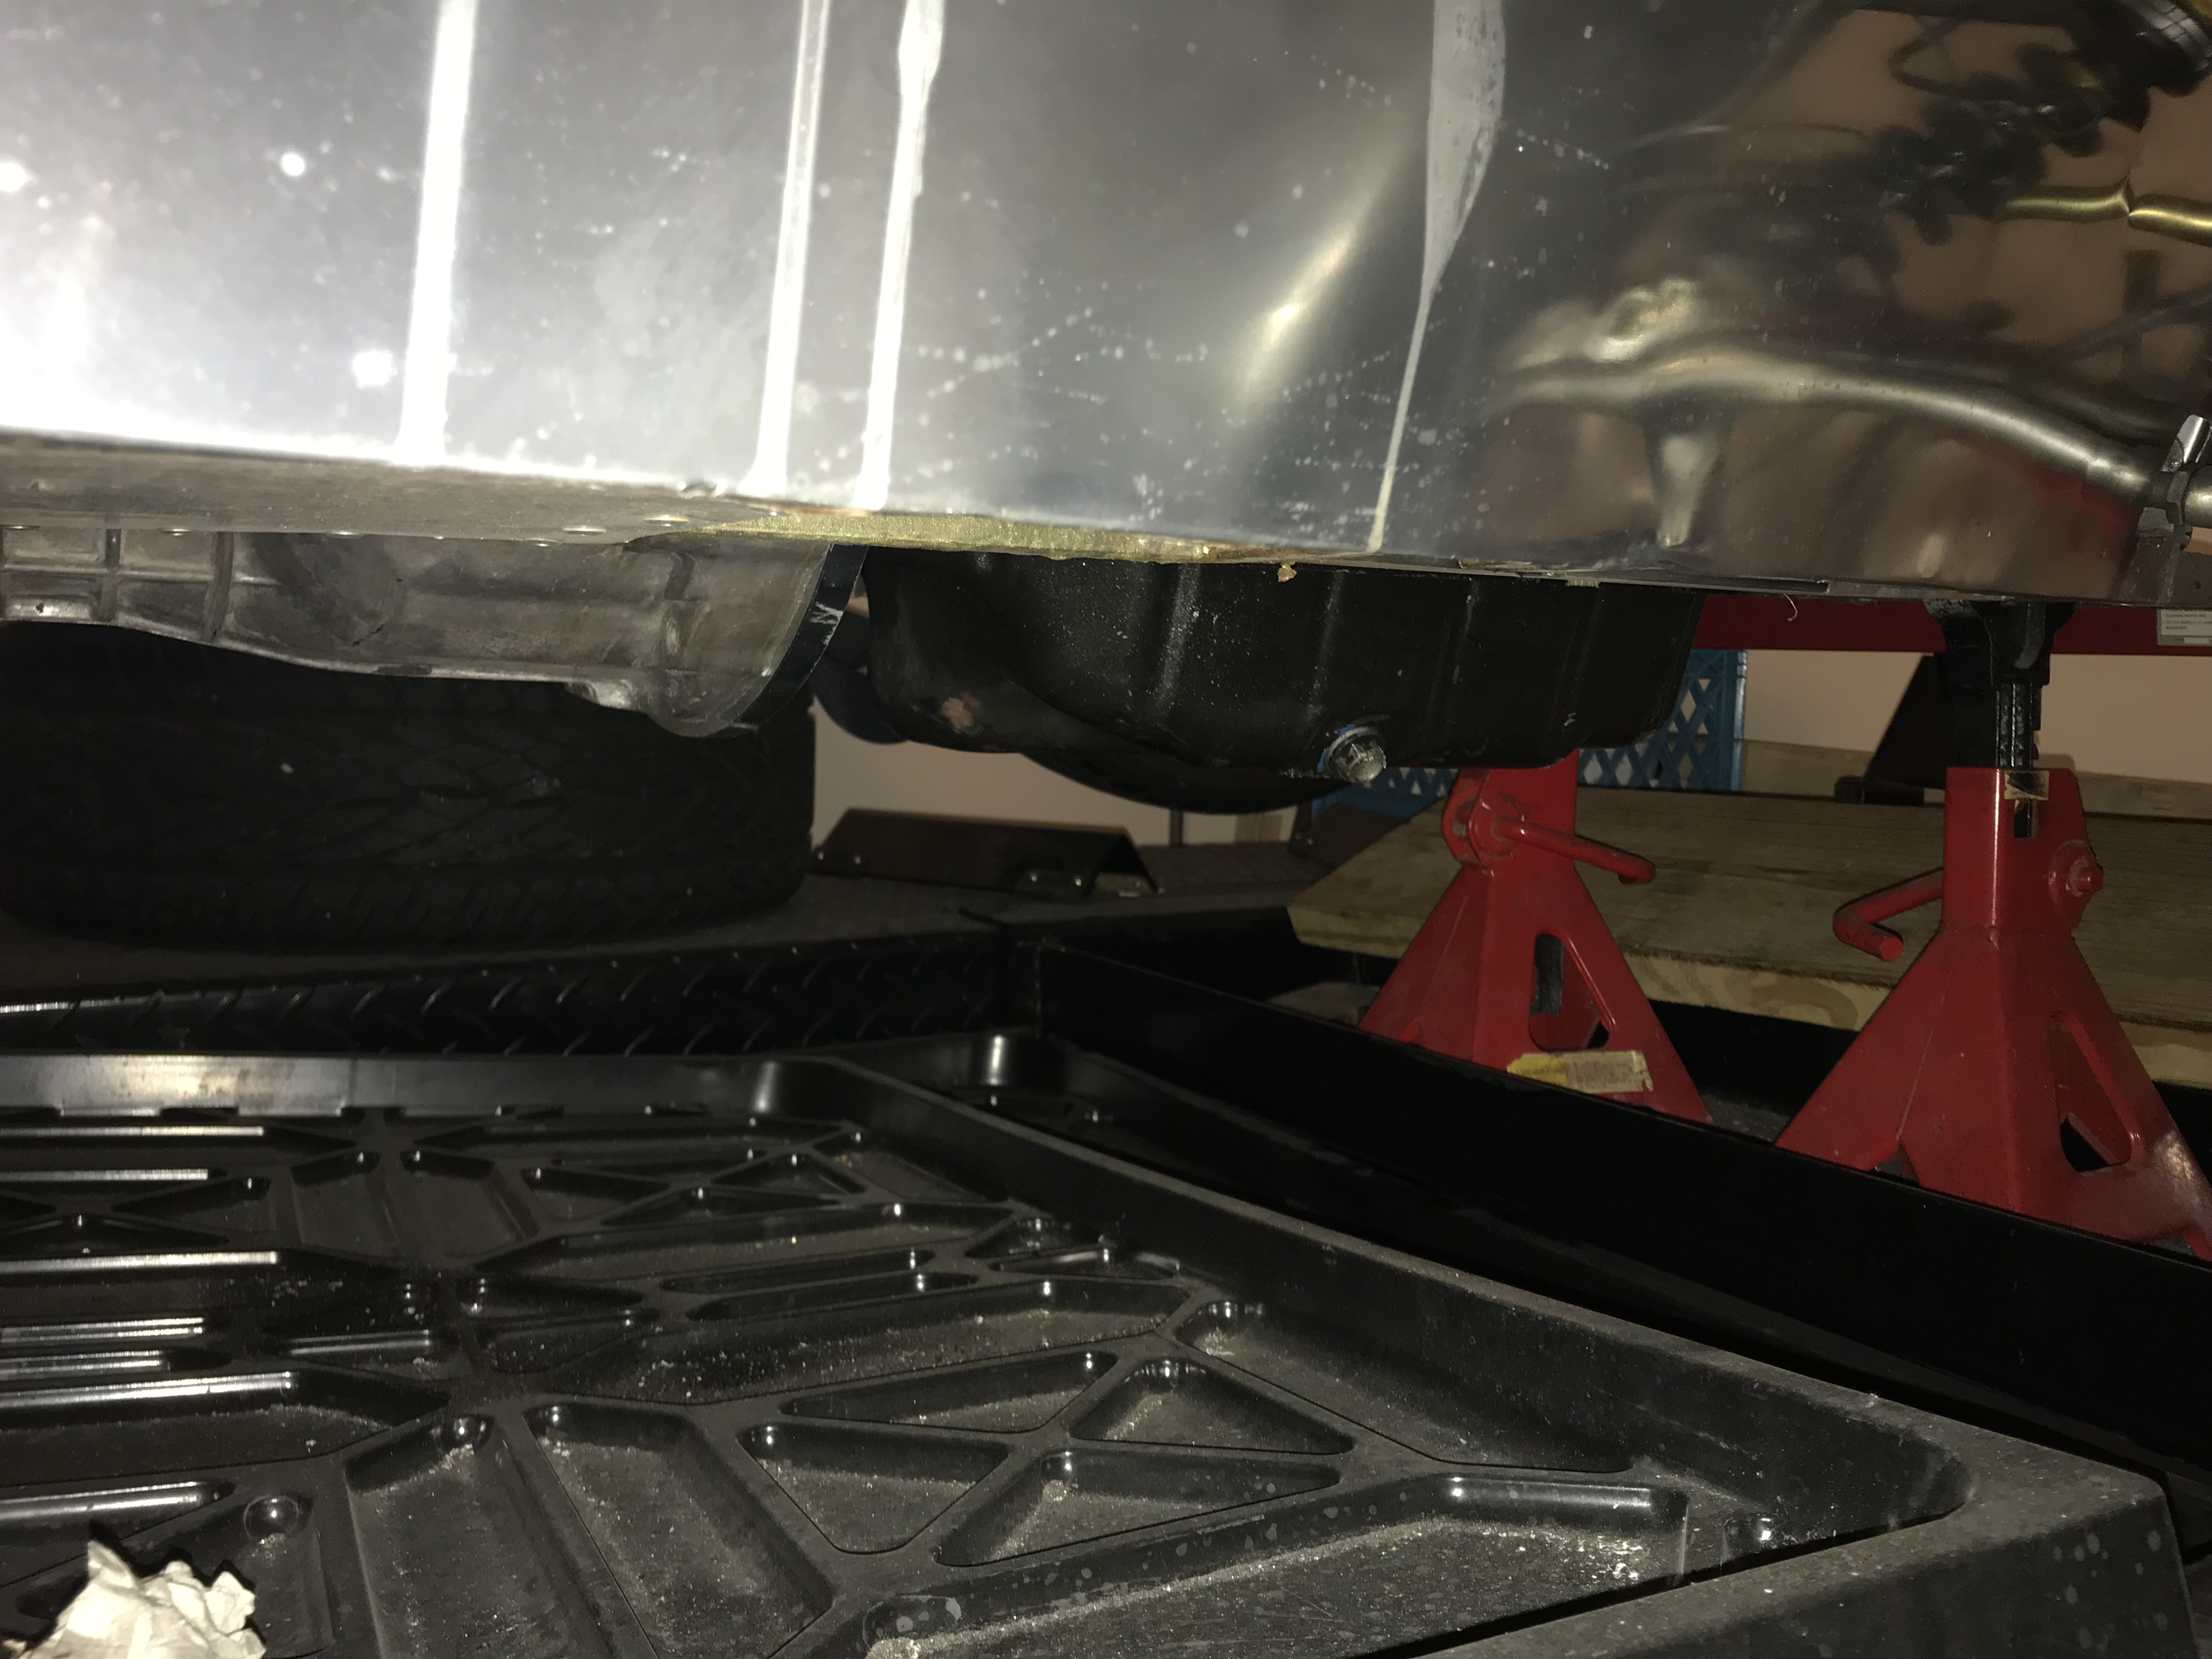
The day finally came that I could get the car on the rollers. I’m very thankful to have some fantastic friends that helped me get to this point as well as beyond. My buddy Neil let me borrow his trailer (perfect 7 size!) and Dave that owns Complete Performance has been a friend for years.

Tahoe doesn’t even notice it back there. The digital rear view mirror was amazing though!

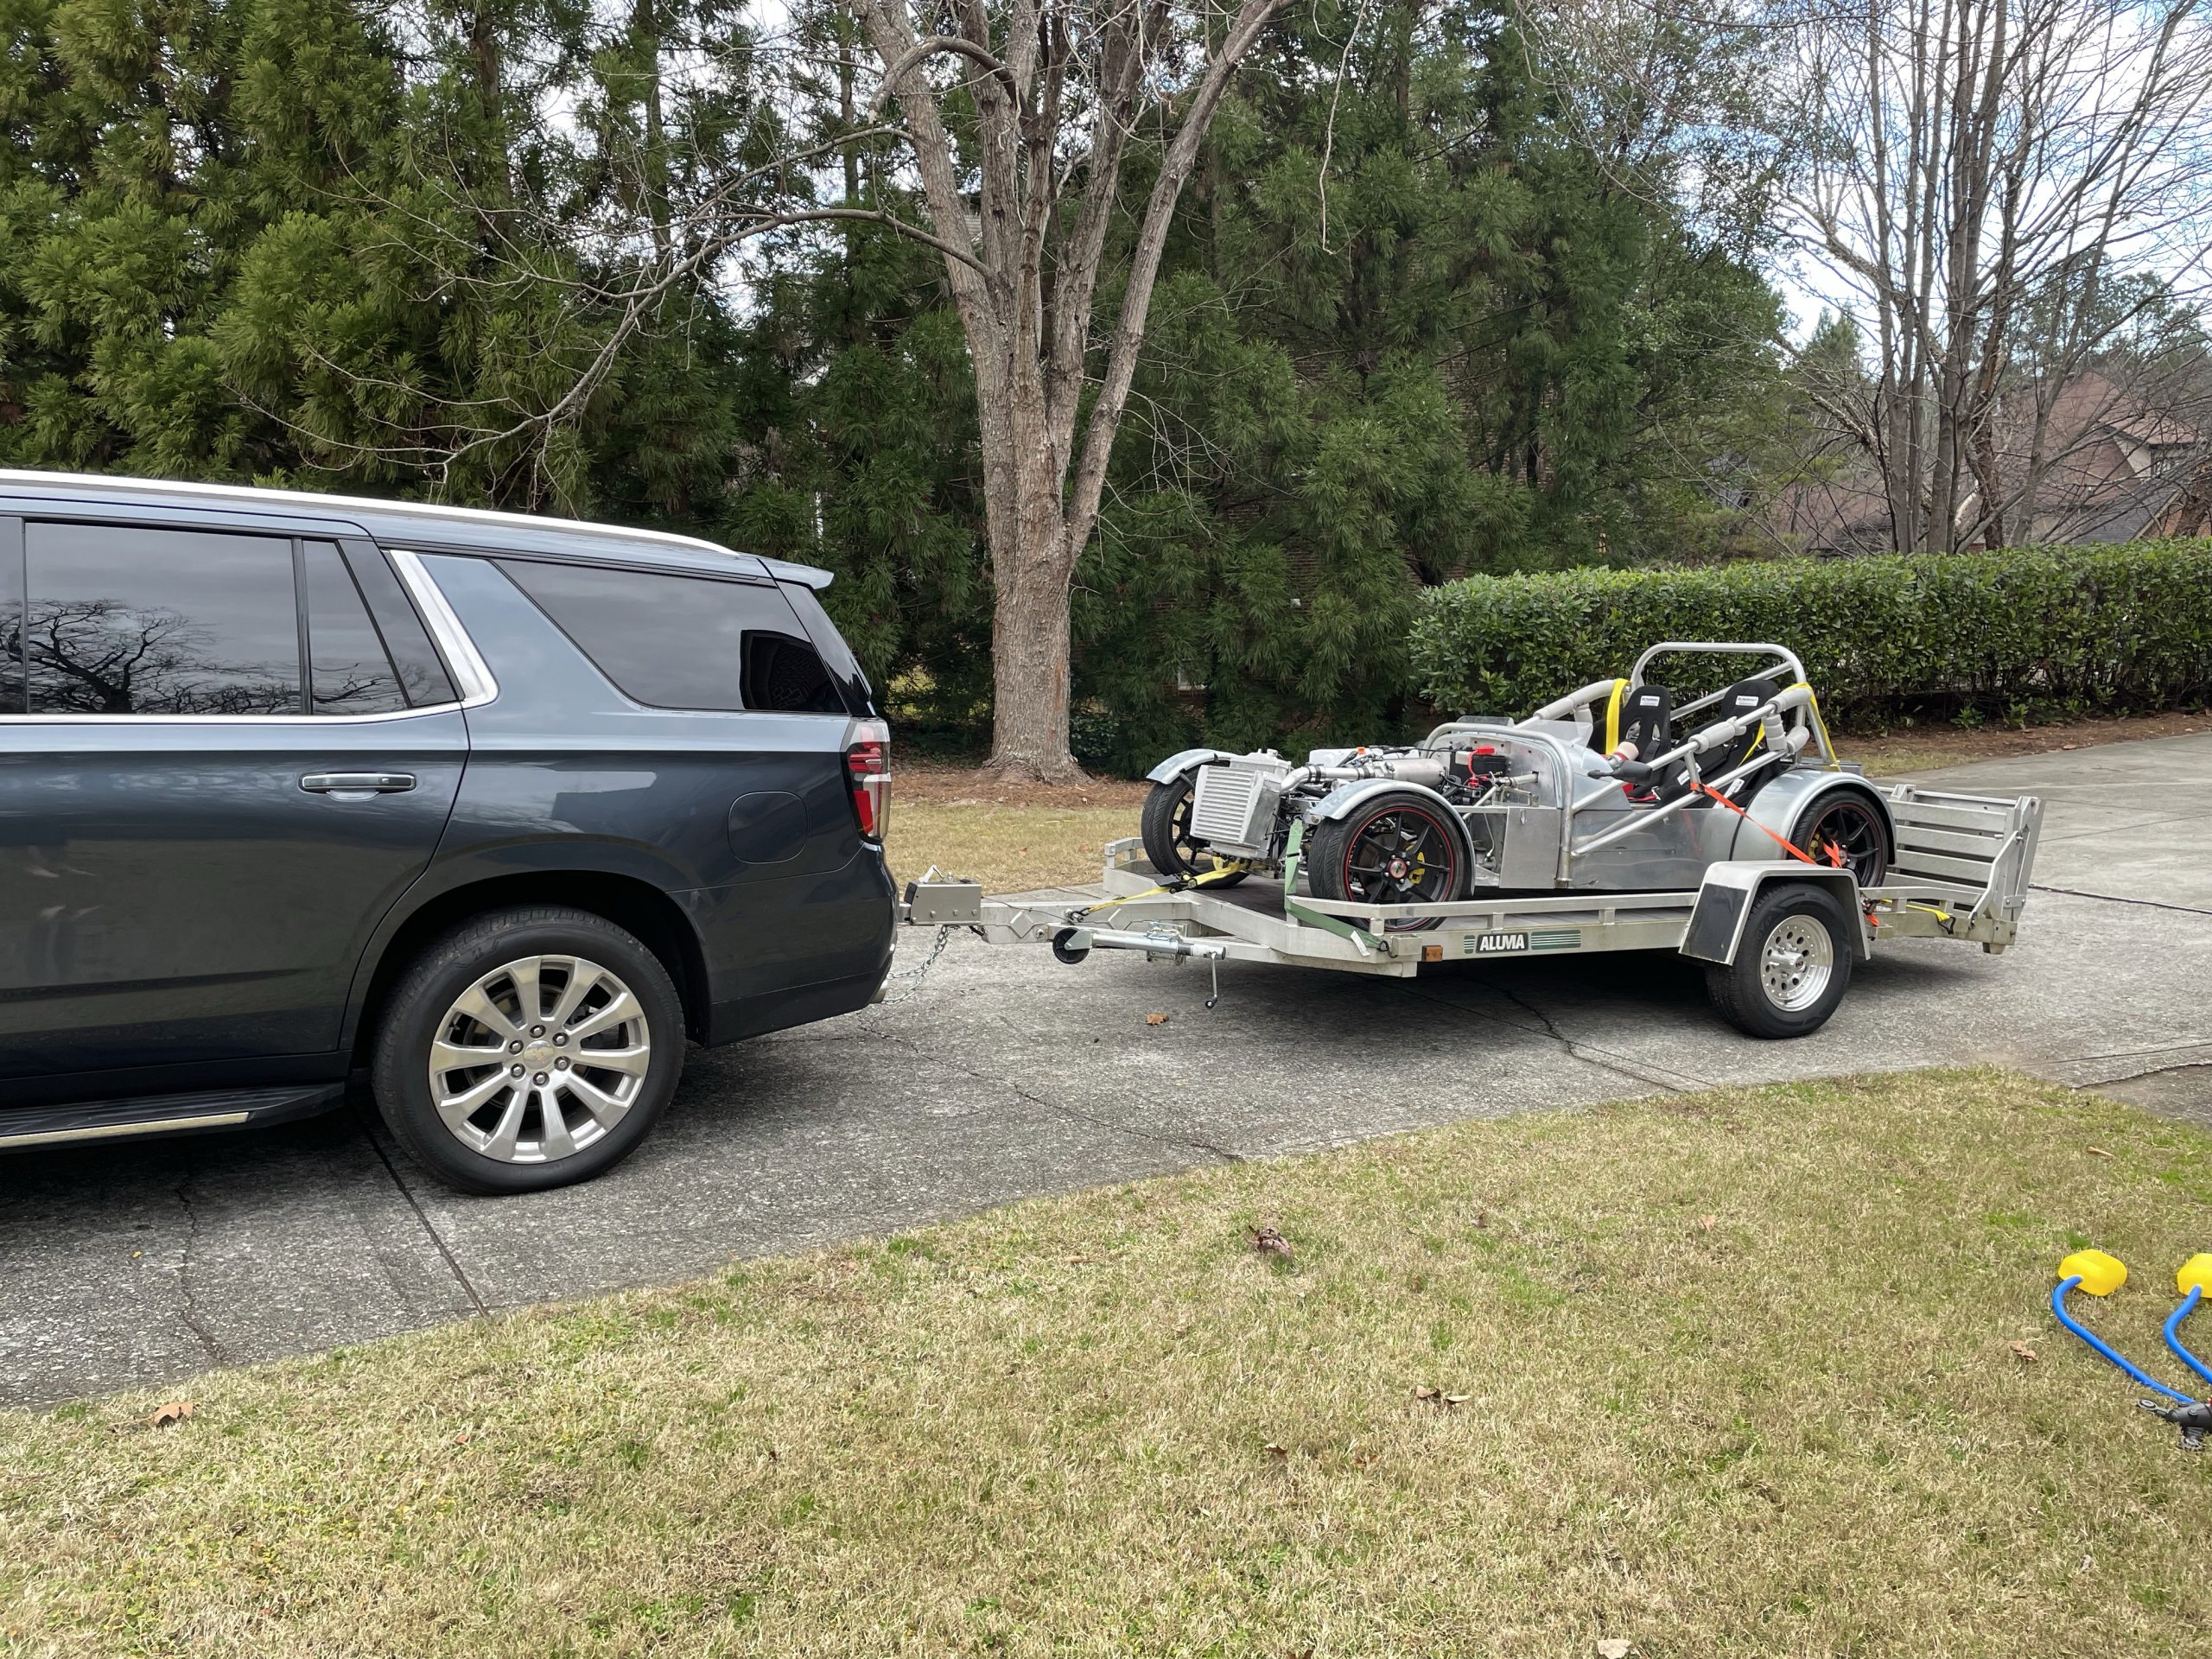
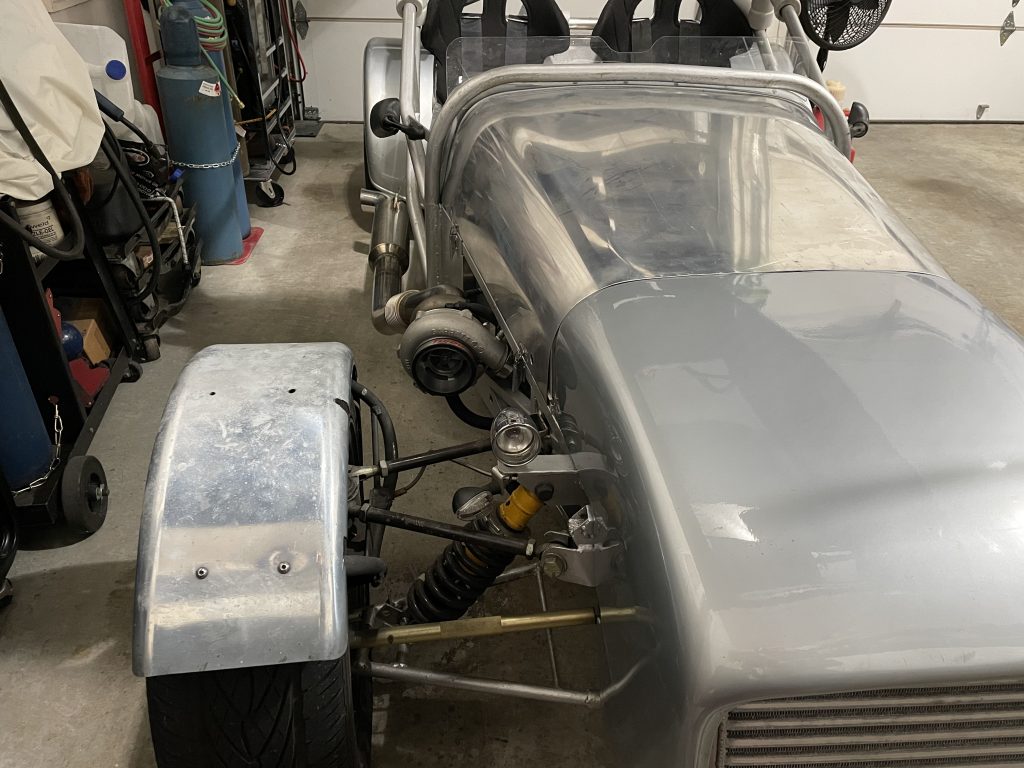
Car fits perfectly on the trailer Neil uses for his radical.

Admittedly the car wasn’t behaving when it went on the trailer. My attempt to change base fuel pressure was not perfect and resulted in a very soaked set of plugs.

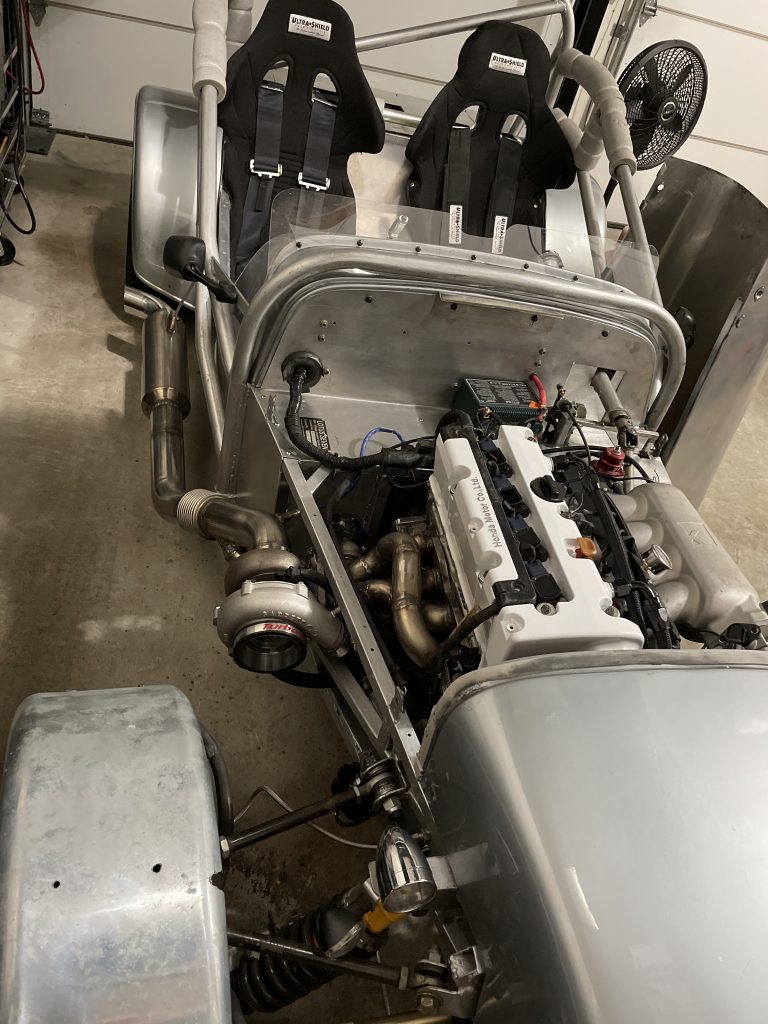
Thankfully Dave has been around these issues and quickly helped diagnose the problem and a new set of plugs got us going again at 43.5psi of fuel pressure. Up next was to do some basic pulls to 4000rpm. Our goal was to check that everything worked together and we didn’t have surprises.

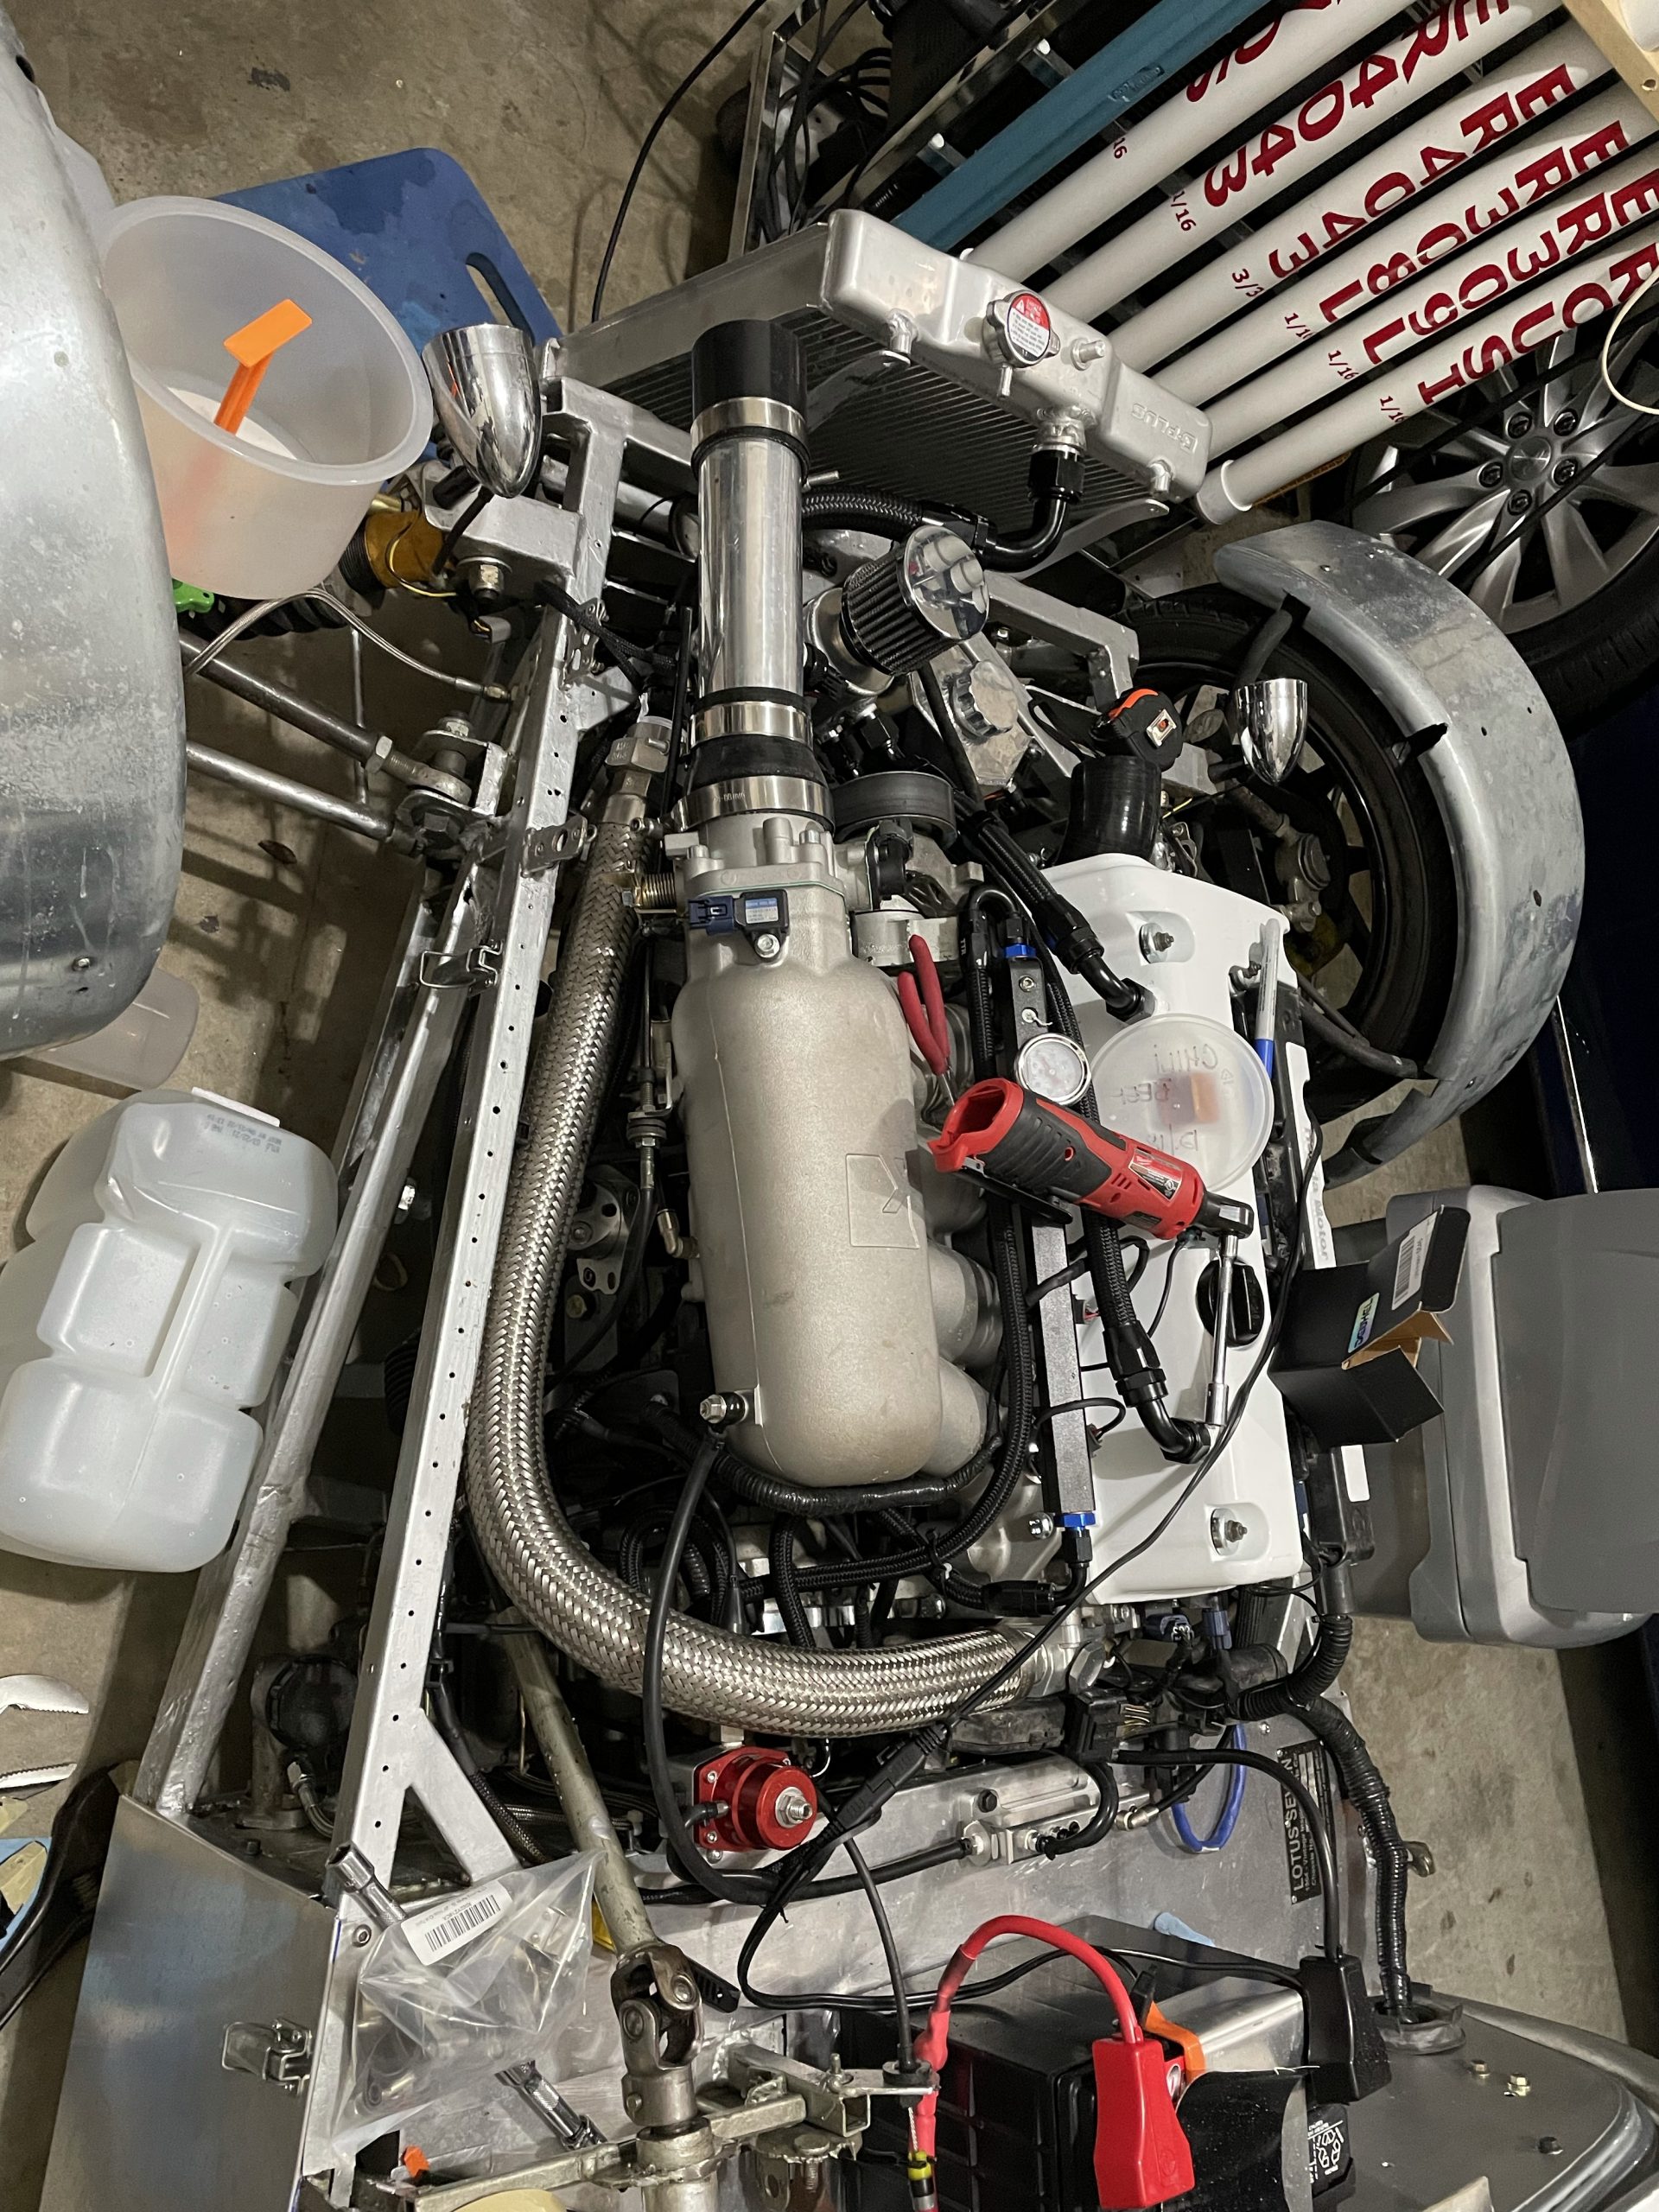
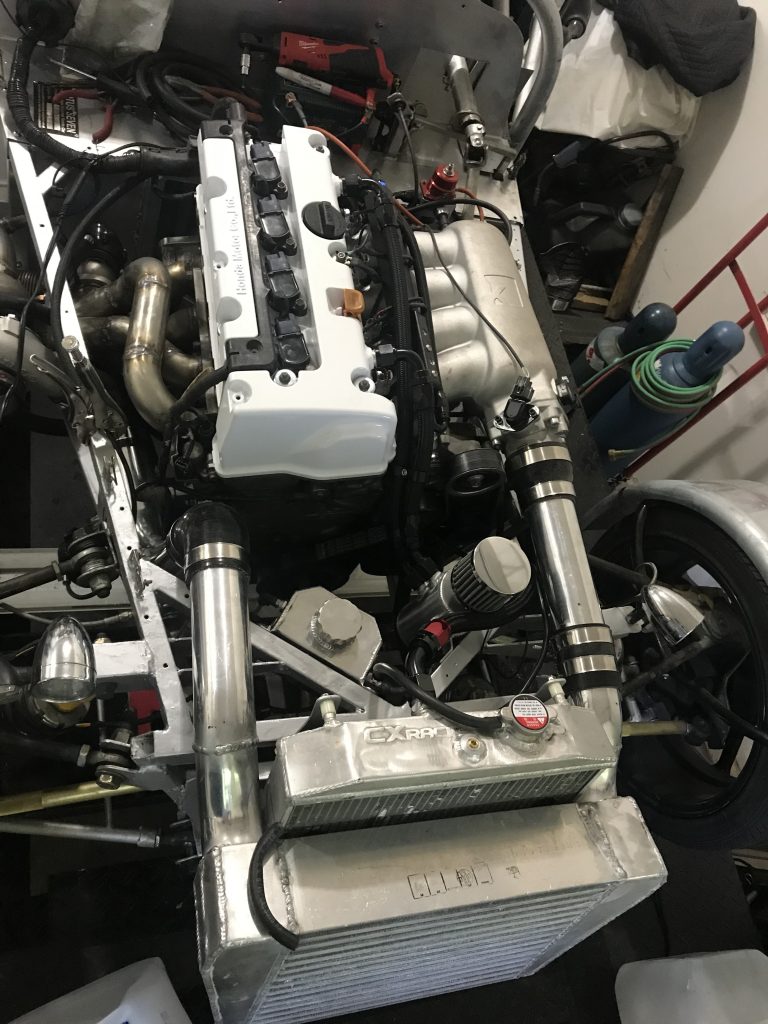
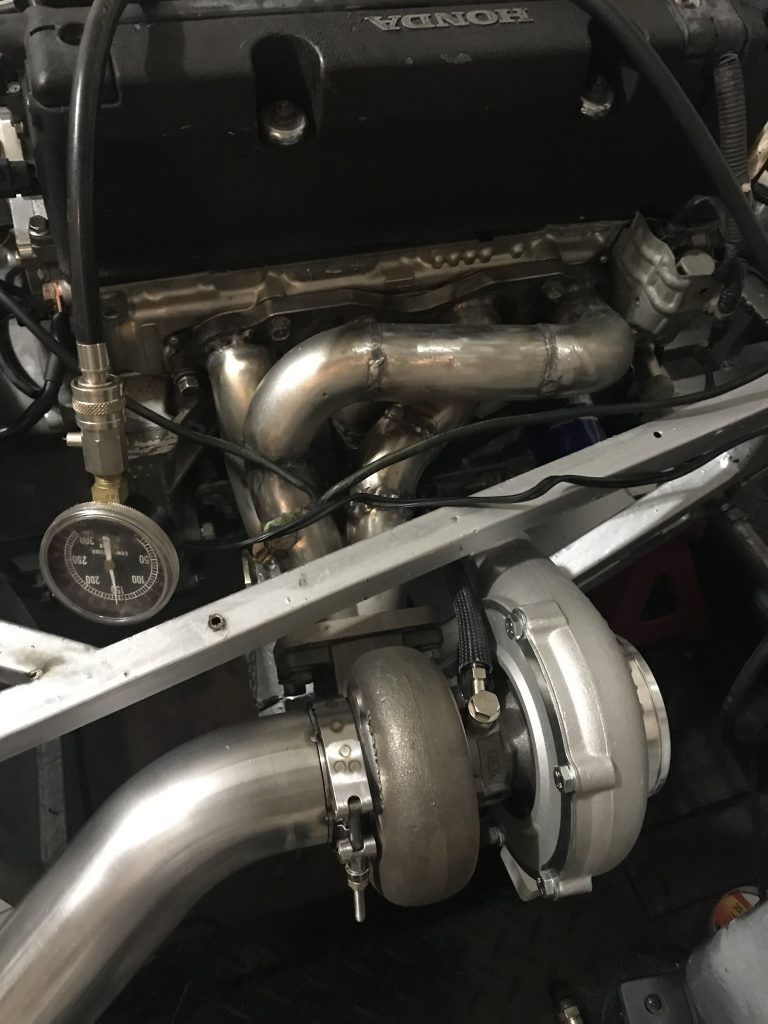
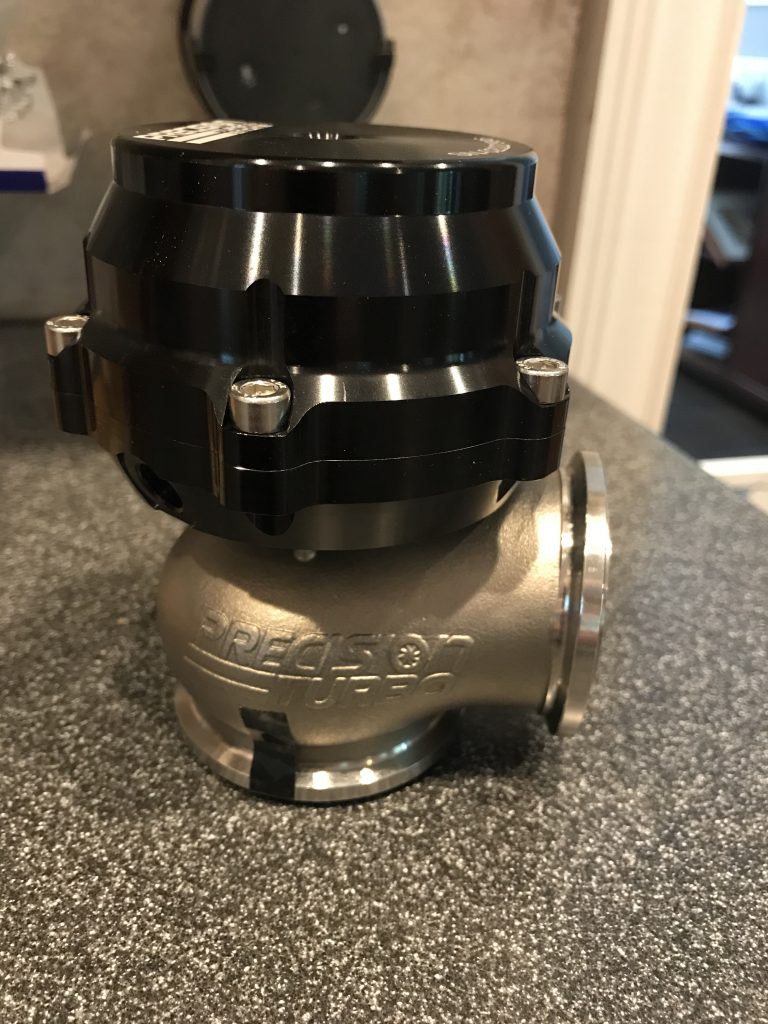
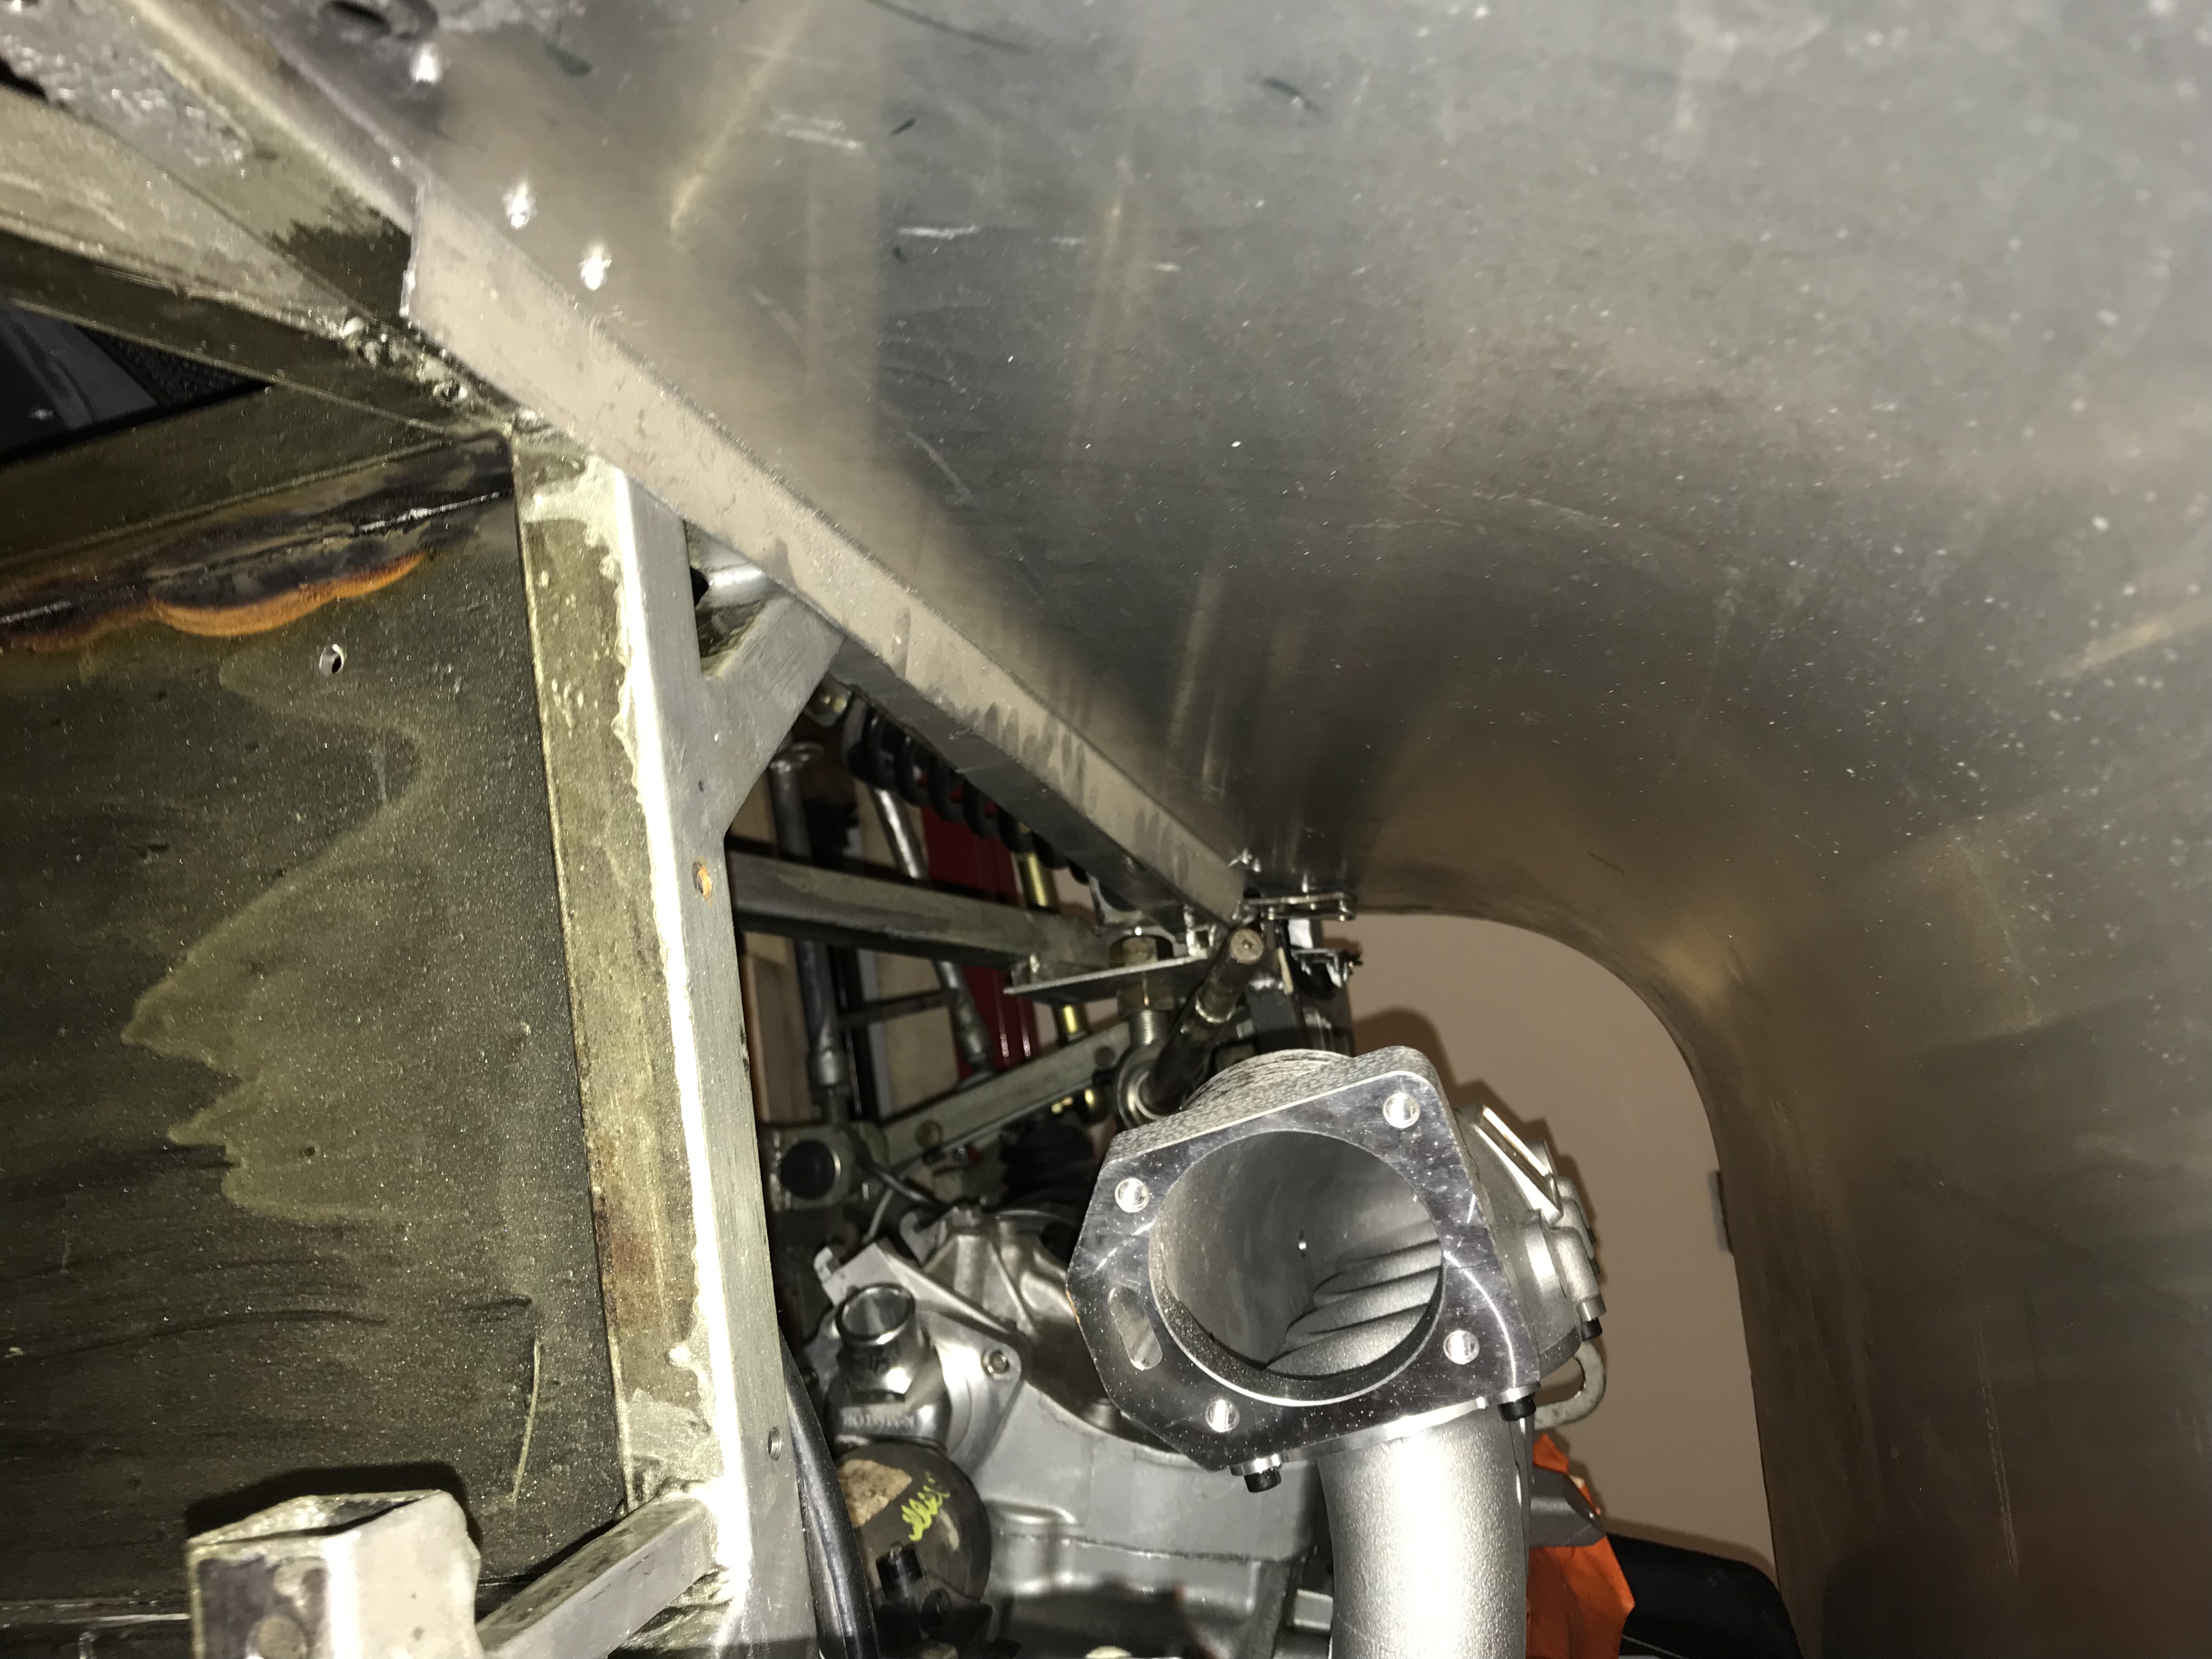
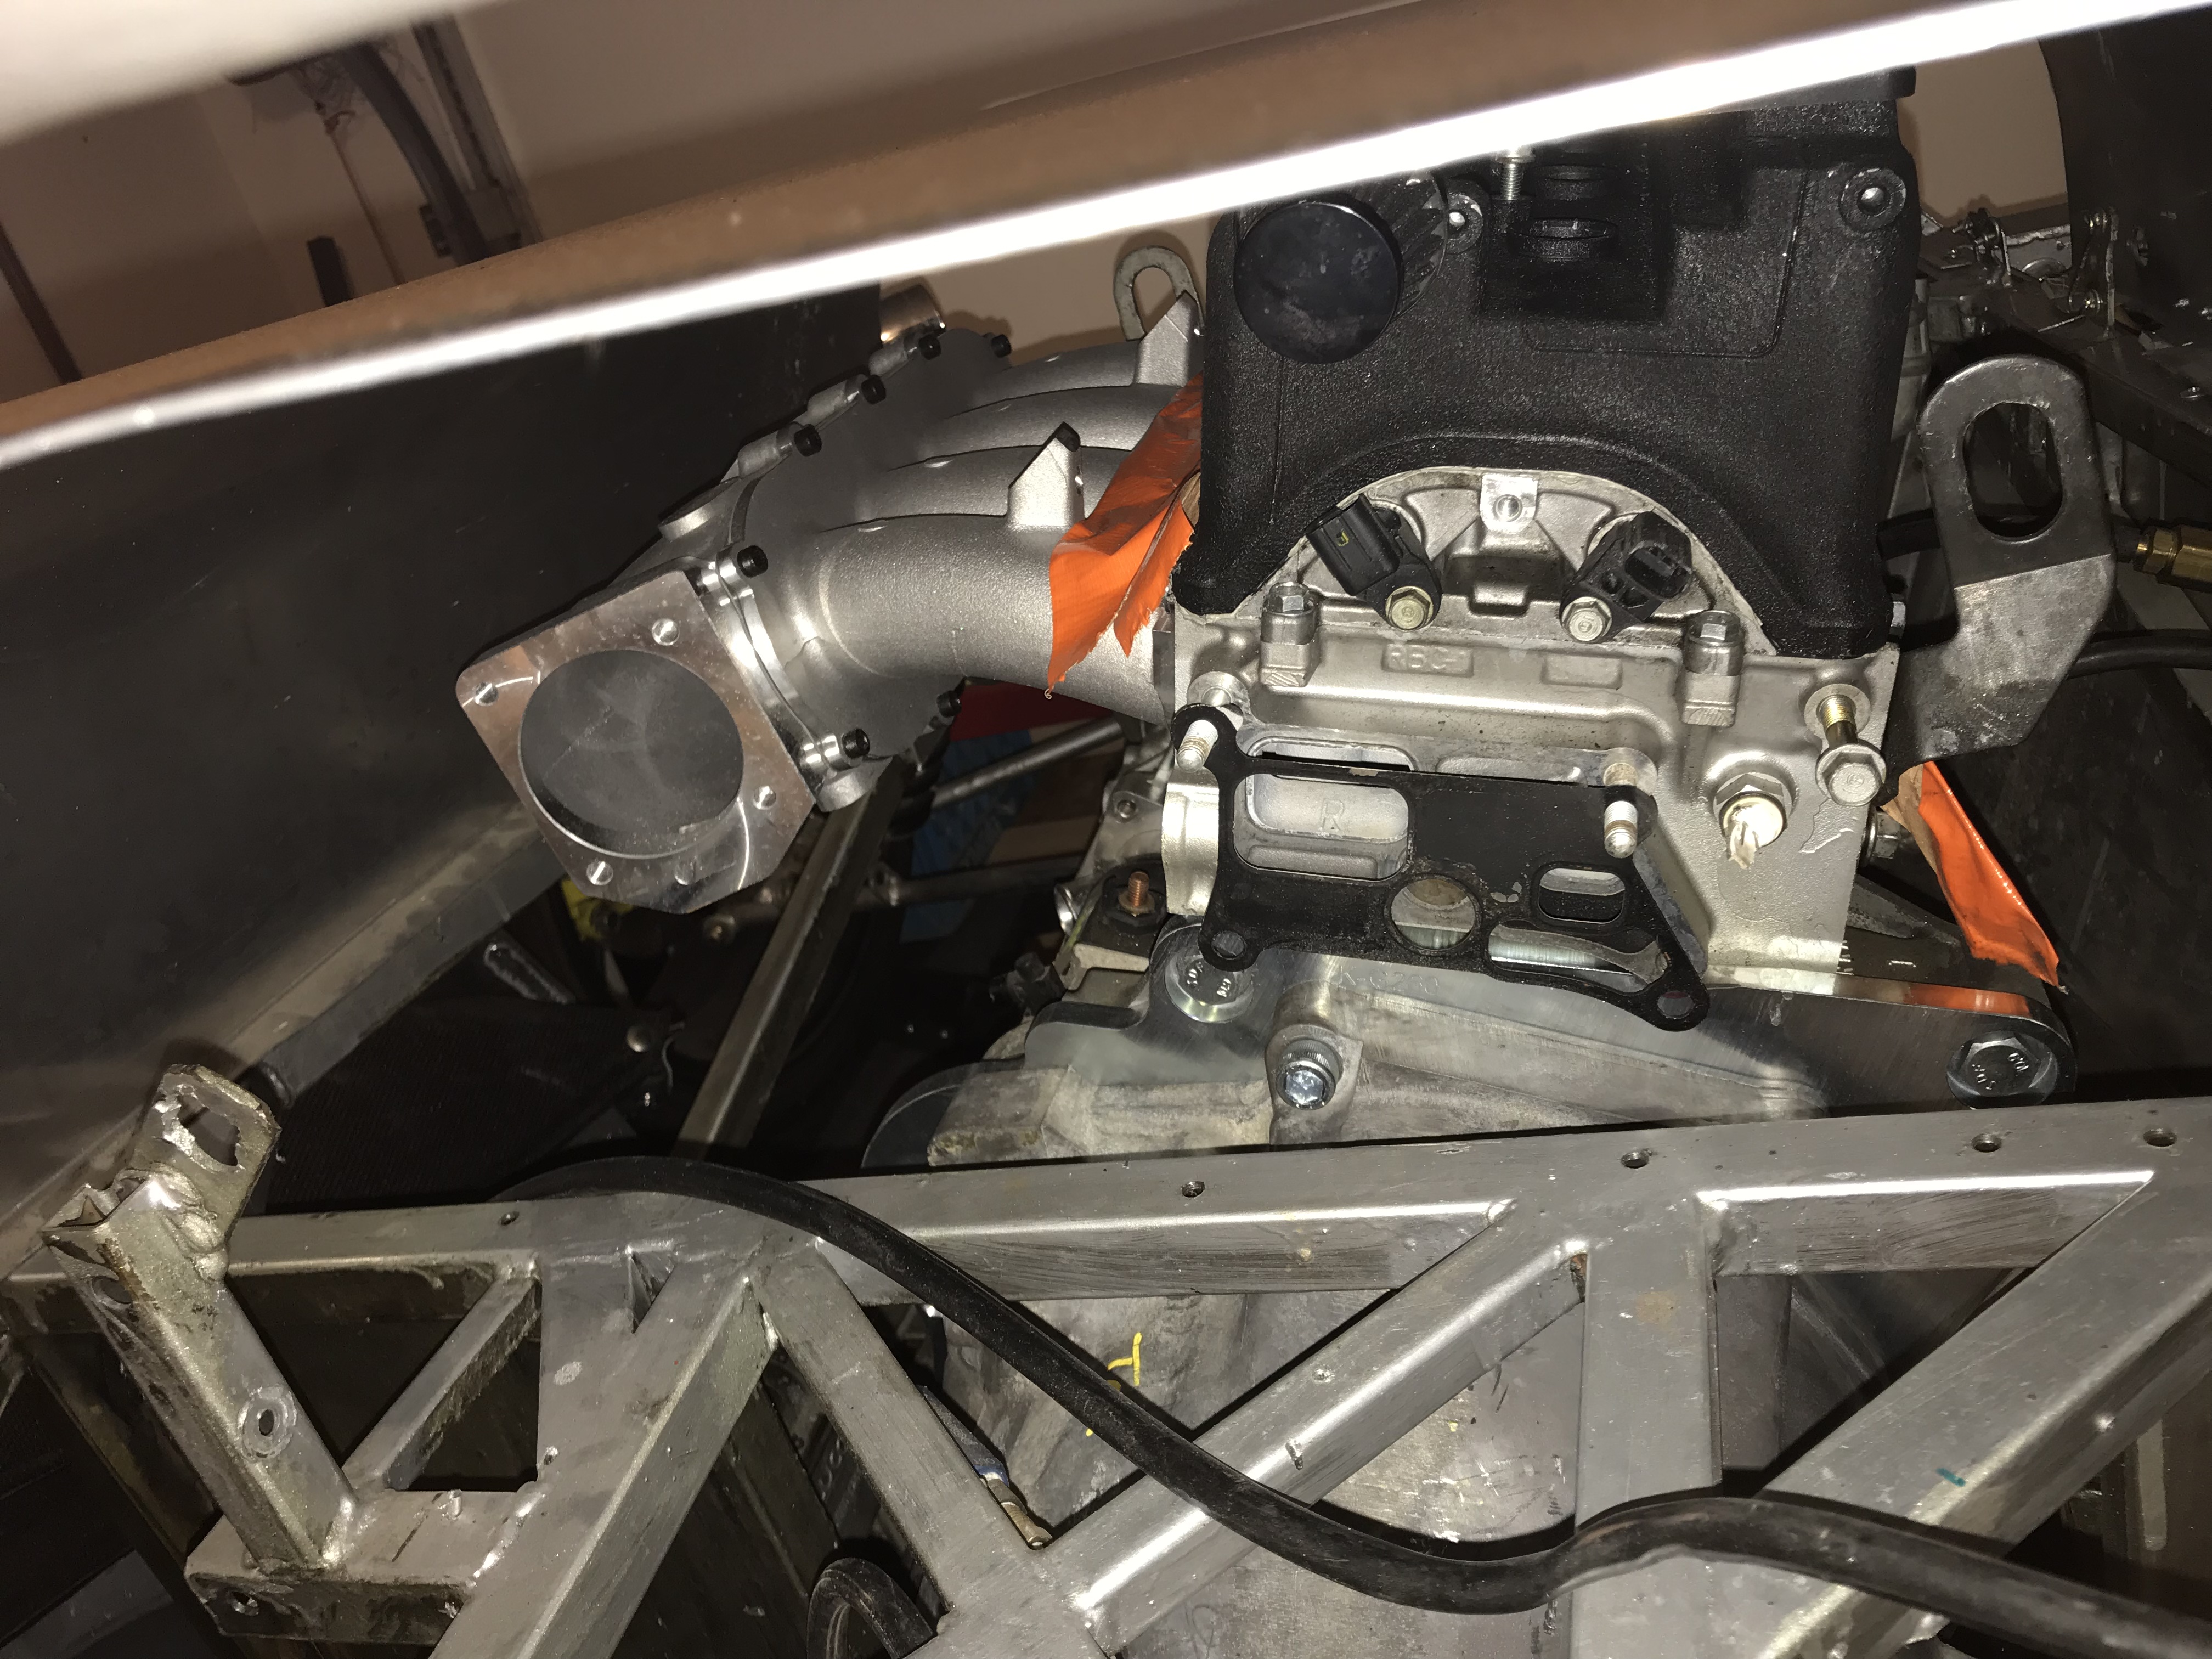
Like with any car that has not been tested we found a few bugs. The first was an issue in which we made 12psi of boost-twice what the watergate spring was supposed to make. Dave quickly found the push lock line I used was too close to the turbo and has melted into the heat sleeve. Effectively we had no watergate connection and the tune would have gone to the moon.

The next problem was a water leak. The one thermostat housing has a connector that was an ORB connection. Unfortunately it’s poorly machined and it spits the o ring out. As a result we had a leak. The AN wrench helped us get it tight enough and not leaking. I will be replacing this soon (and probably adding Hondabond).

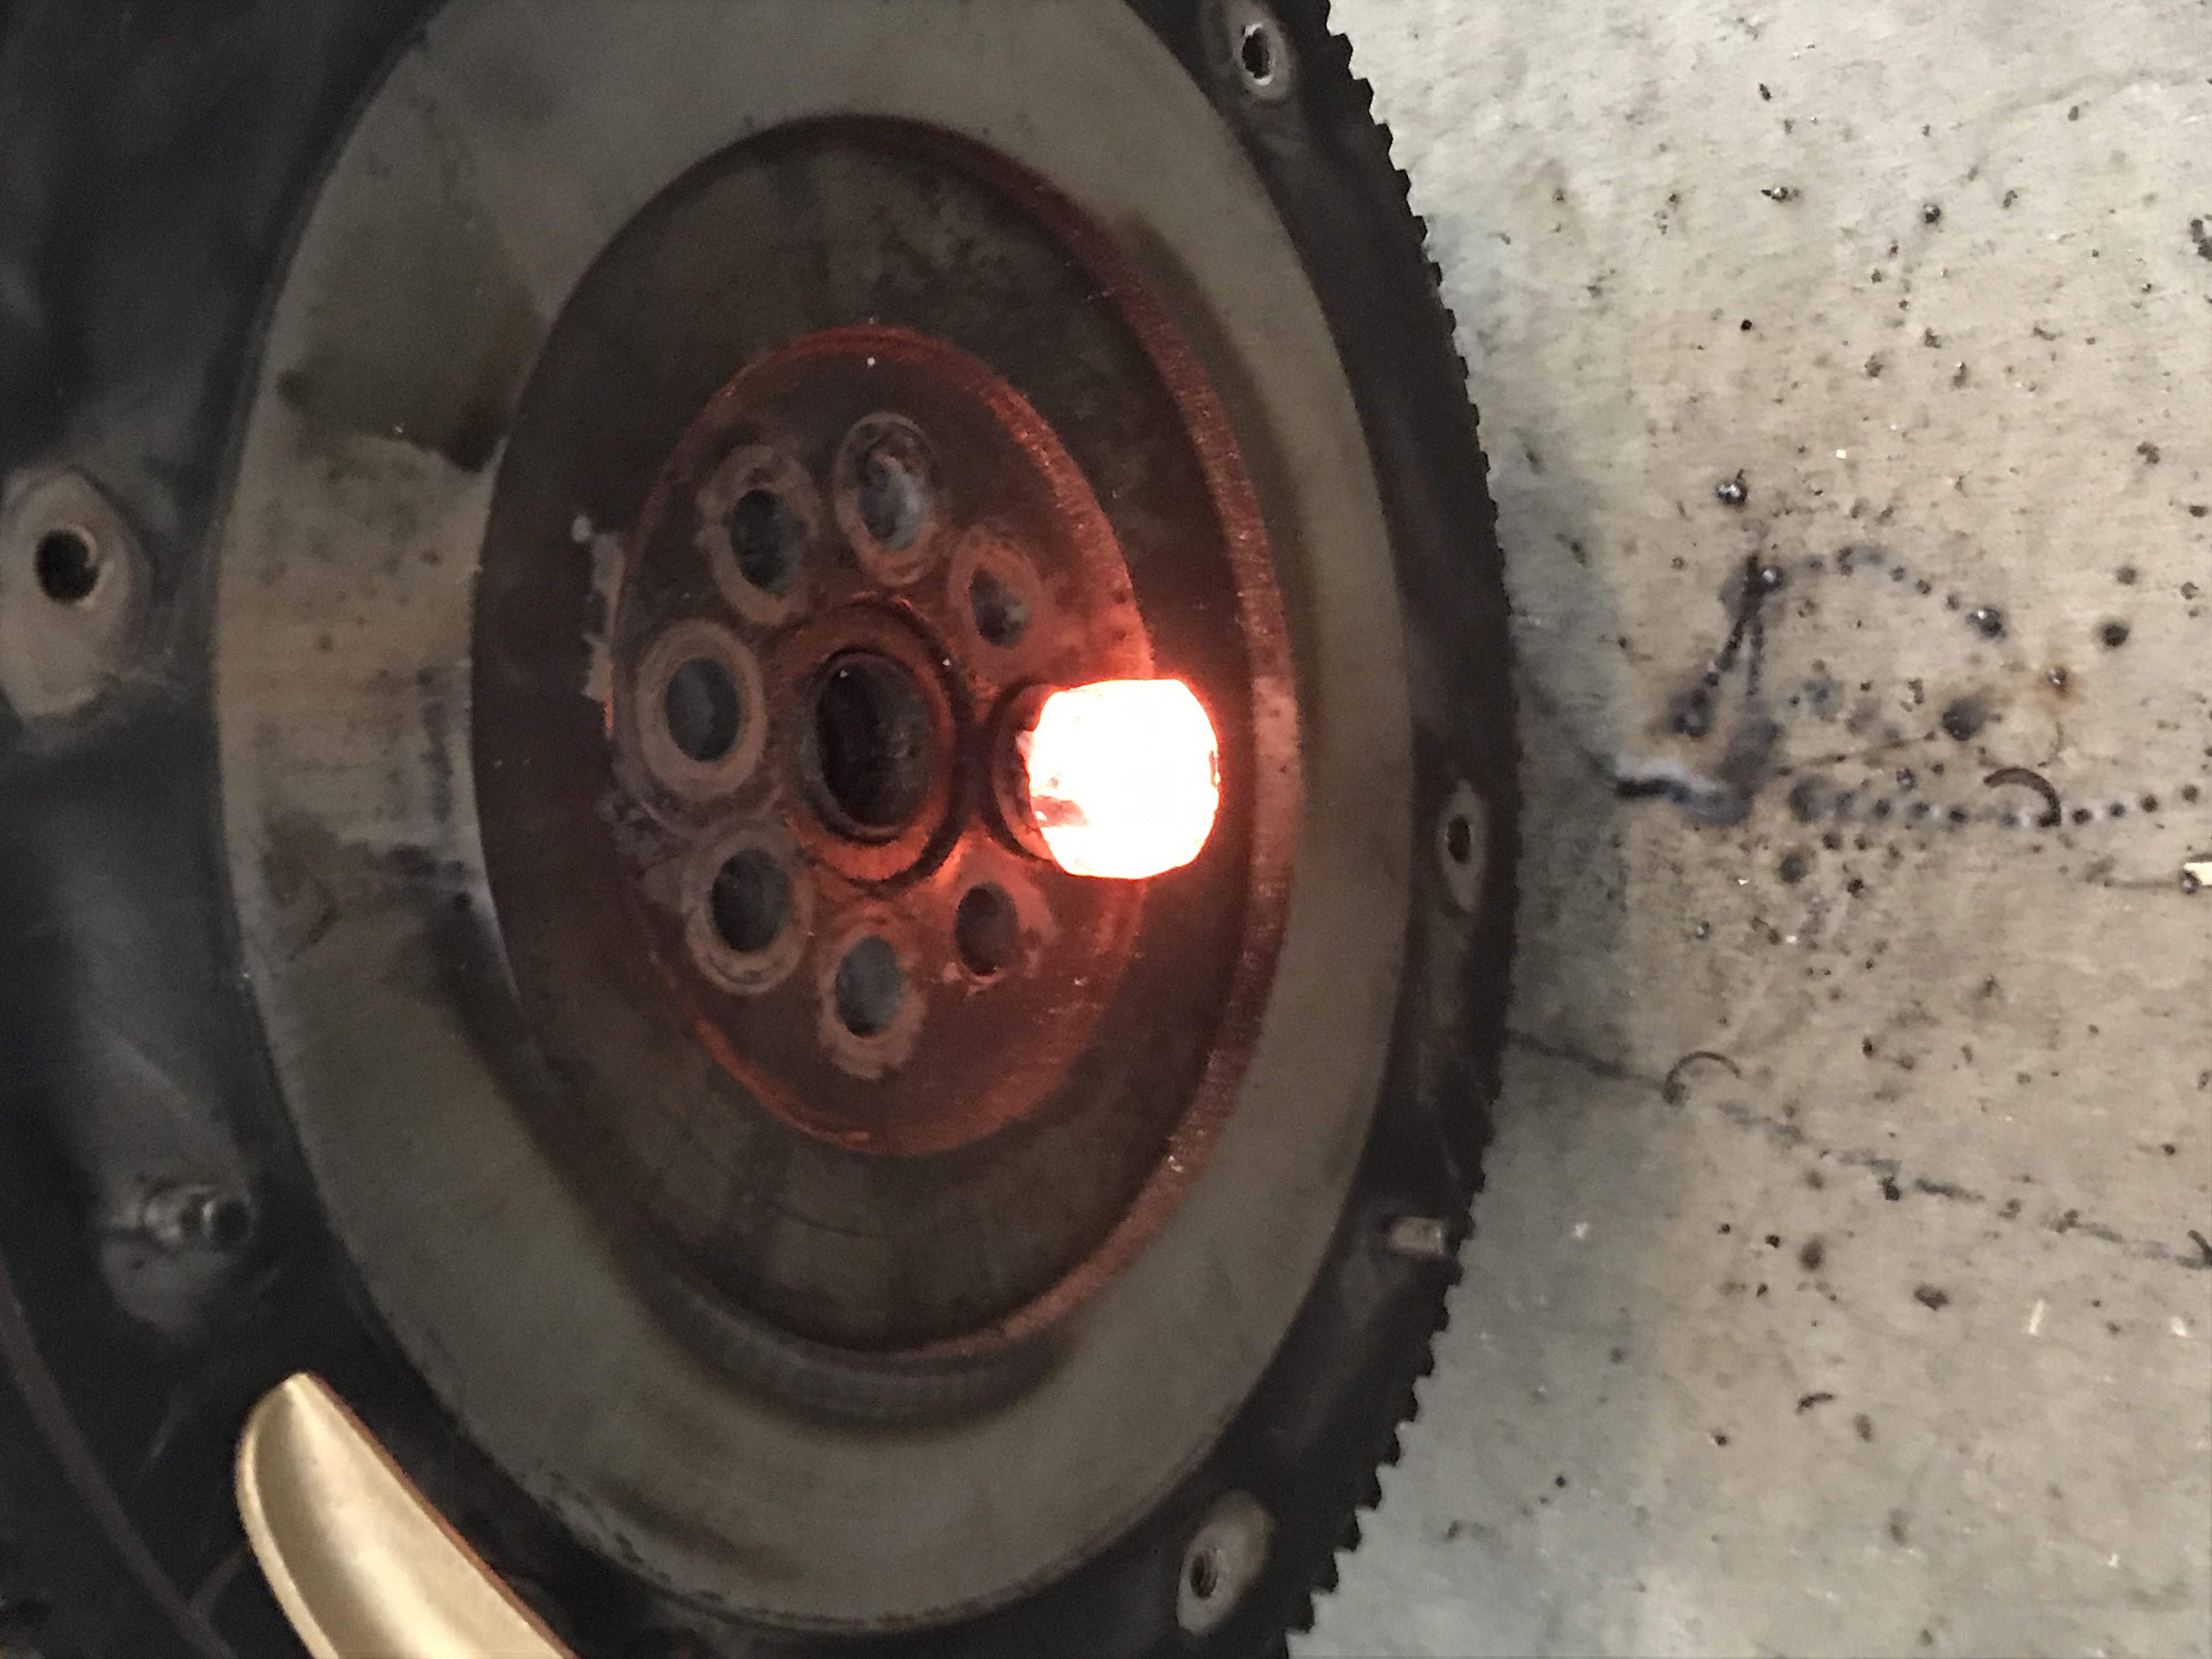
The next issue is one we haven’t fully understood but after a pull when the clutch is pushed in a spark would appear. I suspect the throw out bearing is not enjoying its kissing the pressure plate at 8500rpm

Ultimately we struggled to get the Hondata ecu to add and remove fuel as expected. Additionally learning in this area will be needed. A vtec code also emerged and you could heard a noise at the vtec cut over.

It isnt fuel. Only water on the ground

All in all a good day and I’m appreciative of the help and where it got me.

Video link is here –
https://youtu.be/InbHv2kdRBY

Too much fuel

The initial fuel injector purchase seems to have been a bad decision. The first set of injectors were 2000cc and turned out to be just a bit too big for pump gas.

The pulse width for idle on 93 octane was .02% and there was a heightened smell of informed fuel coming from the exhaust.

Why did I ever buy such large injectors? My goal is/was 650hp and e85 was the logical means to that goal. Unfortunately the availability isn’t great locally and from what I’ve seen it isn’t a great choice for cars not driven frequently. As a result I’ve lowered power expectations and only plan to use pump gas.

Replacement injectors were ordered. 1000cc injectors which I believe will provide enough power. The ability to turn up fuel pressure and potentially fuel pump voltage might be the answer.

TPS problems…but solution!

The car starts SMS revs perfectly but a nagging problem is I would not see any indications on the software of a TPS signal below WOT. The problem produced odd behavior but I believed it was just how the Hondata ecu worked.

After driving and not seeing the tuning results in the data log I decided to pull the tps and flip it 180 degrees. I’m doing so I noticed the connection point was incorrect and the sensor was not making contact with the throttle shaft until 25% of the sweep happened. A small correction and things were showing TPS motion the entire way through the range. Timing is more responsive and drivability is better.

One problem remains. Under WOT I am not seeing boost over 1 psi. The watergate has a 7 psi spring in it and so something isn’t kosher. The hunt continues…

Cooling problems…

It took a while to resolve but finally everything is 99% done. The coolant problem was most likely caused by a bad (and brand new) thermostat. After adding aircraft piping with stainless heat jacket (see picture) we had some success but a small leak caused by npt and straight thread being incomparable. Eventually I changed to -16an and things are working fine.

The radiator was replaced and -16 fittings welded on. There was a need for a shaped flexible coupler and so the piece below solved the problem.

At this point things are lined up and ready to head to the tuner. Hopefully we get there one day soon. The car has 25 “neighborhood” miles on it and feels good. Still only 4 forward gears but fine for now.

Almost done..

Finally got to one of the finish lines… After many pieces coming together we made some big progress.

First was the valve cover. I did not need to replace the black unit I had before but I did need to weld to -10AN bungs on the cover for routing to the catch can. I went with white because it is the easiest to see dirt/oil etc. The 2 ports route forward and empty into a tank at the front.

Body work was rather simple. I was able to get keep the sides open to vent out a lot of heat.

Long term I would probably place several pieces here to allow air to exit better. It is nice to be able to get to the jacking port so easily.

Everything under hood looks good and tucks nicely. The turbo guard is hopefully up to the job. If not we will have to get creative.

With the hood on- You can see the turbo but generally it looks fairly clean and sleek.

Dashboard Complete

After much work we have a dashboard in place! By changing the engine I needed to change the gauge cluster. Unfortunately there were some large holes from the Mazda unit and so I opted to replace it with a sheet of aluminum.

Taking a marker and creating some grid lines I was able to work out spacing and placement

New cluster uses the same Trailtech Speedo and Rev Counter. We have 2 new lights for a Check Engine light and one for low oil pressure. 2 Gauges are for boost pressure and the wideband O2 sensor.

I am pretty happy with the results. If I find it to be too bright I will just wrap it with vinyl. I will say that after using the K Pro mobile app I would be happier with a tablet in the middle… That day may be coming sooner than I thought.. Their performance is good and pricing is low!

Turbo Time!

From the beginning I knew I wanted to turbocharge the 7. I started looking online and bought all the pieces from Ace Race Parts and started cutting, chopping and grinding to get a manifold together. Initially I had the manifold pictured but landed up replacing it with one that accepted round tubes directly.

Above shows where we started but the finished manifold is seen below.

I got some great tips from my friend Jim and should have used a bigger cup. Lesson for next time! I did backpurge the manifold and the inside loops perfect! You can see the wastegate flange off the side. It isn’t optimal but they are oversized to do what they can about the gases.

Pictured is the GT3076 Garrett turbo charger. It wouldn’t fit inside the body work very well so I opted to put it outside the bodywork.

The Precision 46mm gate was picked to keep tabs on the gases. I considered the ebay generics which are substantially cheaper but opted to “buy once and cry once”after the intake manifold situation.

Thanks to Jim I got my welds to look much better. Flexible bellows were installed on the downpipe and the wastegate tube that merged back into it.

Above is the finished exhaust. The muffler tip was cut back further but all in all it sounds great and looks great in person. Up next the intake piping and intercooler work

Intake Manifold Adventures

After lots of fighting with the intake manifold I decided to stop being cheap and throw money at the problem. What was the problem you say ?

Pardon the dirty alternator..

So the Skunk 2 intake manifold was never designed to be flipped for a RWD configuration. It has the modular design but the flipping is better suited to a K24 than a K20 because of the shorter deck height by 1″.

The intake manifold was a disaster from day 1! It requires that you cut the water pump housing to make it fit and then use spacers/washers to tension the alternator. After hacking up the housing I found that I was still likely to hit the alternator. The solution? I tried to buy the spacer that makes a B series throttle body work on the K series intake. I never attempted to install it and landed up selling it and the intake and ordering the Kmiata intake manifold and throttle body. It was backordered but worth the wait. I did follow the recommended guidance and bought the misalignment spacers due to the flanges not being parallel.

The manifold had the water passage built in which was a nice change and something I didn’t need to buy another part. Generally the fitment is good, the IAC did need a new part (from ebay) but that fitted nicely. All in all it was something I should have done from the beginning.

K20 Power now bolted in!

It took a while but I snuck a half day into working on the car with my dad. While I thought it was 3 hours of work it actually took 6.

First thing was to pull the k20a3 and remove the transmission and adapter plate.

Up next was moving those parts to the K20z3 and bolting them all back together.

From there we worked out what needed to be changed and we we removed and replaced a tube in the chassis. We also removed the old motor mounting plate and cut a new piece. After 5-10 minutes of welding we started to position the engine.

After measuring and cutting several tubes we had the left side mounted. Next we leveled the engine to 0.6 degrees and started on the driver side. They came out quite well

The final step was to check hood clearance. I didn’t expect it to fit but was nicely surprised. 3 mm to spare!

There week be some challenges with the steering and alternator but those are for a different day!

Ground clearance is a nice and acceptable 4″

Up next is the transmission mounts!

This engine is fighting me every step of the way!

From the moment I bought the engine it has fought me every step of the way. It seems the “Honda mechanic” that I bought it from was either a fantastic liar or had a love affair with red locktite.

I first realized it when I broke a 3/8″ extension trying to remove a flywheel bolt. I then brought out the impact wrench and it did absolutely nothing. A trip to the Chinese took store and coming home with an impact wrench that can make 800ft lbs of torque. The results? Nothing! Didn’t move it at all! Even tried heating the bolt to break the locktite but nothing changed.

Thankfully I have an amazing coworker that has the 1200lb version of the torque wrench. First thing it did was split the 12 point socket into 2. A trip to the orange store and $4 later I had a new 12 point 17mm socket. Given the first one slightly damaged the bolt head I decided to face off the new socket so it would have more grip and less of the rounded approach that makes sockets easier to get on to the bolt.

Unfortunately the bolt head on 2 of them bolts was too damaged. What happens next? Out came the welder! It took 3 attempts with the mig welder but adding a 3/4″ bolt did the trick finally. Most likely the heat of welding broke down any remaining locktite.

Up next I will put the engine back on the engine stand and verify the bottom end is good. And then we can start adding parts. The collection of “go fast parts” is growing!