
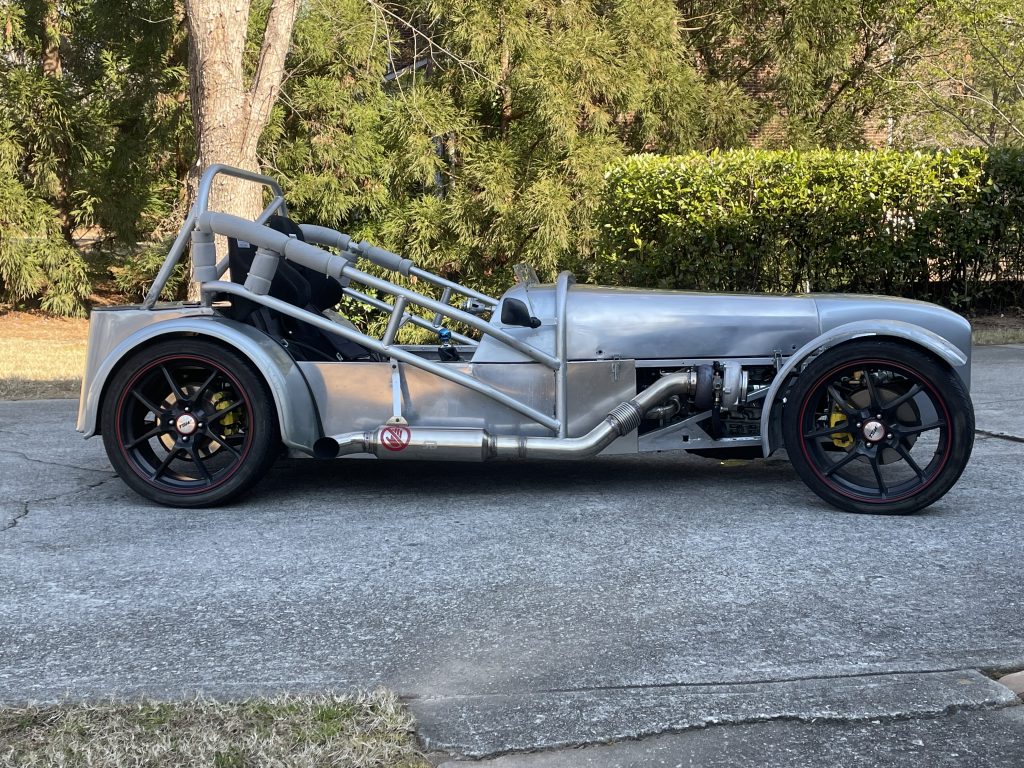
I realize it has been a while since the last update. Now that the cold weather is here I find myself ready to put the car on the lift for storage the rest of the year.
Some miles were added this year. Mostly short trips in known areas due to the excessively low oil sump height. This is on the list to get fixed in the off season.
Ultimately the car has a good summer season. It makes a fortune of power and was enjoyable to drive. One major issue has been the throttle hanging at mid throttle. Thankfully the brakes are up to the task. I did take the throttle body apart and polished it with 3000 grit sandpaper. It feels significantly smoother but we will find out next year.
First drive with the new power plant
The perfect cold morning was the opportunity needed to put some road miles on the vehicle. With the sun shining I left the driveway and the vehicle was perfect! Engine hummed nicely. The turbocharger sung happily and the blow off valve worked for the first time since finding the vacuum leak.
Power delivery was smooth and driving around at low speed felt very comfortable. Upon hitting the gas the vehicle would unleash an army of houses and instantly cause the tire to summit and smoke to peel off their edges.
The only downside was a leaking 3 cent o-ring. Easy enough to fix and a fantastic day -even if only covering 49 miles!
Let’s get ready to roll!
With all pieces on and ready to go we just need to drive this thing. Our pre work test with the professional driver appeared to pass although he made some strange faces.

His reaction is understandable given he is sitting in a car built by the guy that cant get his diaper installation correct quite frequently.
So.. How was it?
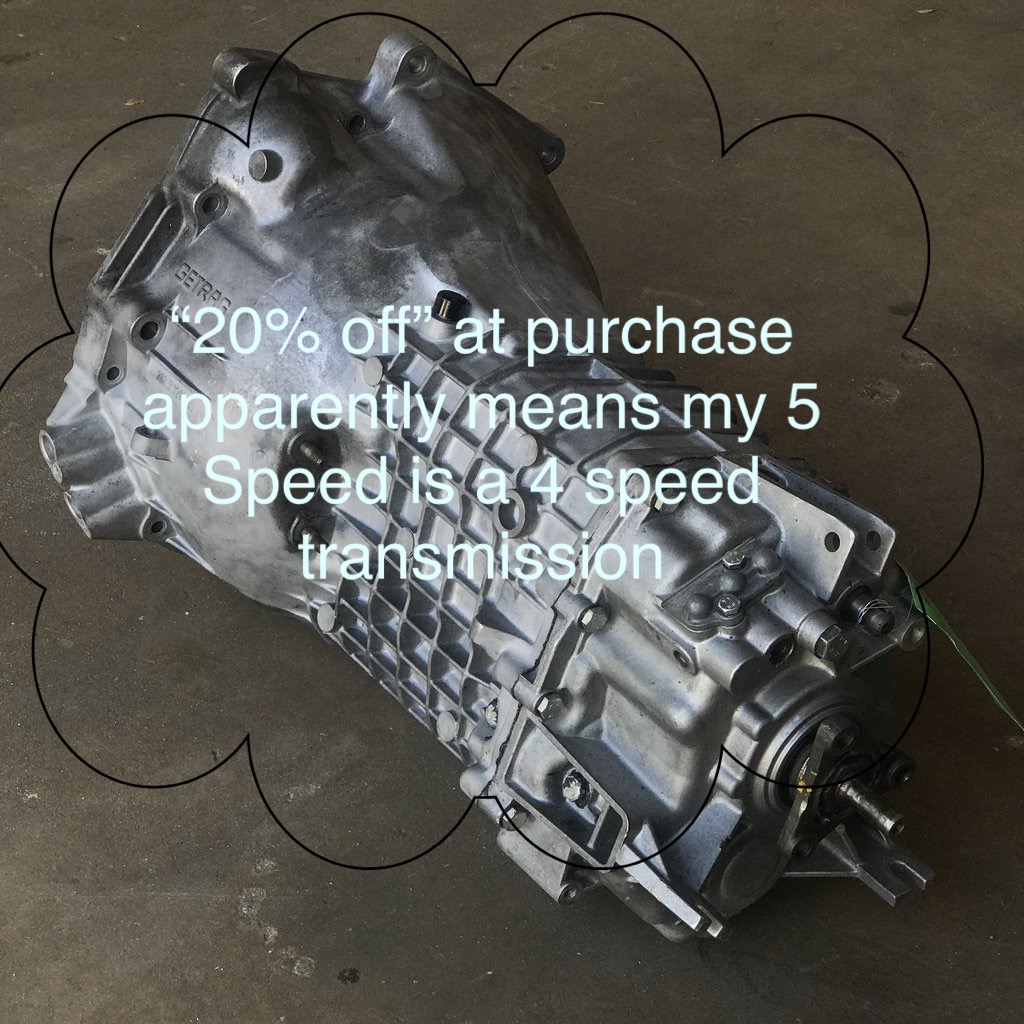
Mixed.. The transmission appears to only have 4 working forward gears. 5th must have left the party at some point. Guess I should have understood why it was being sold at a discount.
Otherwise it was good. Car runs stupidly rich. 2000cc injectors running 93 Octane appears to have burned 8 gallons of fuel in under 1.5 miles. So hopefully next we will be going to the tuners!
Intercooling!
Originally I thought the intercooler would be a quick and cheap project I could simply throw money at.. I was wrong. The sizes I could find were either too small or too large. The issue of exits being incorrectly placed was not a major issue.. So what was?
I wanted the intercooler to be placed in front of the radiator but also not block any more surface area with end tanks than needed. The solution? I turned to CAD- Cardboard aided design! I used the dimensions of a Garrett intercooler core and worked out how big I could make the end tanks to fit.
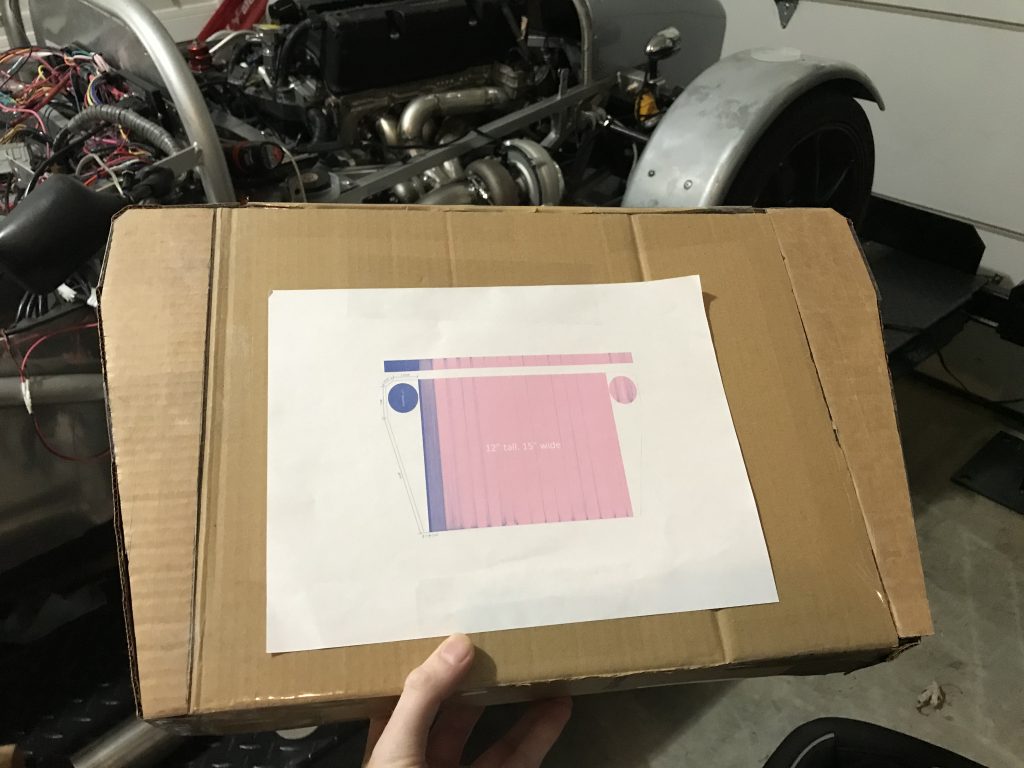
The CAD model was perfect and I was able to remove the pieces and lay them out in some 1.8″ 5052 Alumunium. After some cutting and tacking we had a pretty great looking intercooler! I fired up the Primeweld 225 and went to town. Things were going very well!
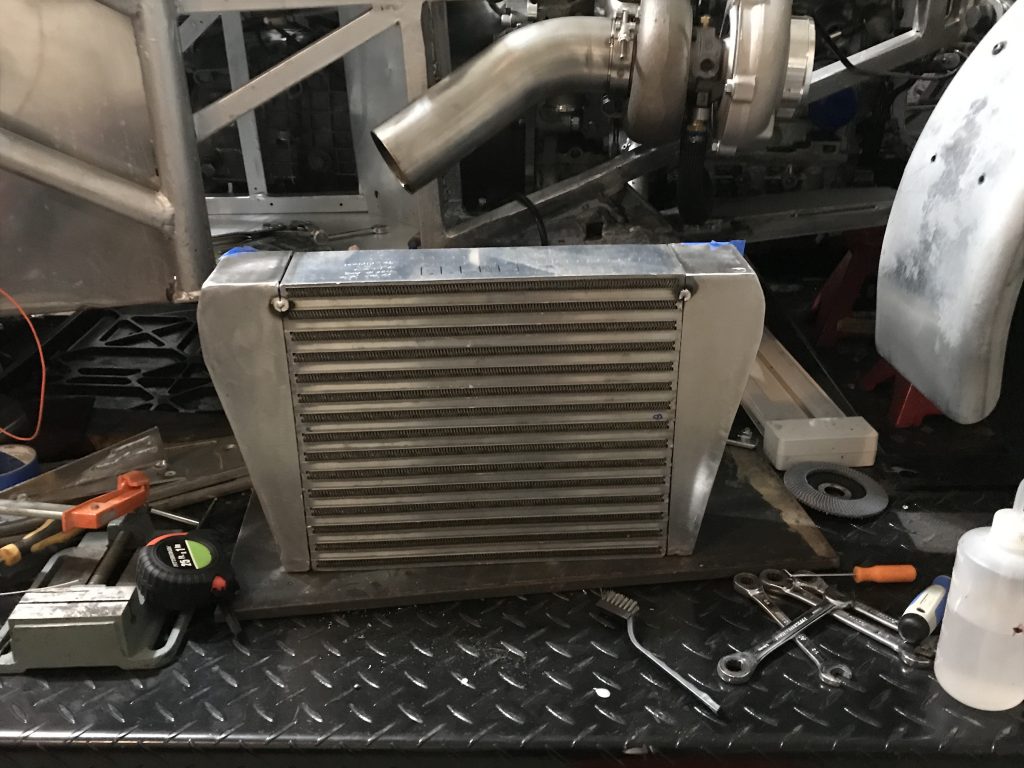
Until the pressure test… After several attempts to find the leak I kept on chasing an area between the core and the end tank. I would grind it down and reweld it a few times. Eventually I got frustrated and took it to a radiator repair place and they verified what I couldn’t believe- the core was leaking but in an area that would require the end tanks cut off and welded. After talking to the company I bought the core from they told me that Garrett was not being helpful and “they were truly sorry.” I won’t buy anything from Garrett again and had to cut off the tank, fix the core and then weld it again. Visually it doesn’t look as good as it did originally and I am going to hold a grudge on this one!
The end result should work well. The end tanks do not block the radiator and it appears to work well. One more project in the books!
Turbo Time!
From the beginning I knew I wanted to turbocharge the 7. I started looking online and bought all the pieces from Ace Race Parts and started cutting, chopping and grinding to get a manifold together. Initially I had the manifold pictured but landed up replacing it with one that accepted round tubes directly.
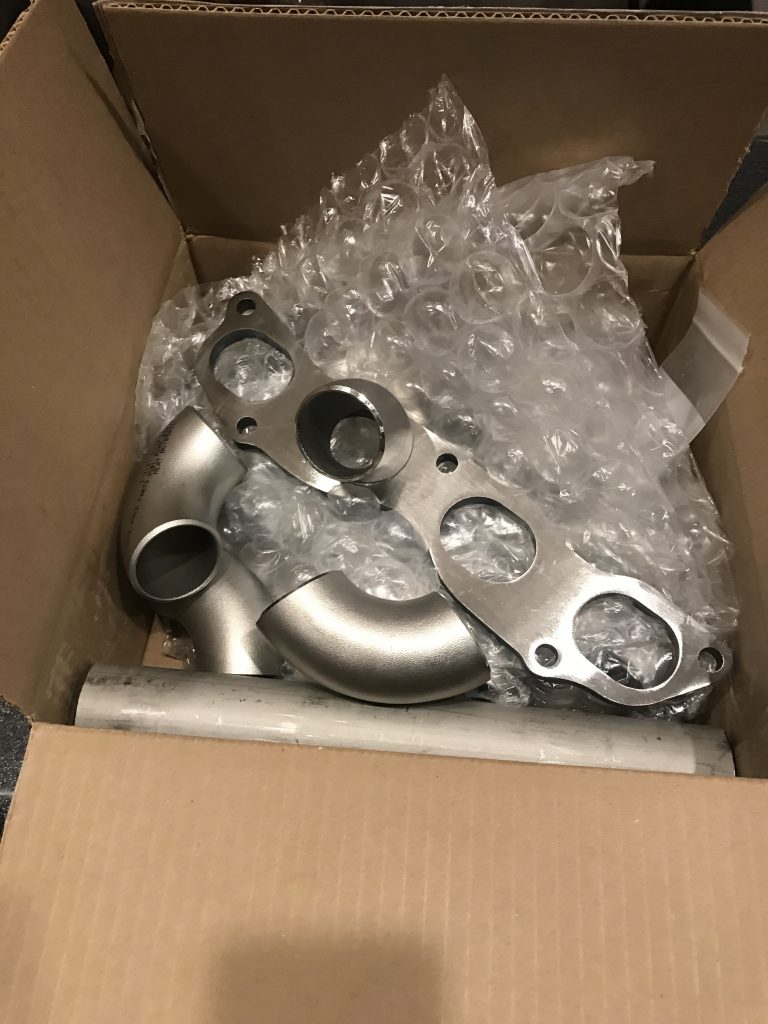
Above shows where we started but the finished manifold is seen below.
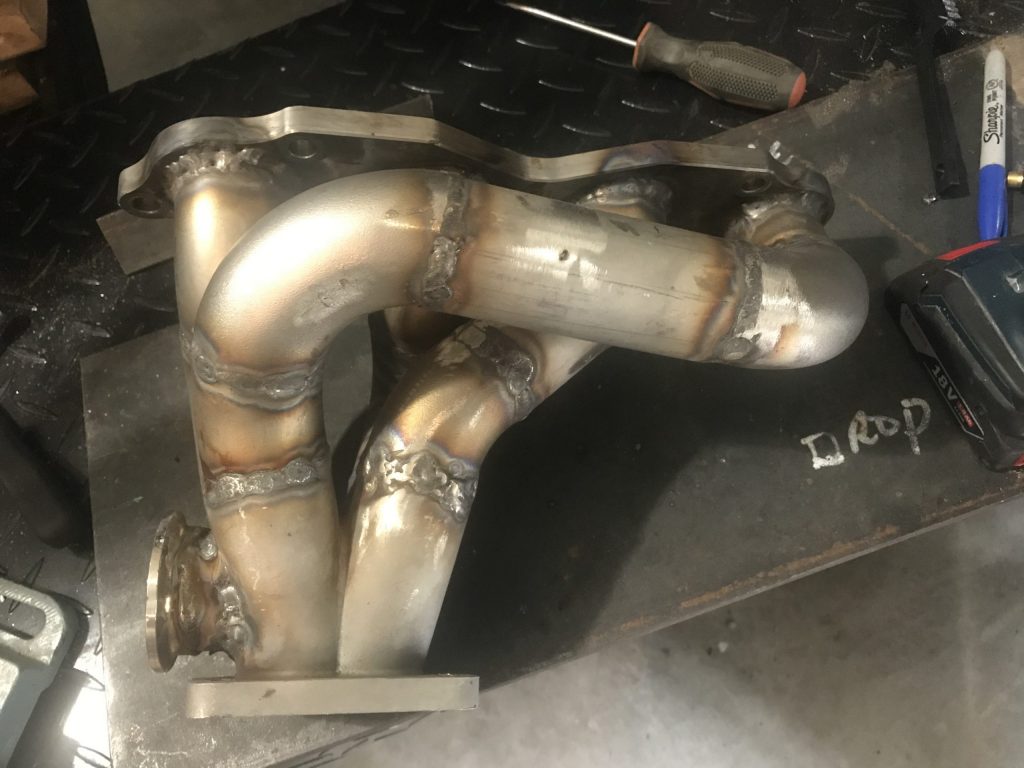
I got some great tips from my friend Jim and should have used a bigger cup. Lesson for next time! I did backpurge the manifold and the inside loops perfect! You can see the wastegate flange off the side. It isn’t optimal but they are oversized to do what they can about the gases.
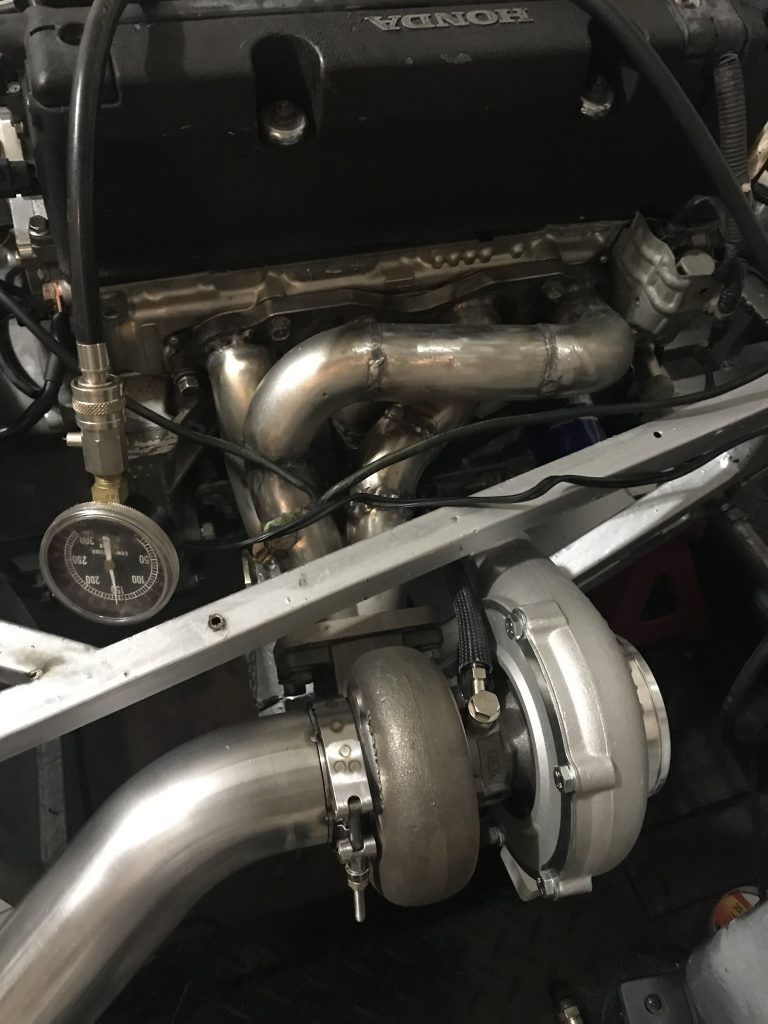
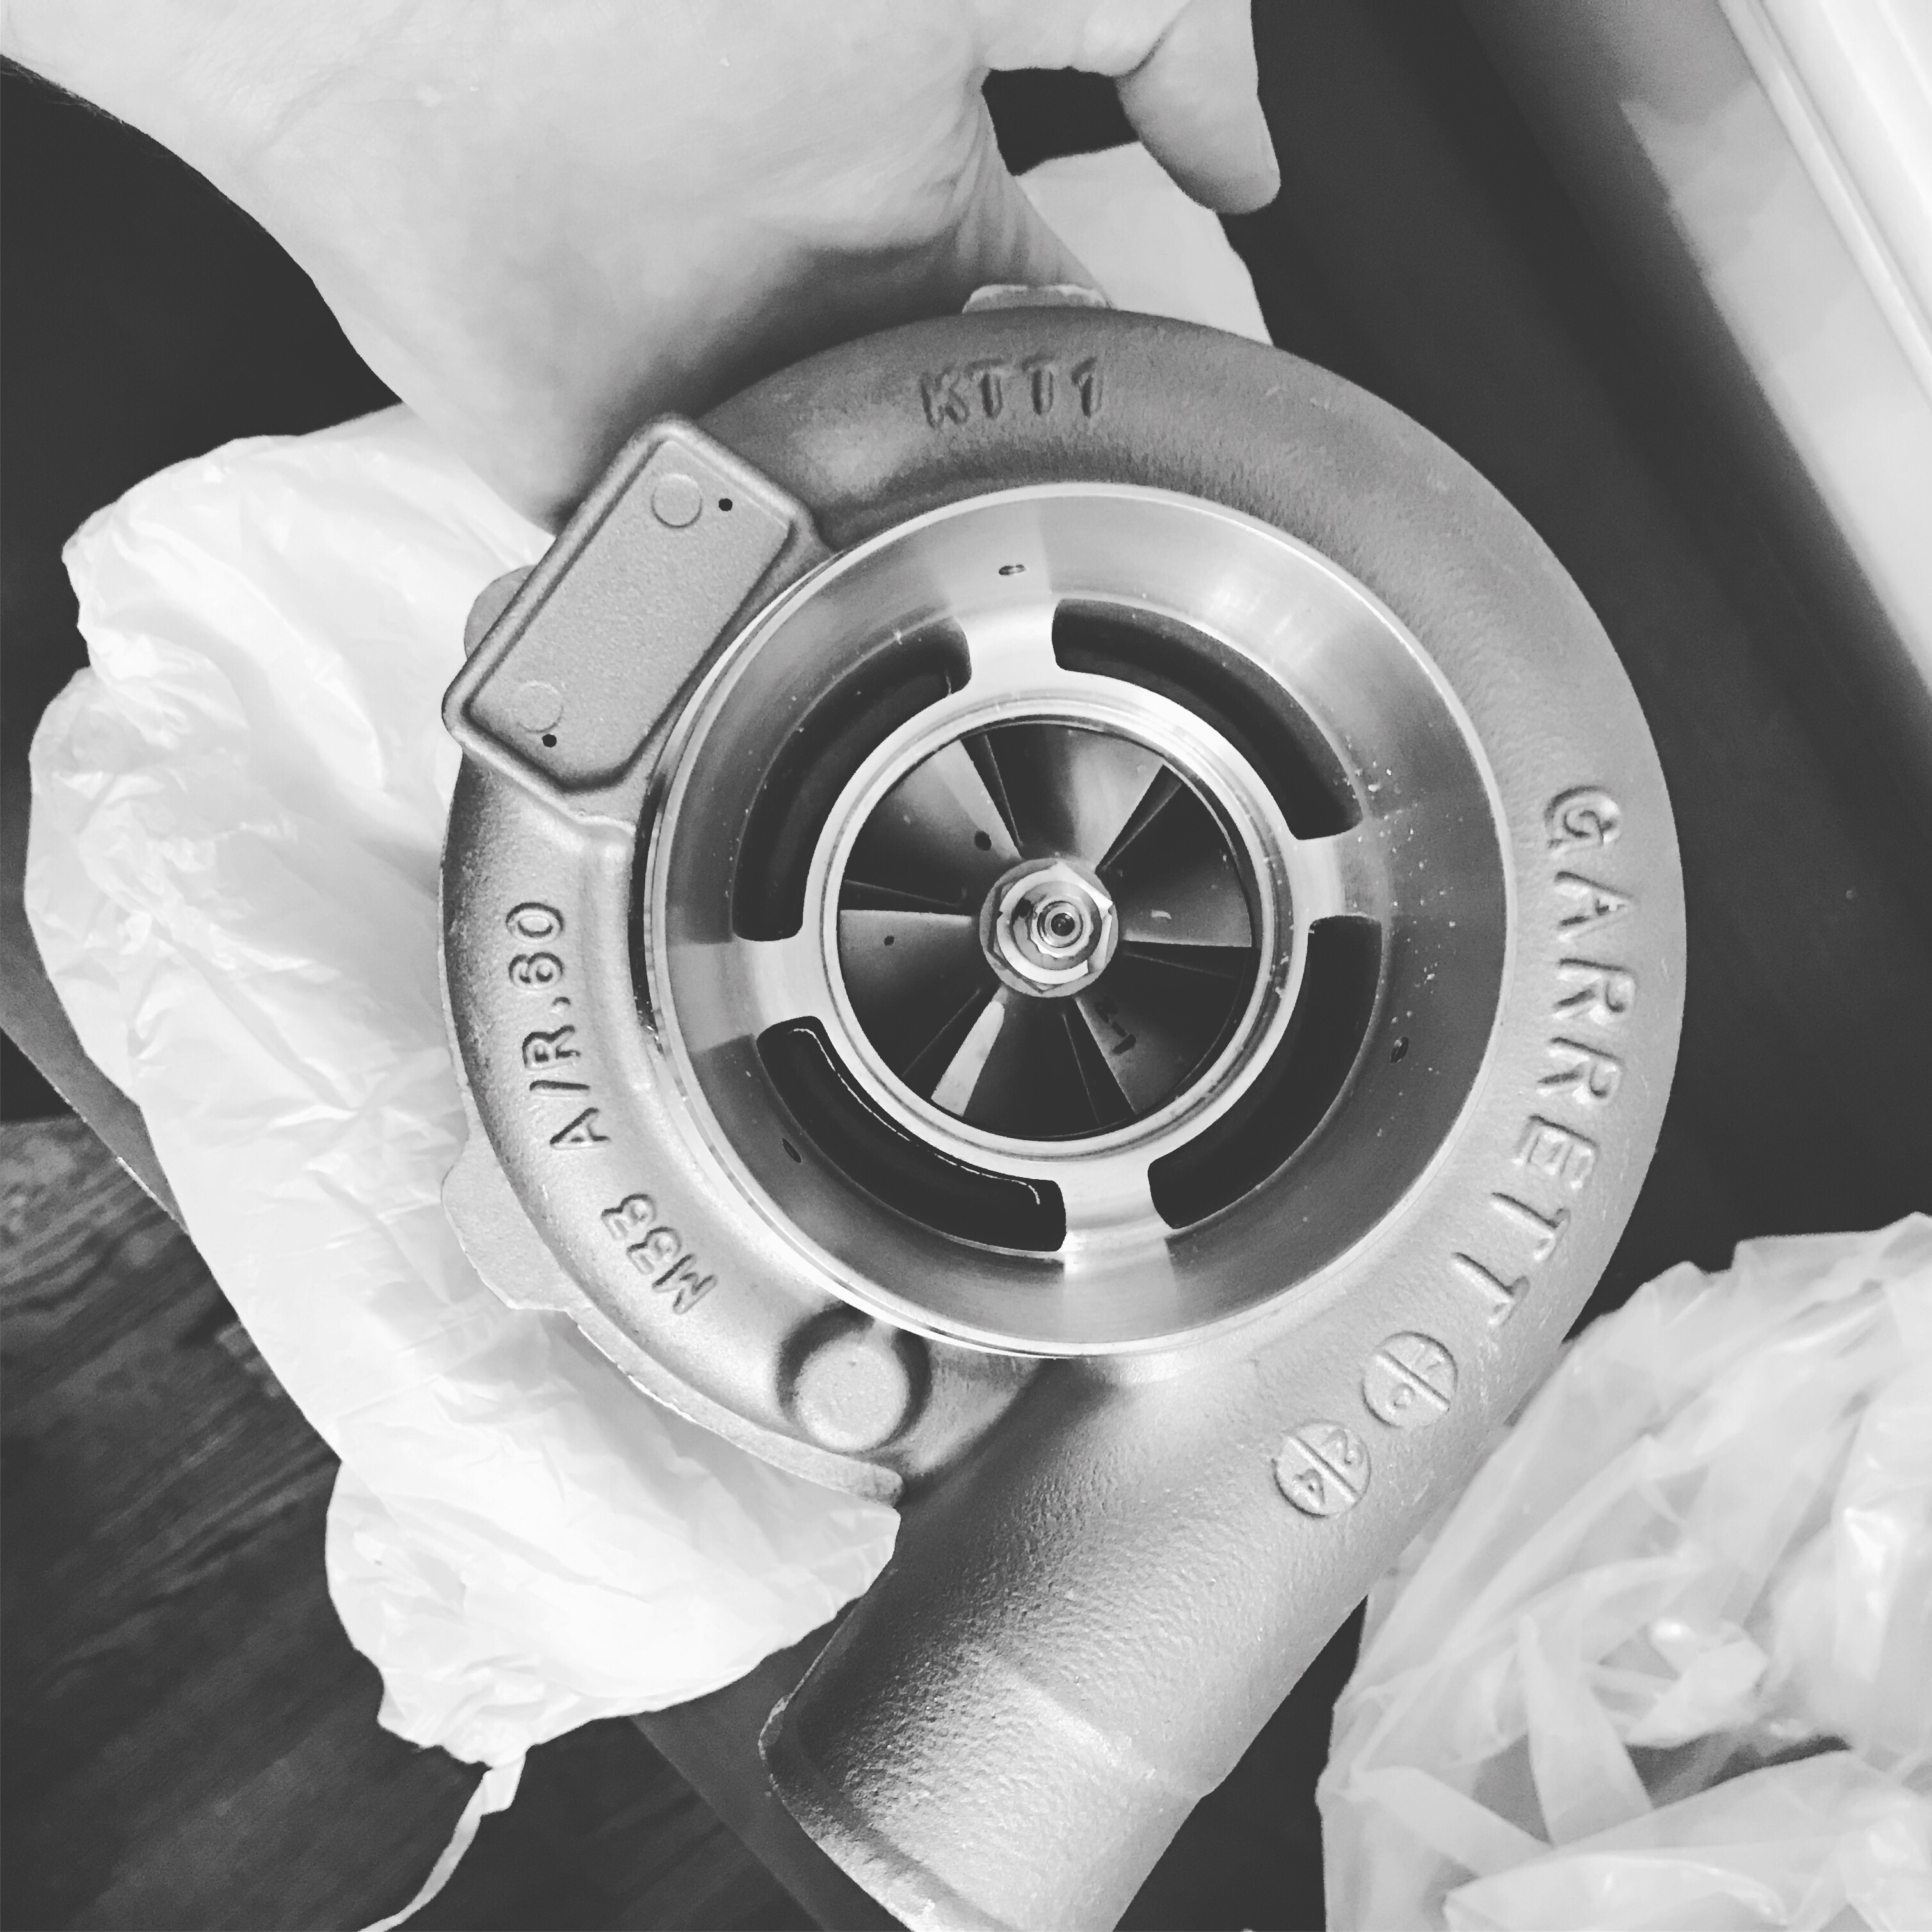
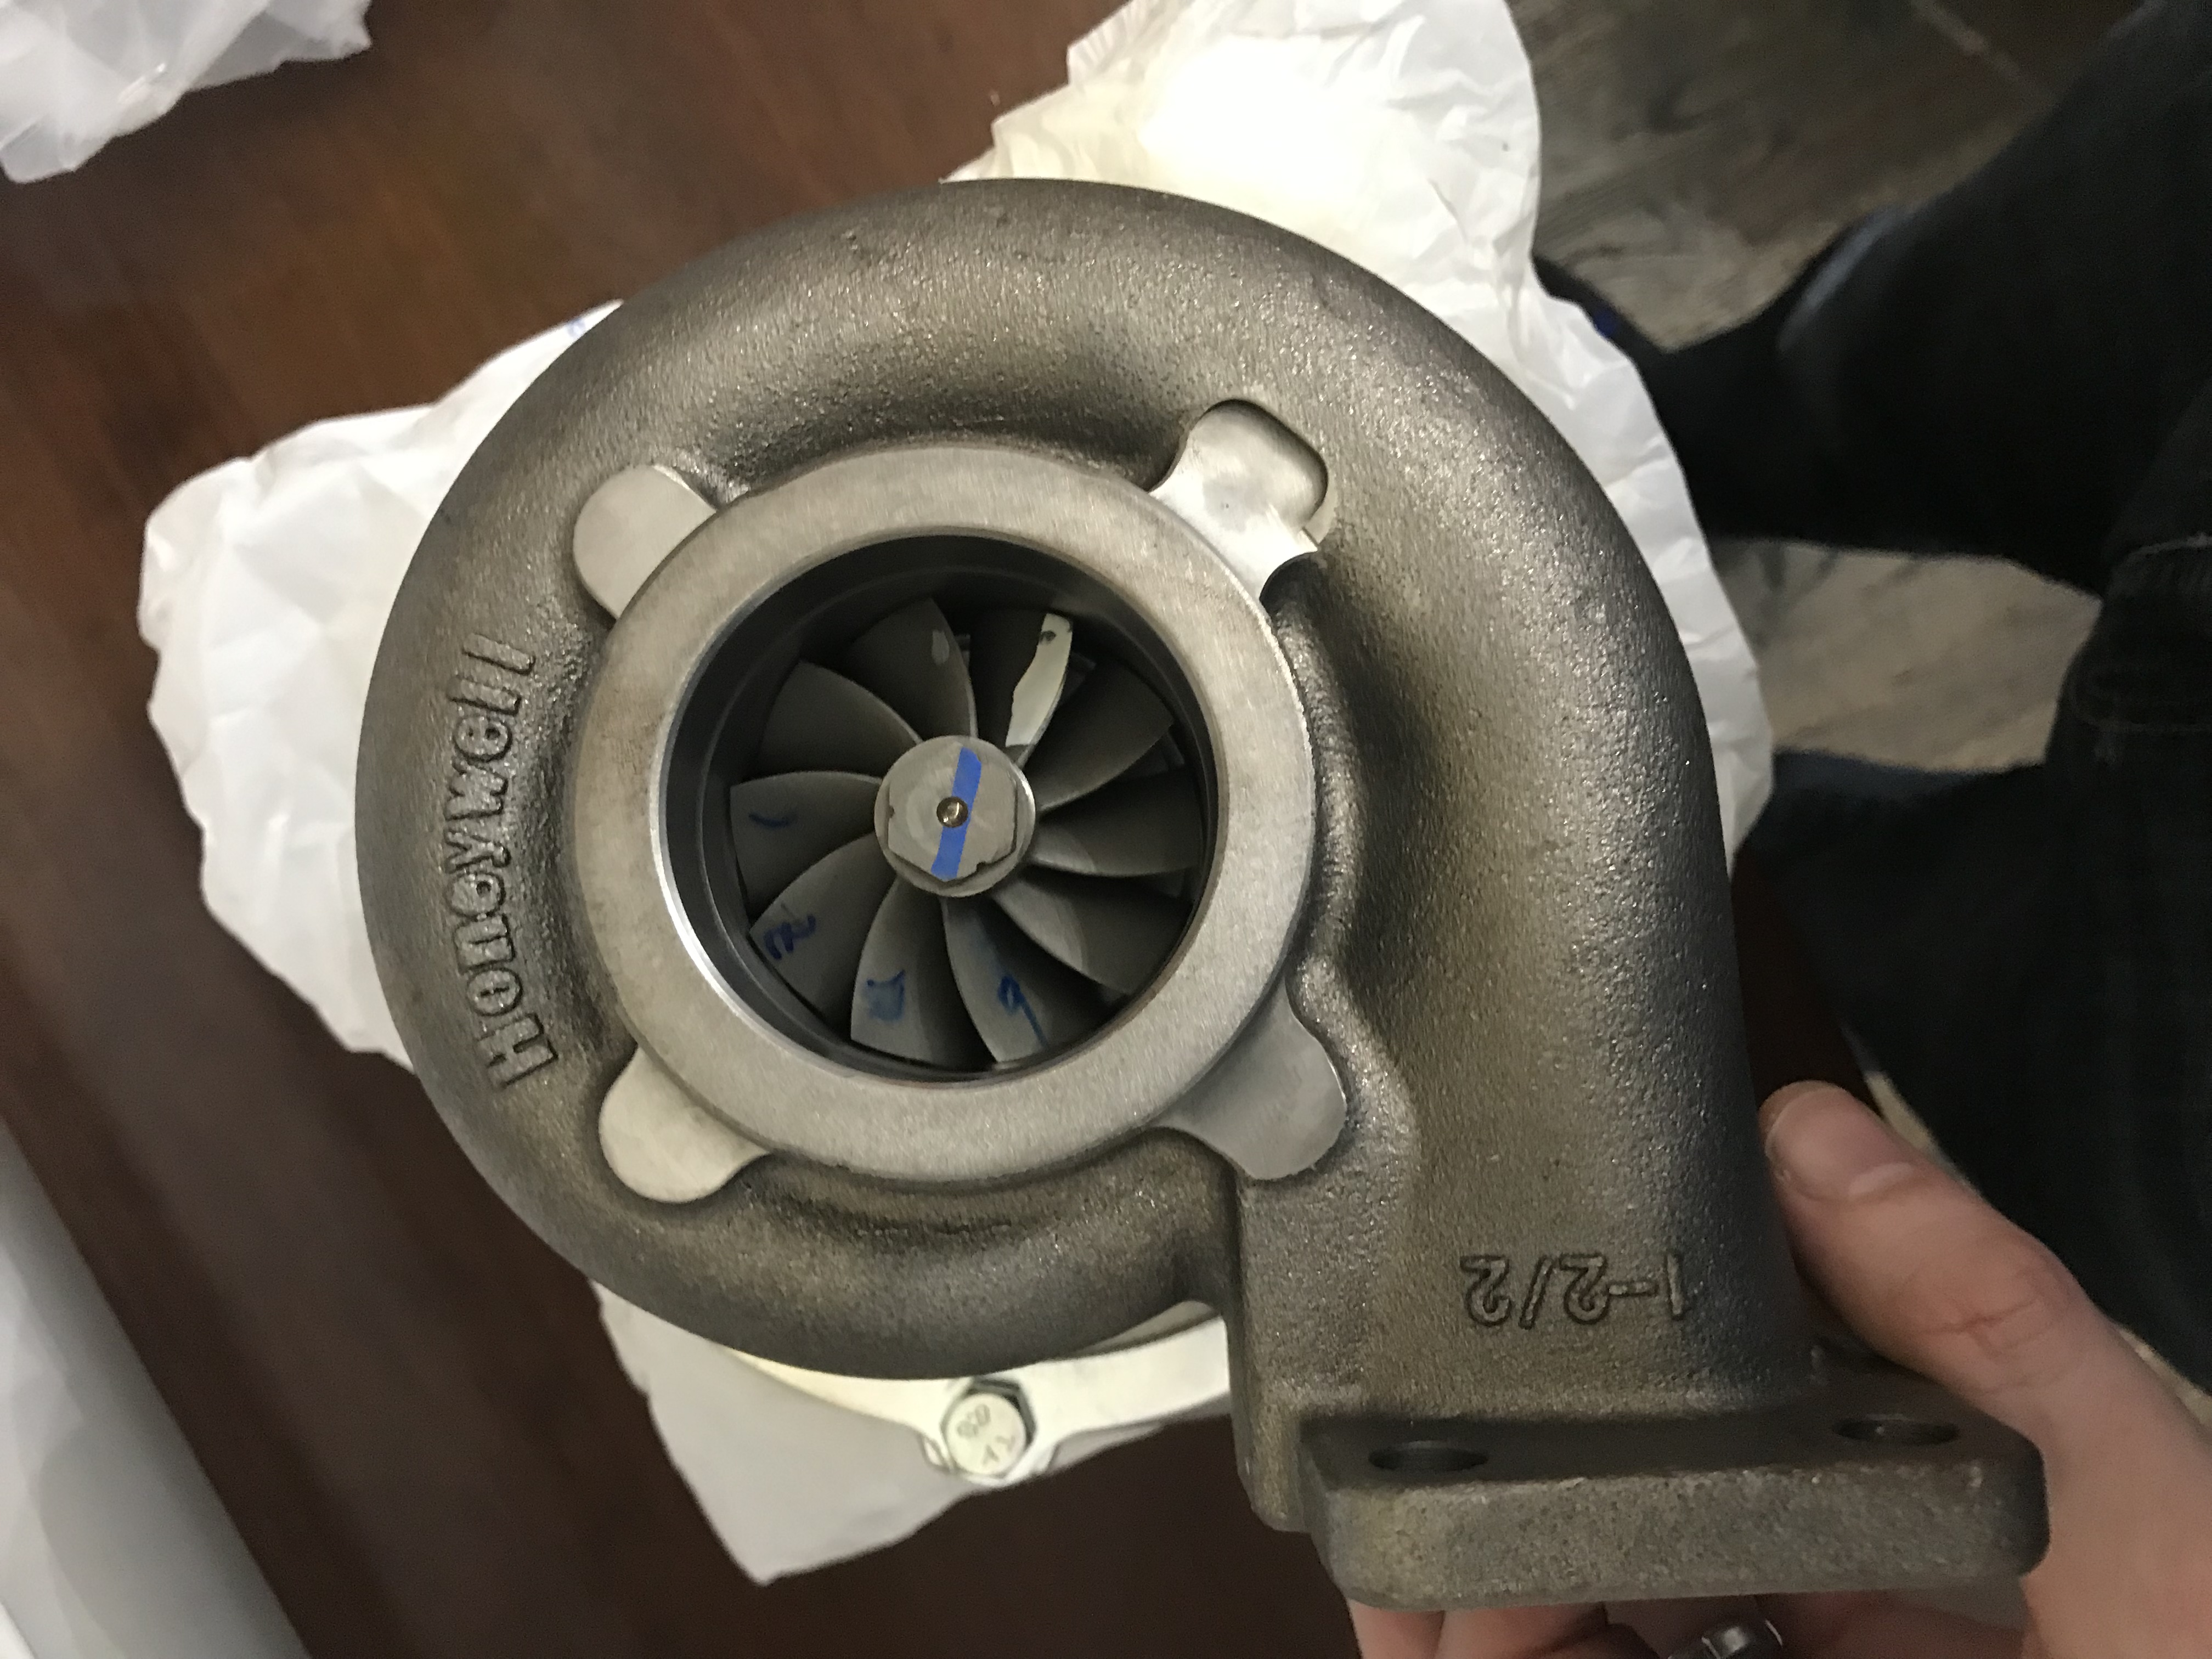
Pictured is the GT3076 Garrett turbo charger. It wouldn’t fit inside the body work very well so I opted to put it outside the bodywork.
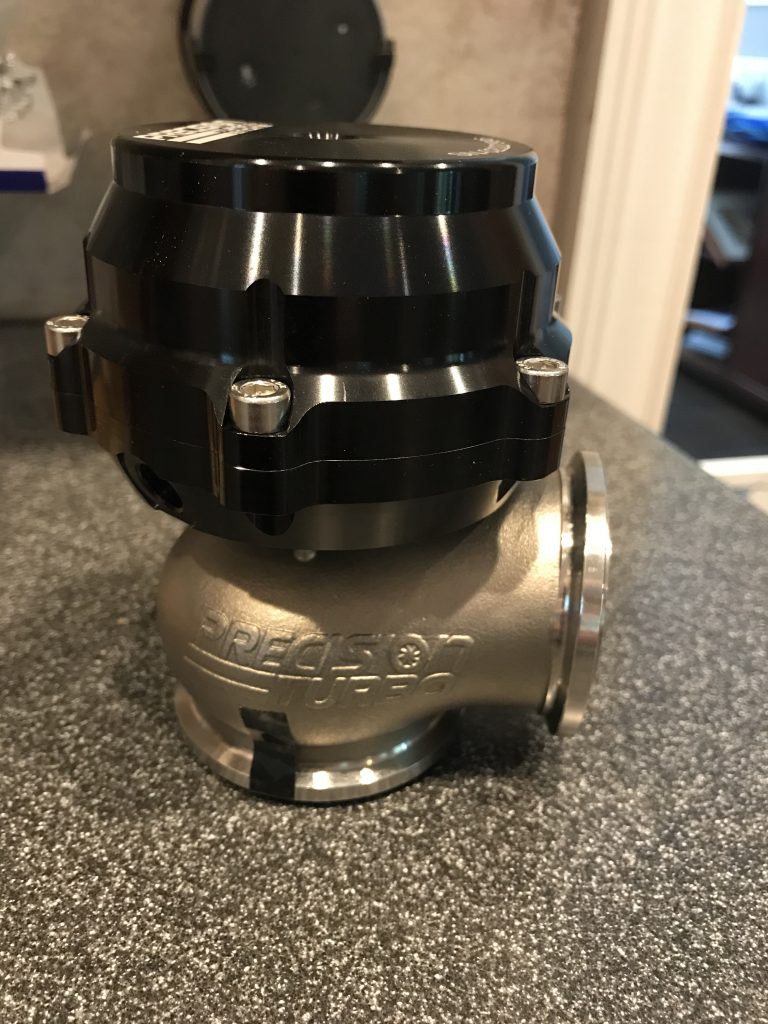
The Precision 46mm gate was picked to keep tabs on the gases. I considered the ebay generics which are substantially cheaper but opted to “buy once and cry once”after the intake manifold situation.
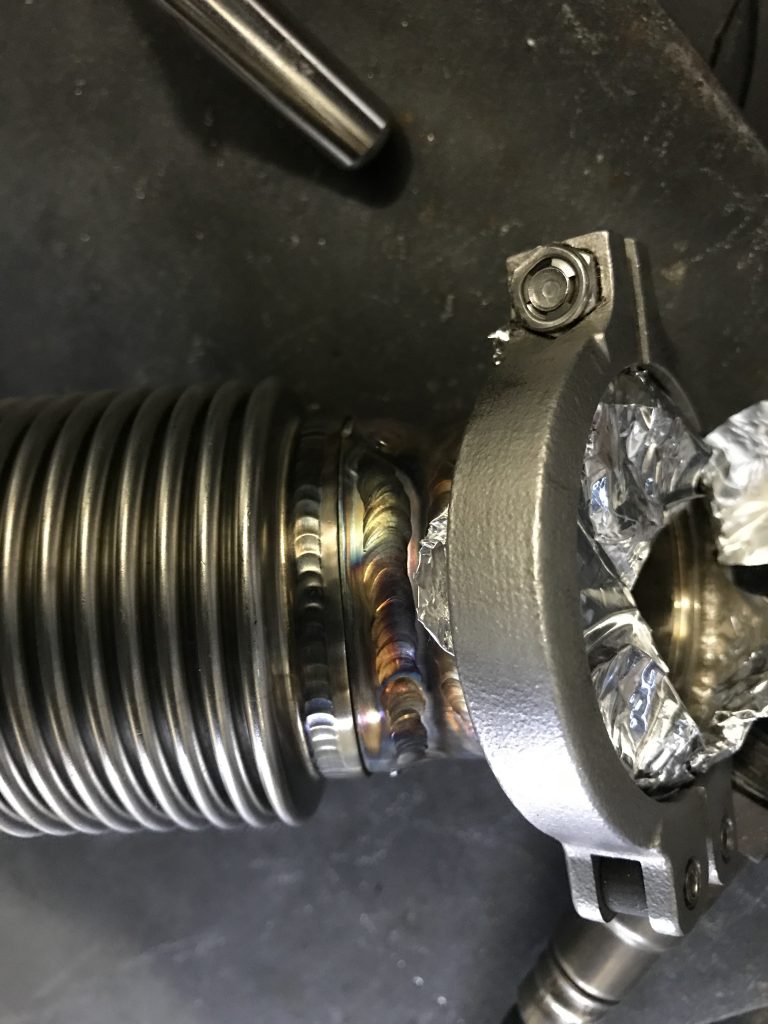
Thanks to Jim I got my welds to look much better. Flexible bellows were installed on the downpipe and the wastegate tube that merged back into it.
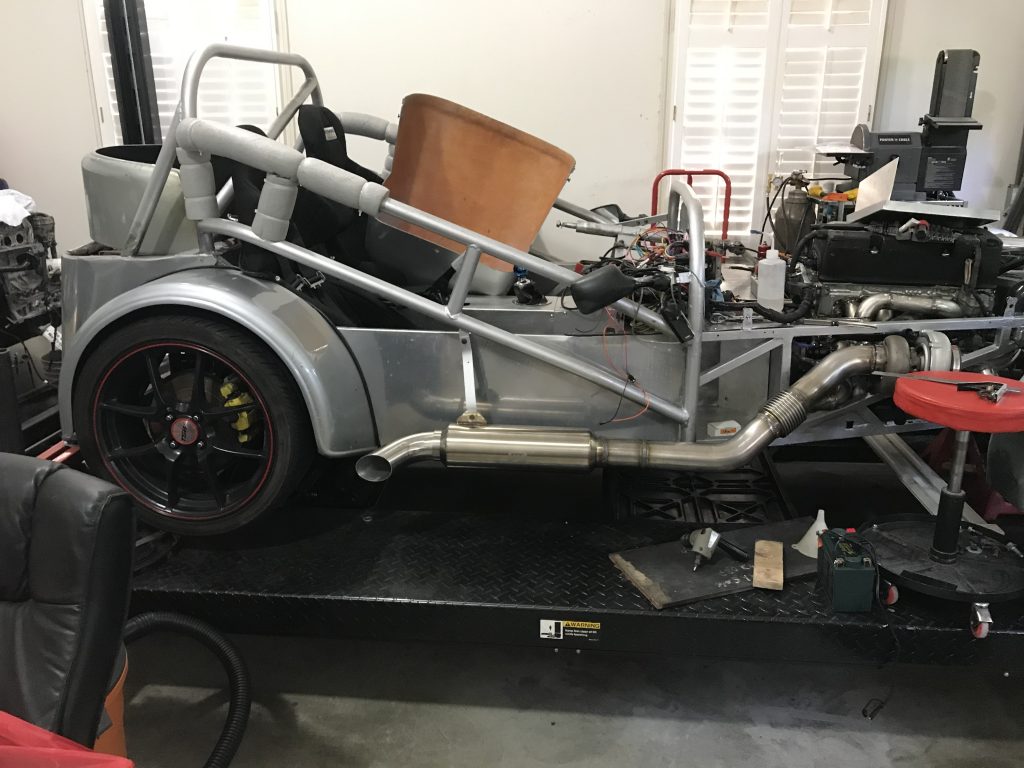
Above is the finished exhaust. The muffler tip was cut back further but all in all it sounds great and looks great in person. Up next the intake piping and intercooler work
Intake Manifold Adventures
After lots of fighting with the intake manifold I decided to stop being cheap and throw money at the problem. What was the problem you say ?
Pardon the dirty alternator..
So the Skunk 2 intake manifold was never designed to be flipped for a RWD configuration. It has the modular design but the flipping is better suited to a K24 than a K20 because of the shorter deck height by 1″.
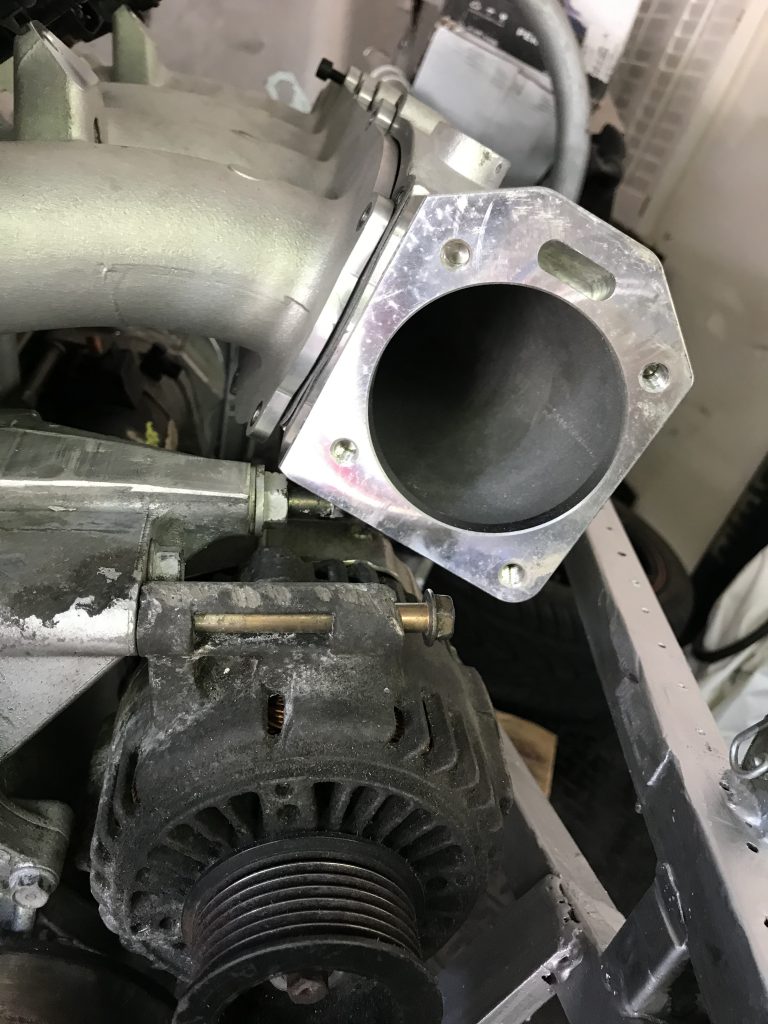
The intake manifold was a disaster from day 1! It requires that you cut the water pump housing to make it fit and then use spacers/washers to tension the alternator. After hacking up the housing I found that I was still likely to hit the alternator. The solution? I tried to buy the spacer that makes a B series throttle body work on the K series intake. I never attempted to install it and landed up selling it and the intake and ordering the Kmiata intake manifold and throttle body. It was backordered but worth the wait. I did follow the recommended guidance and bought the misalignment spacers due to the flanges not being parallel.
The manifold had the water passage built in which was a nice change and something I didn’t need to buy another part. Generally the fitment is good, the IAC did need a new part (from ebay) but that fitted nicely. All in all it was something I should have done from the beginning.
So whats been happening?
Well unfortunately some international folks felt that hacking this page would really change the world.. or their world. I will try to upload some of the old content but backups apparently were not good.
Some people just suck…
Now steering in the right direction!
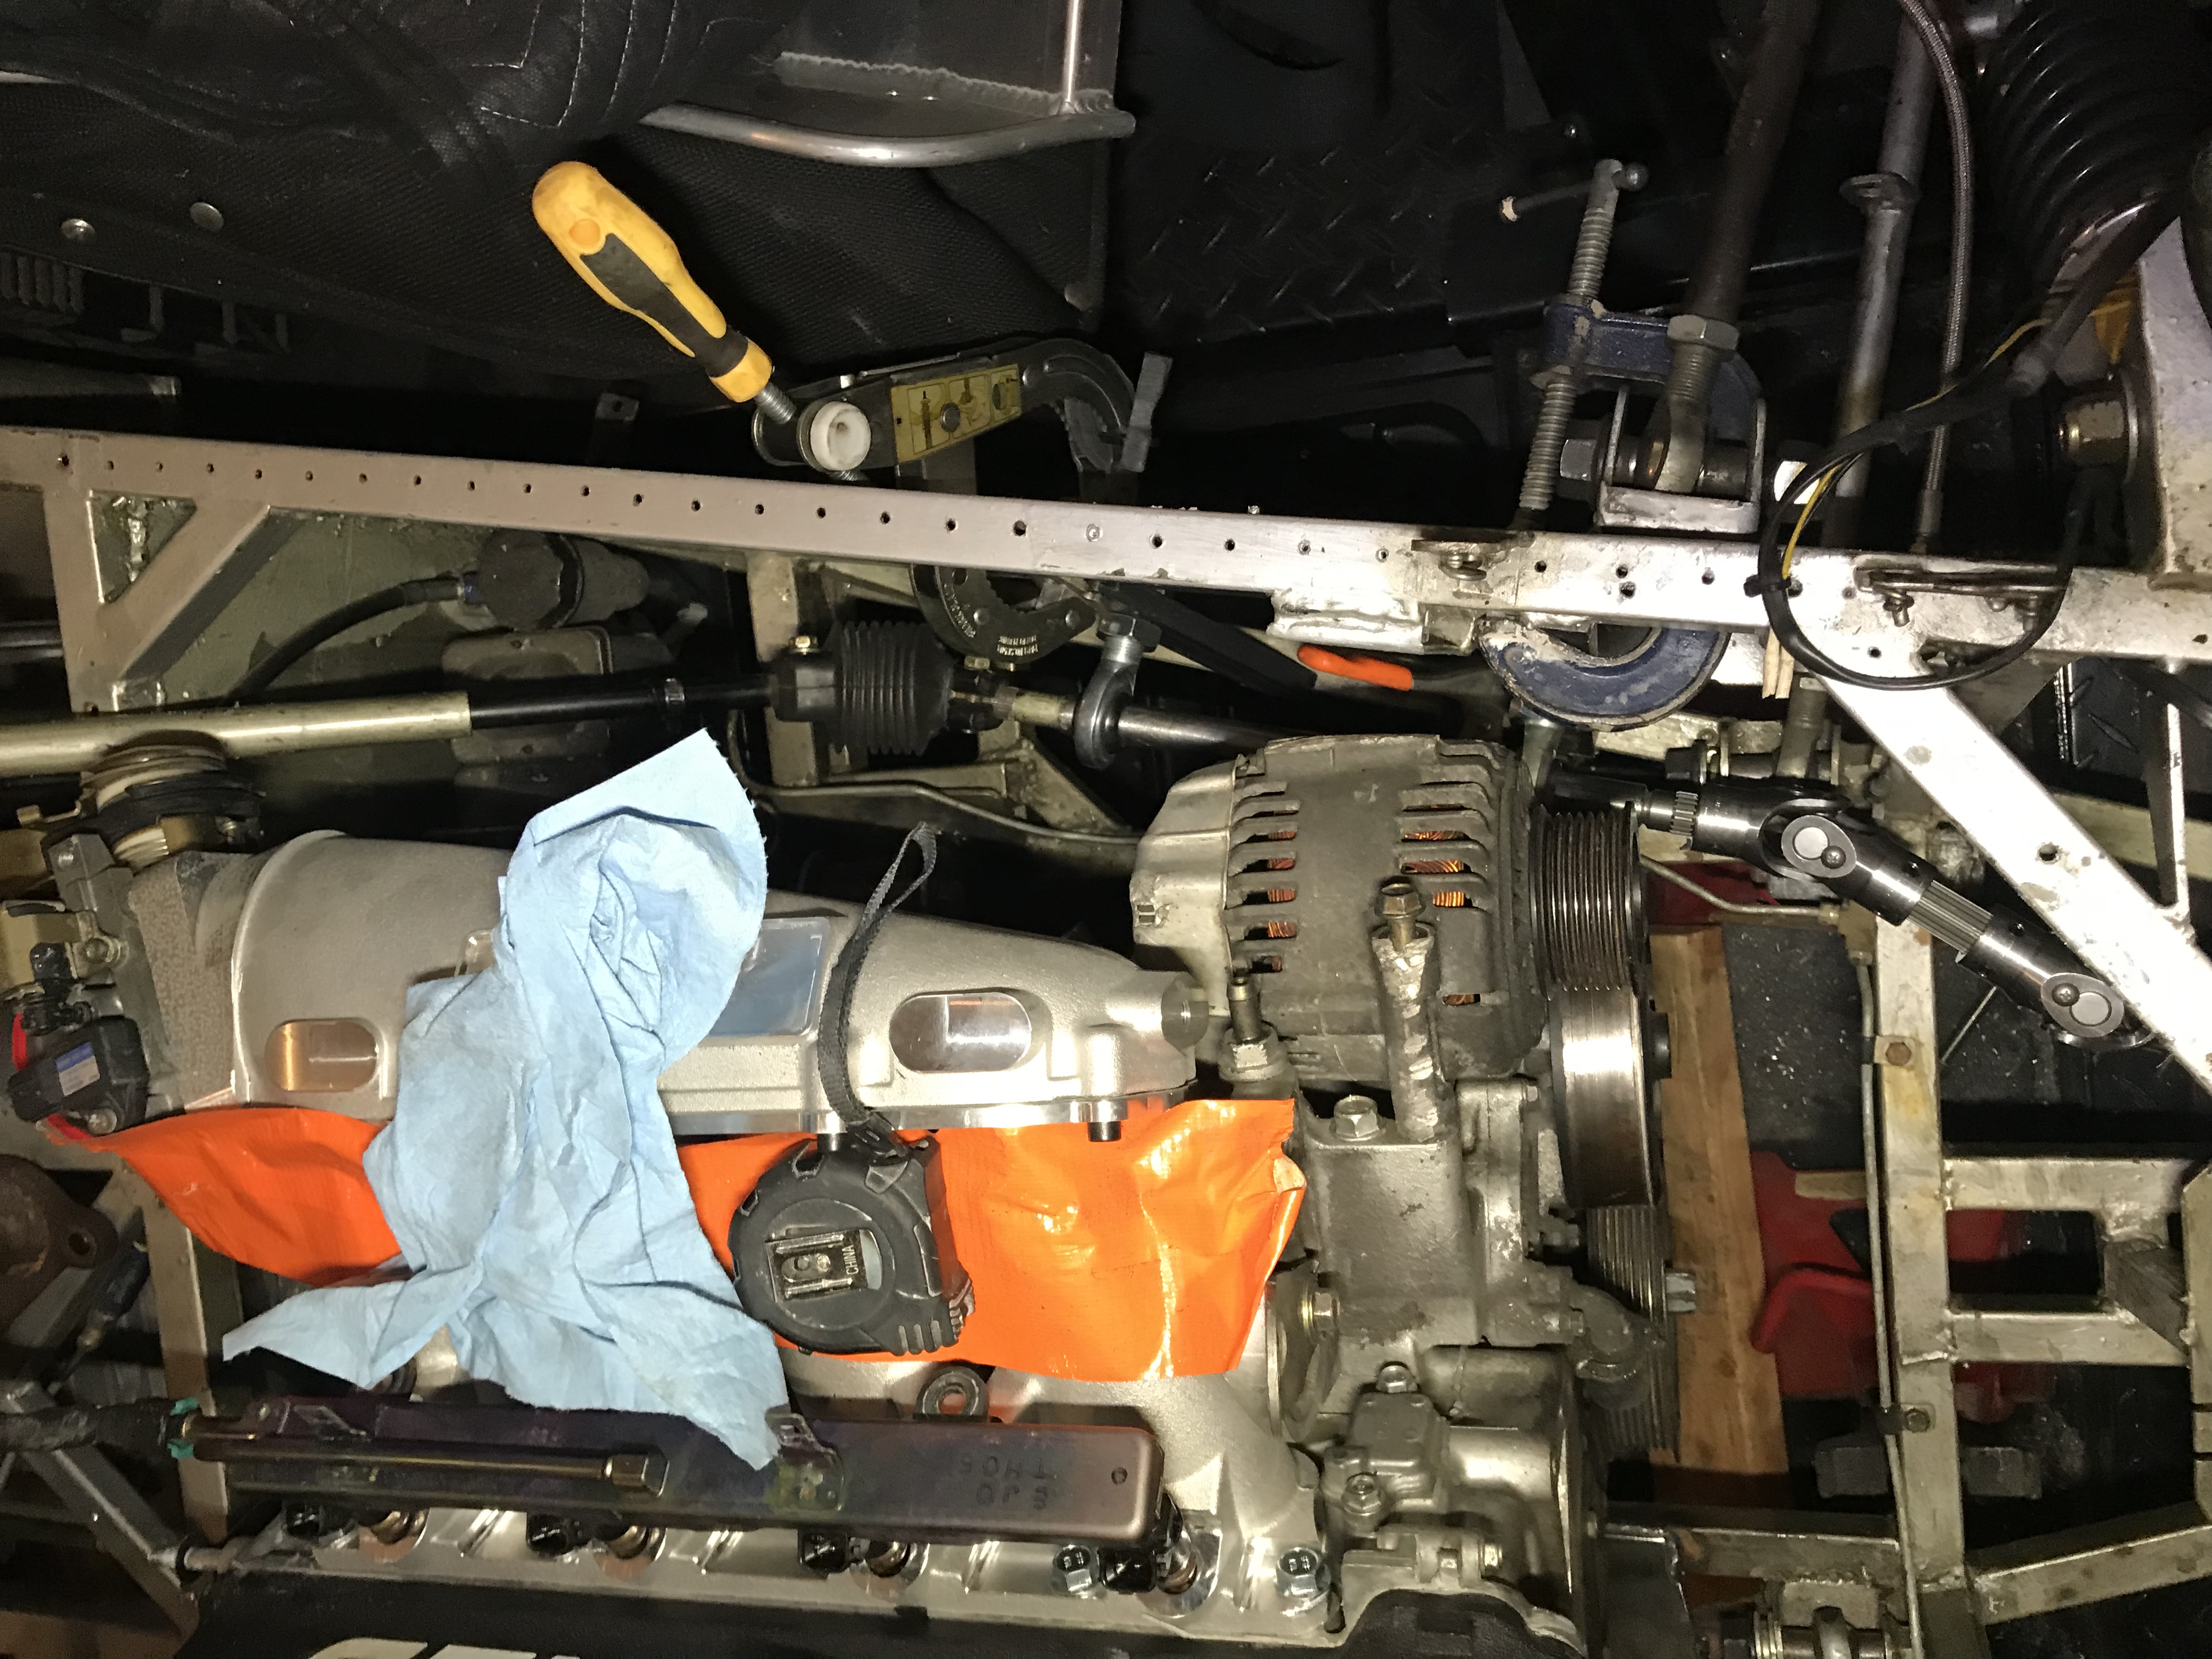
Adding the throttle body recently kick-started the progress of getting this thing back together but it also exposed a problem. The old steering shafts was pointed right where the alternator needed to live. I looked at several other alternator options but at the end of the day it made more sense to move the steering shafts than buy a different throttle body and find a way to make the alternator work.
Here was the old setup. The alternator lives right behind it.
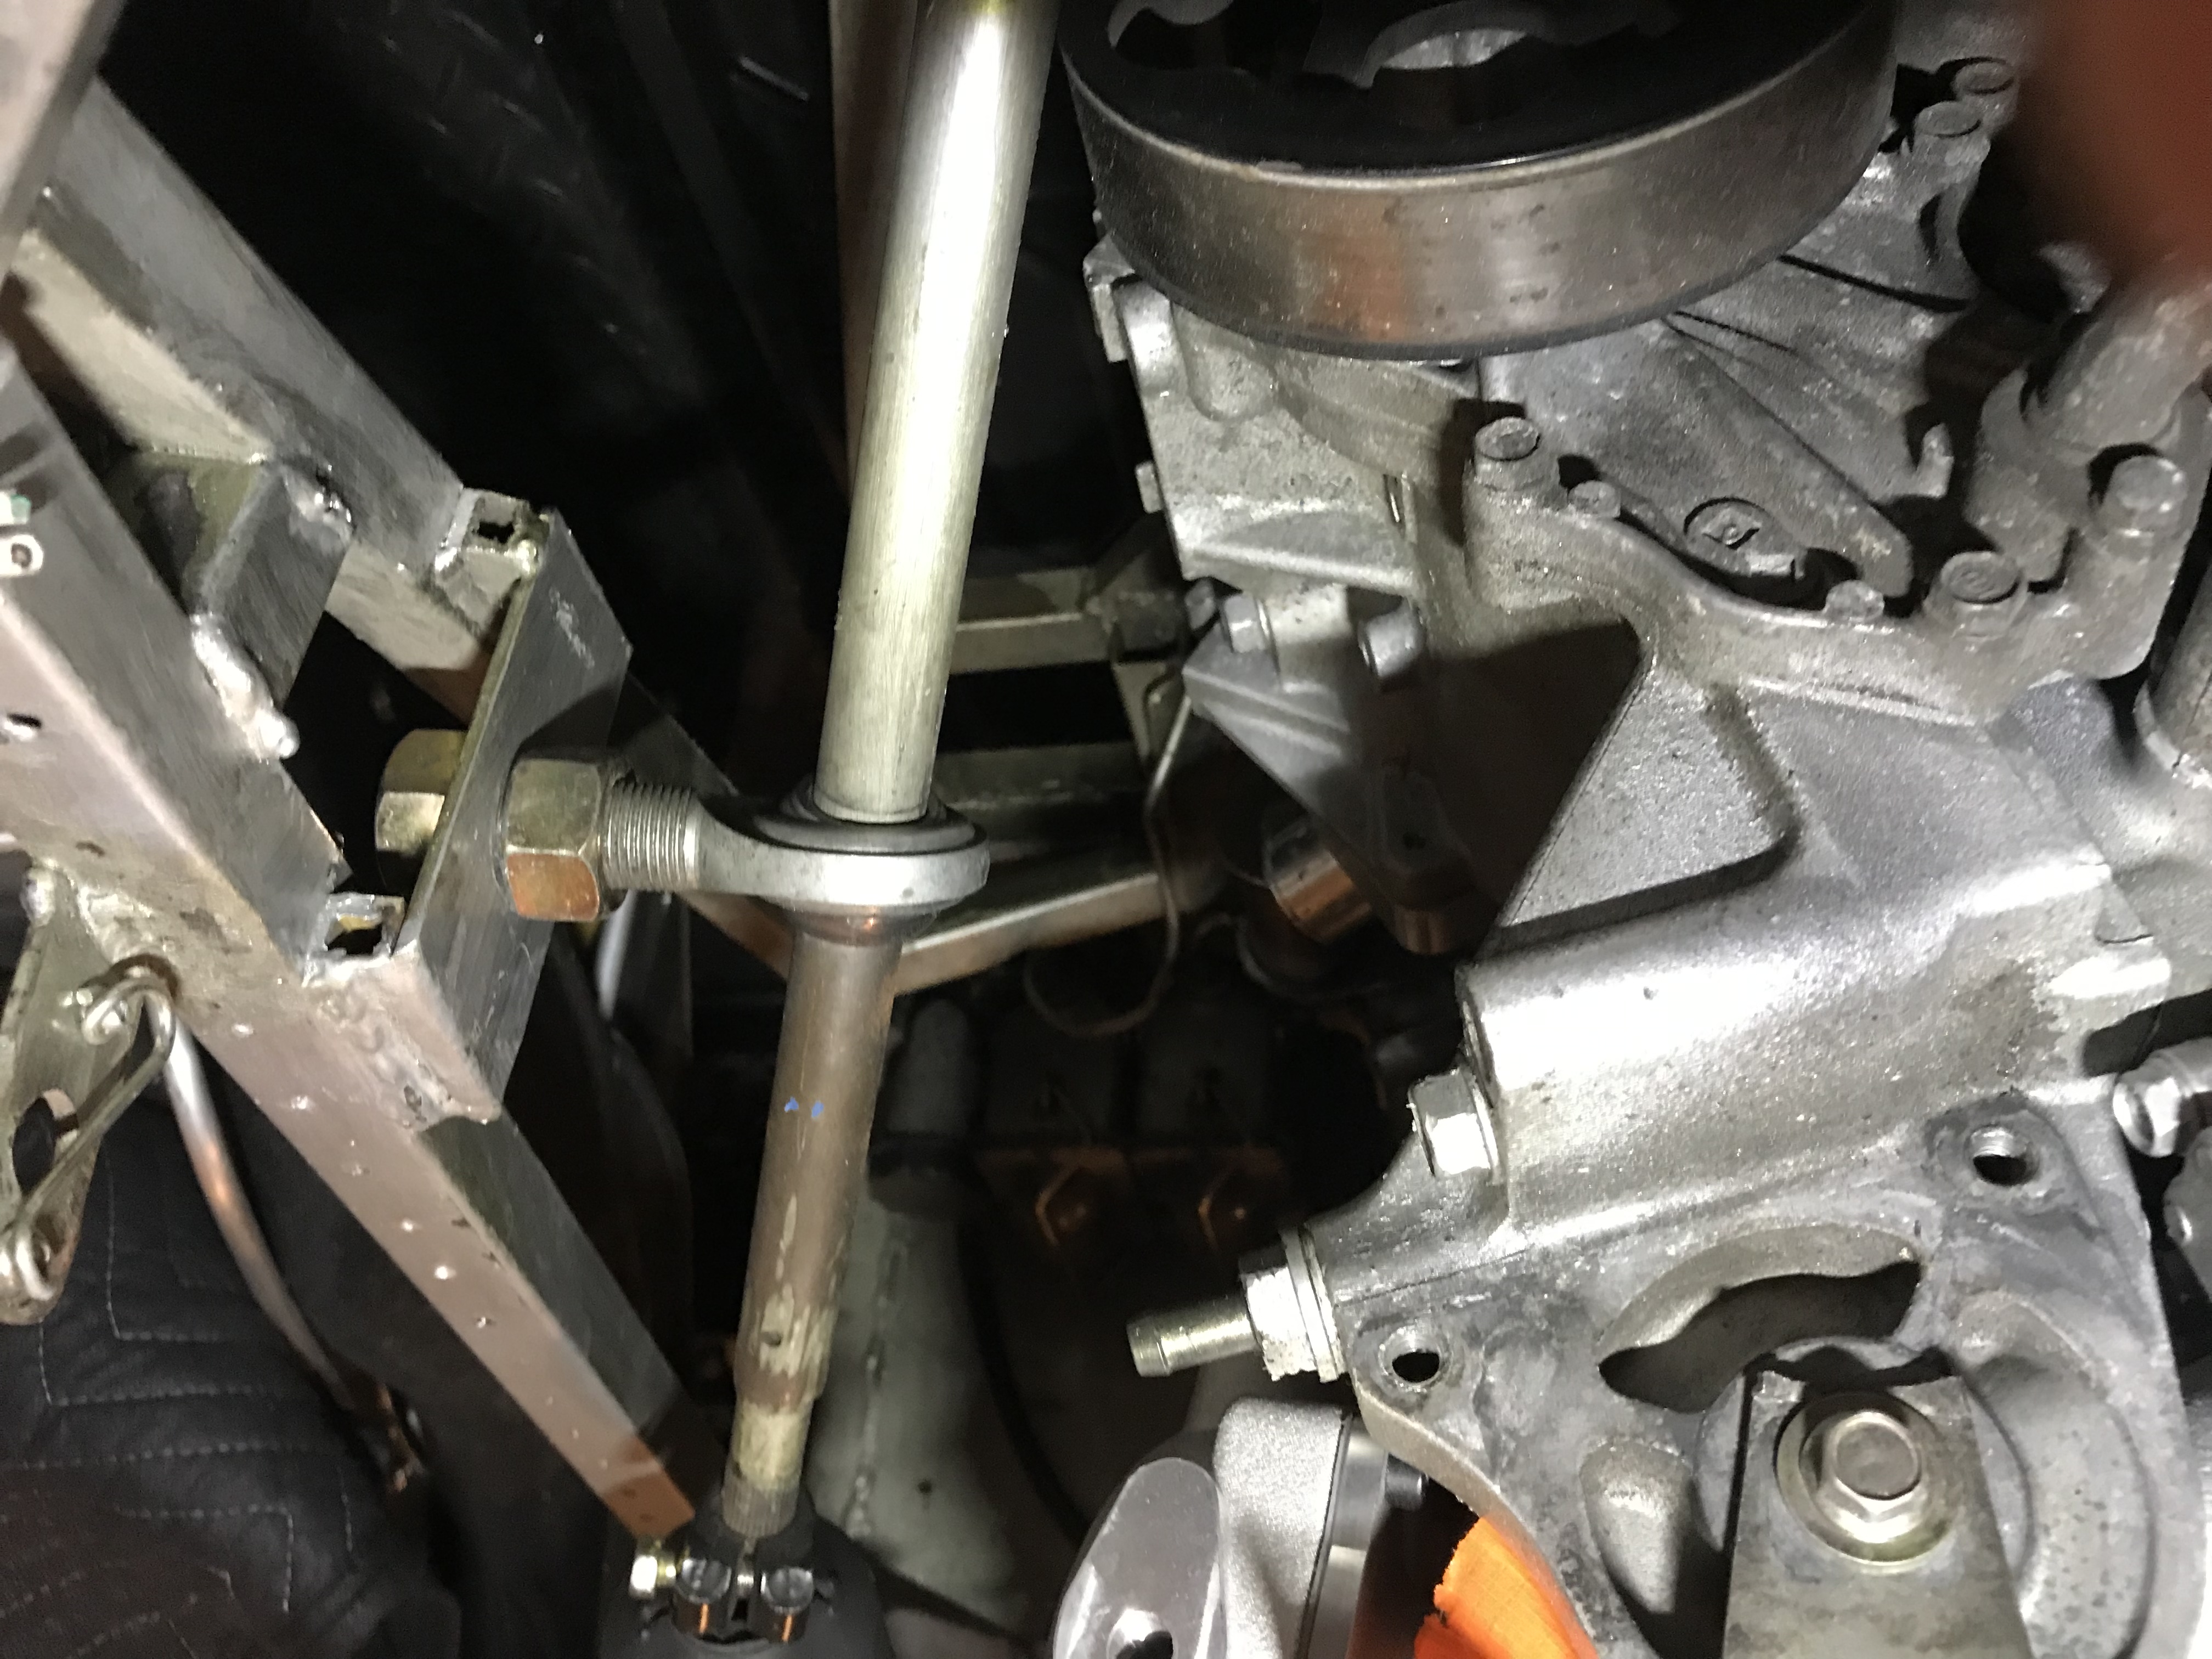
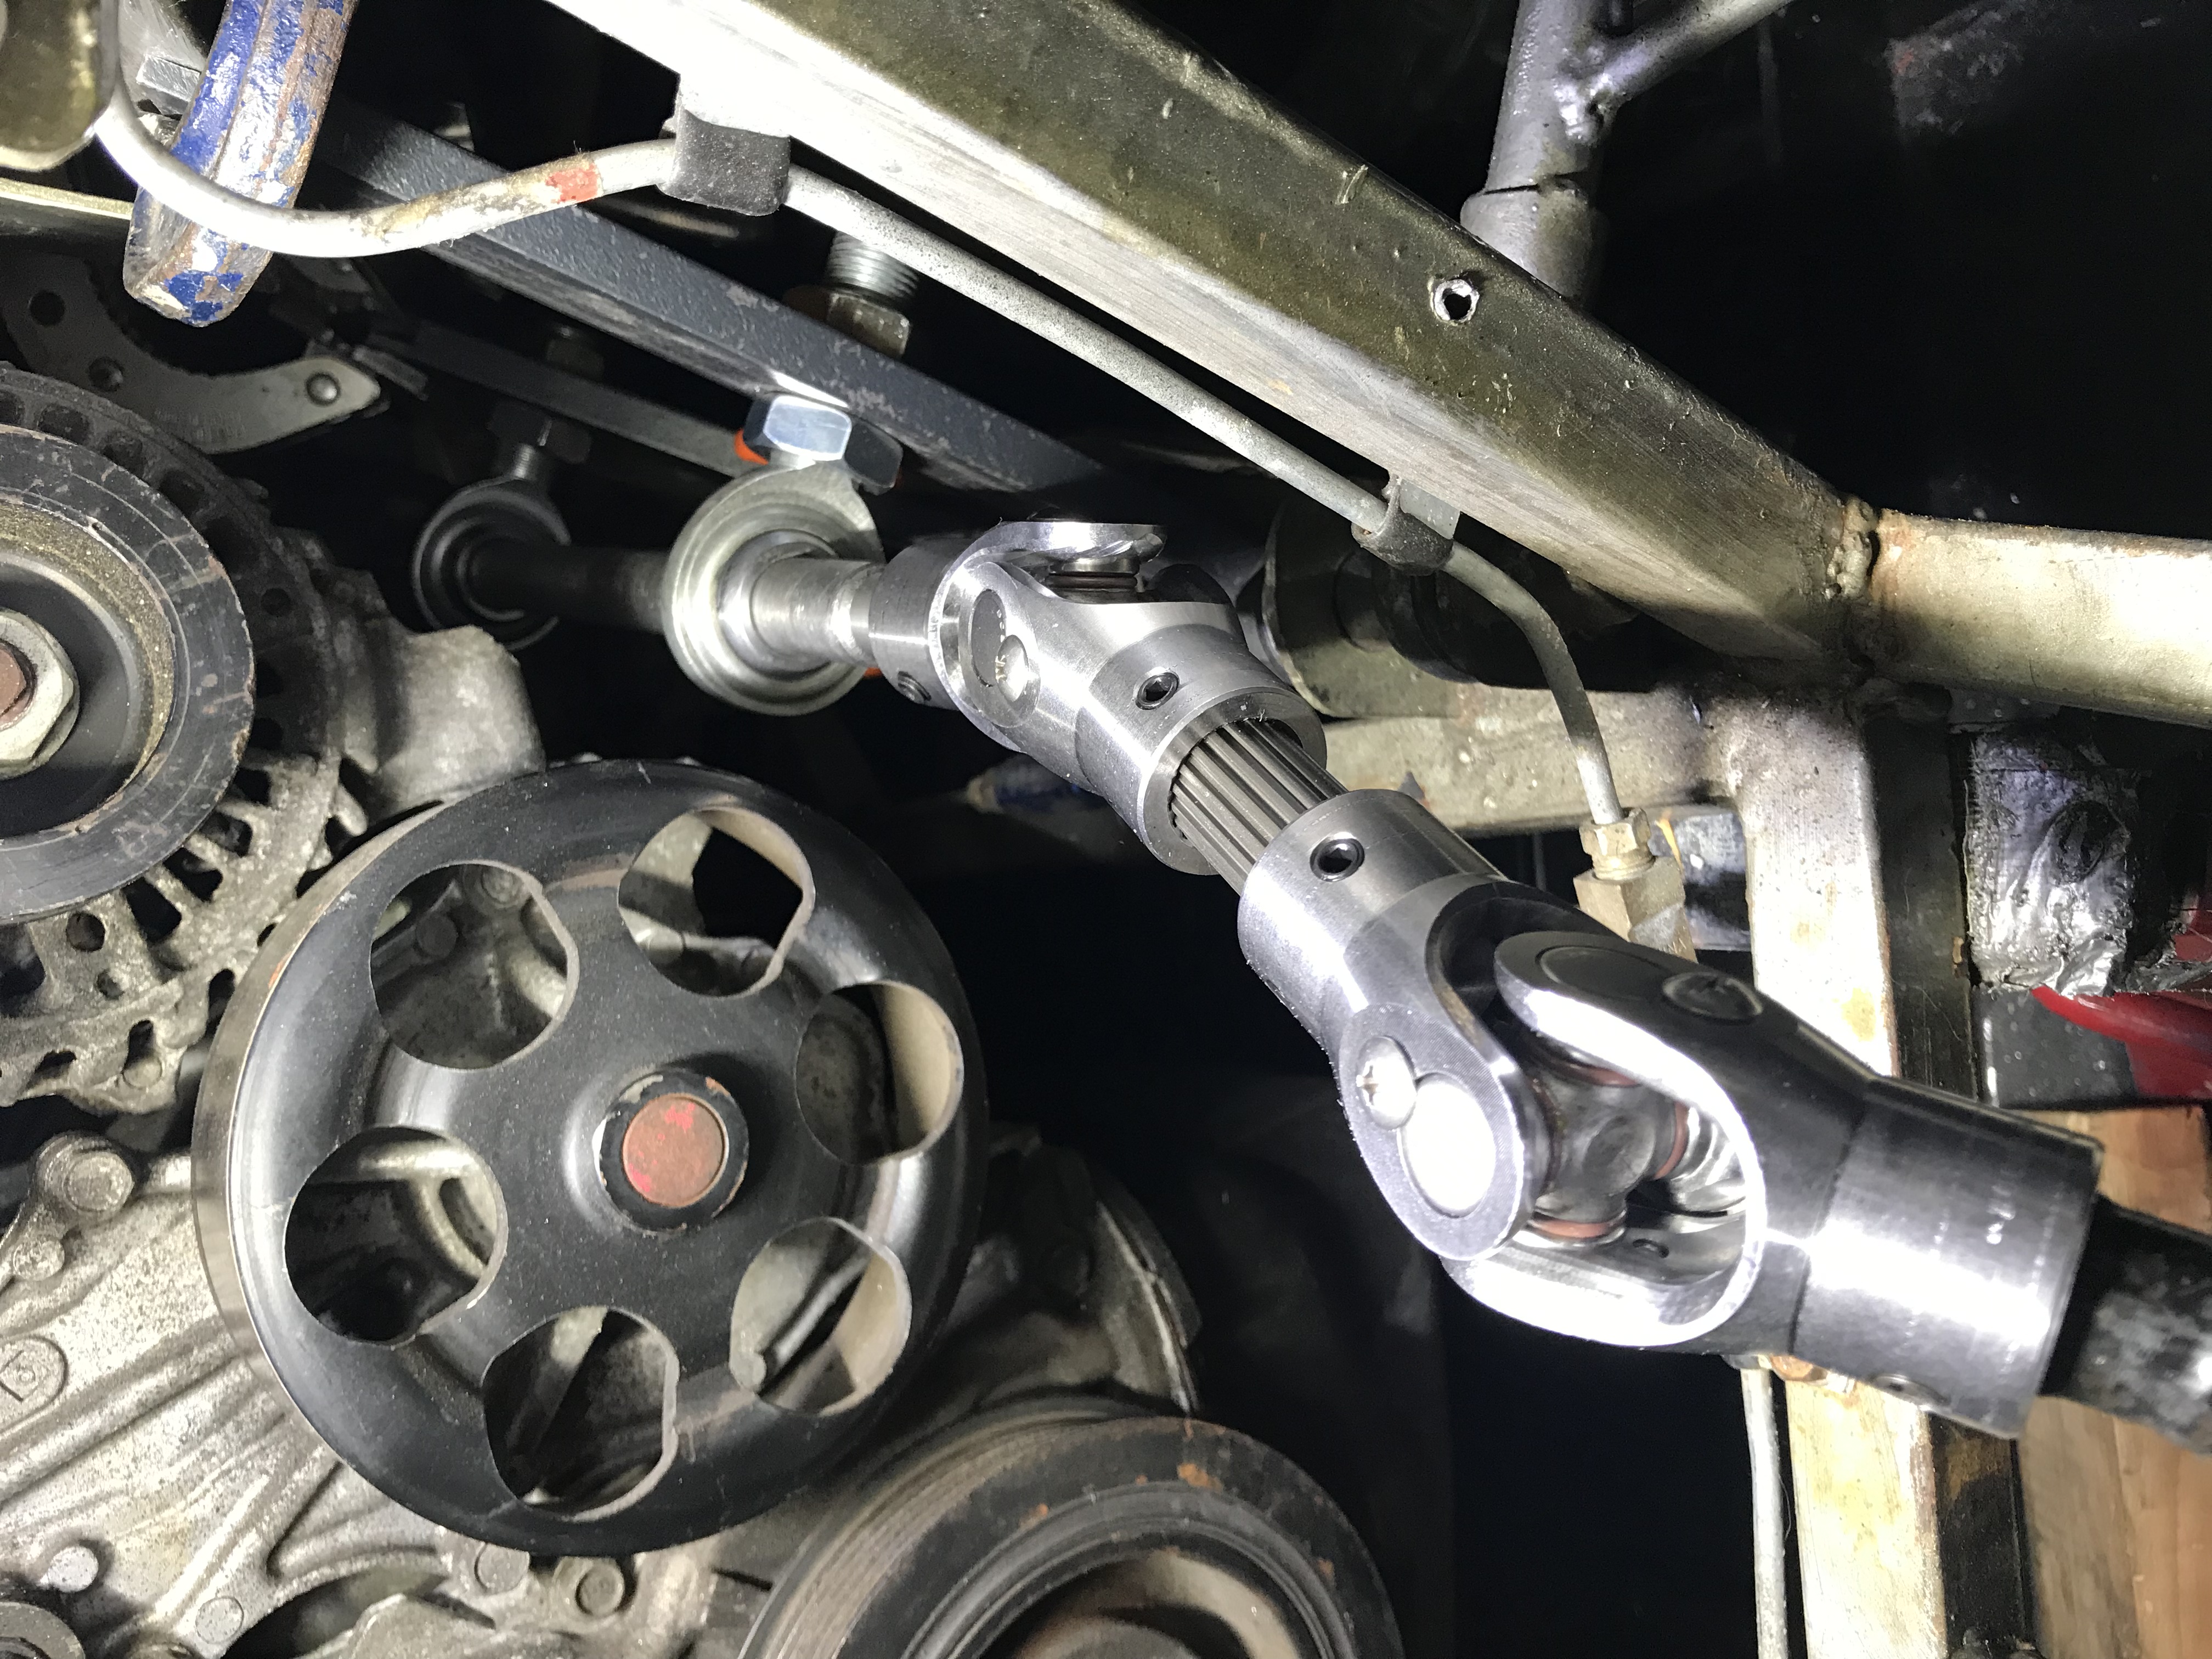
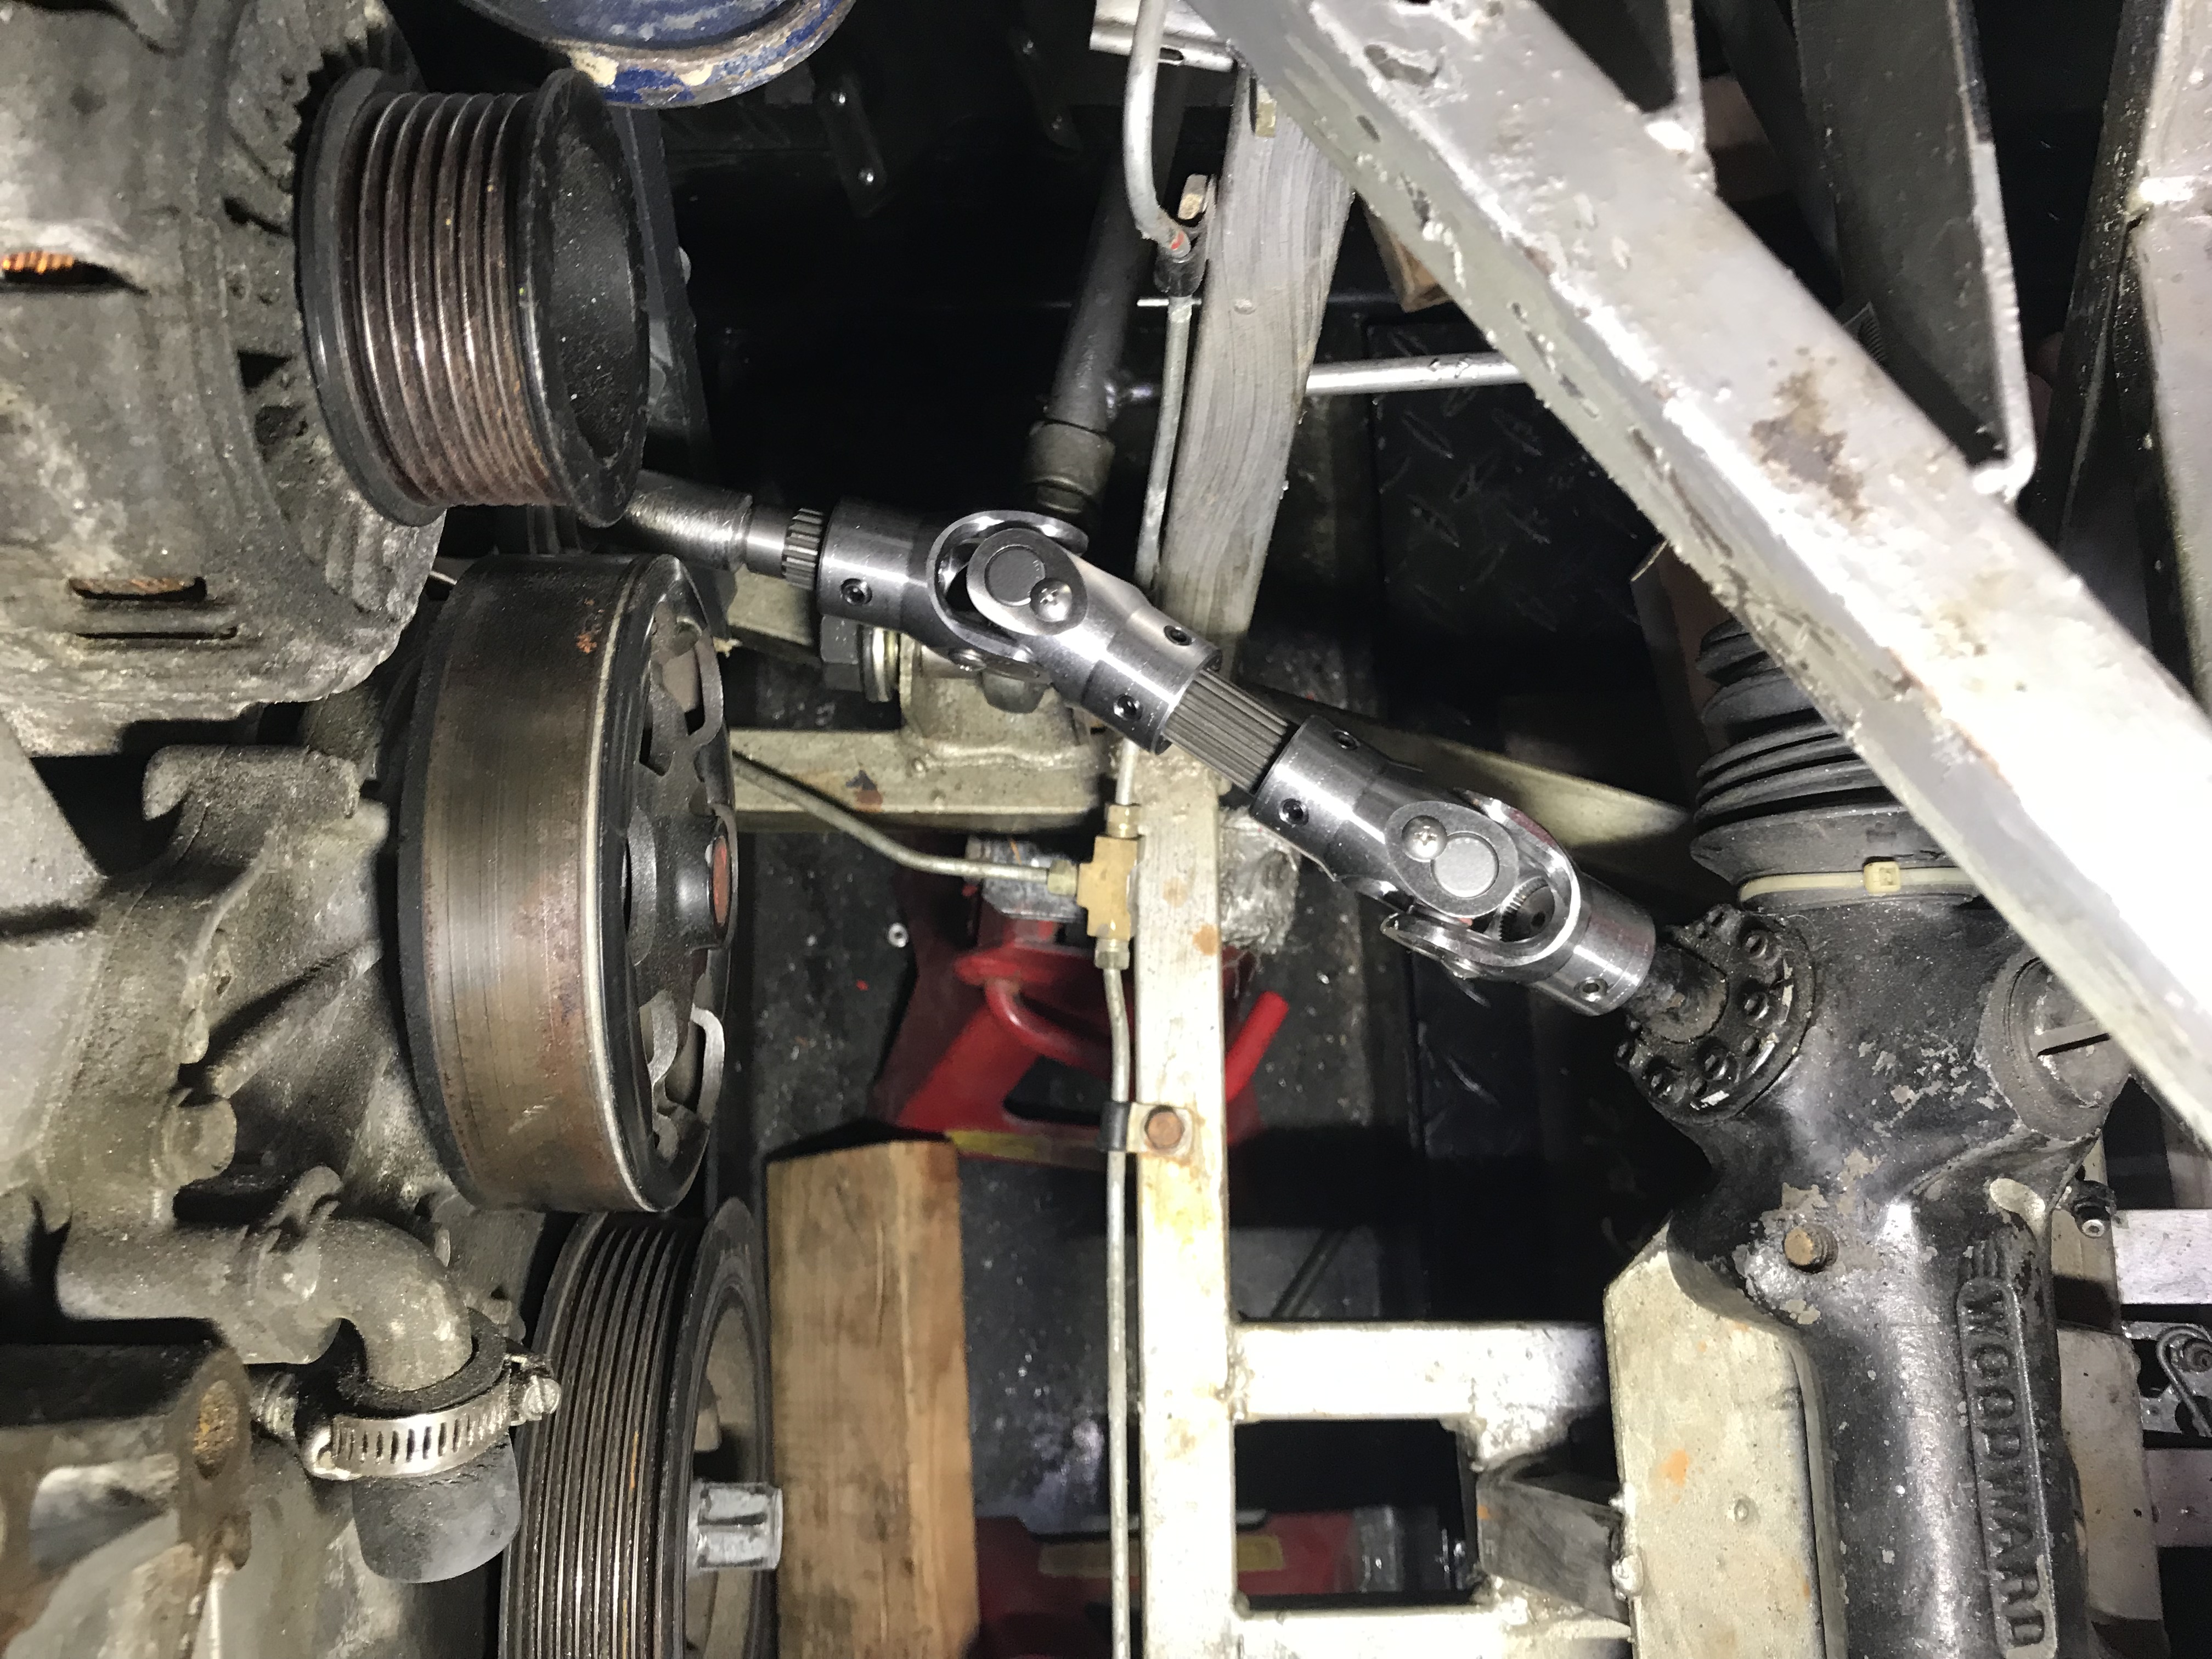
The solution was actually easier than I expected. Woodward- the makers of the steering rack- had a variety of universal joints available and on the shelf. Some money was given to them and in return some shiny pieces arrived a few days later.
What is the plan? I expected to use 2 new universal joints to allow for some movement downwards and away from the engine. The results look promising and I manage to maintain my collapsible steering column setup!
Up next- transmission mounts!
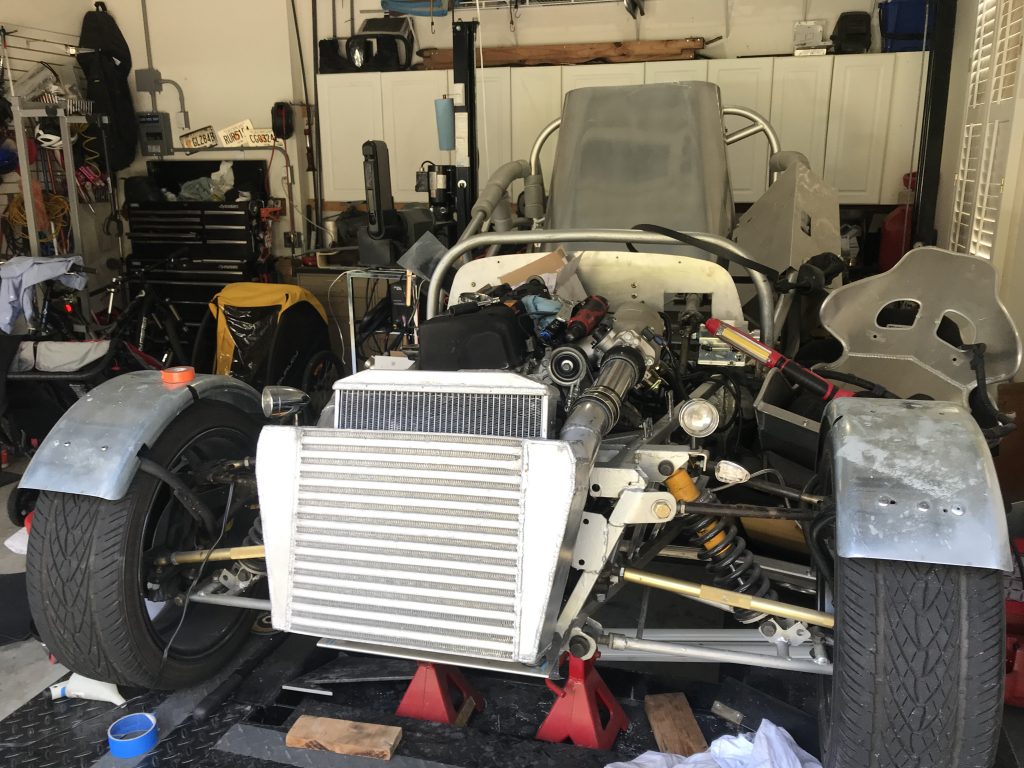
Slow progress..but still progress!
It’s been slow and I have been looking to rent some space to use at night to further development of the car and get it ready before 2020.
After the engine was installed I decided I need to mock up drive belts and systems and get the steering sorted out. The next piece of the pie is the exhaust. Having built a header for U bends before I decided that I would like to avoid that again. The solution- a turbo manifold!
The hunt for a turbo was no simple task. Learning about mappings and what characteristics are important took up several hours in the evenings.
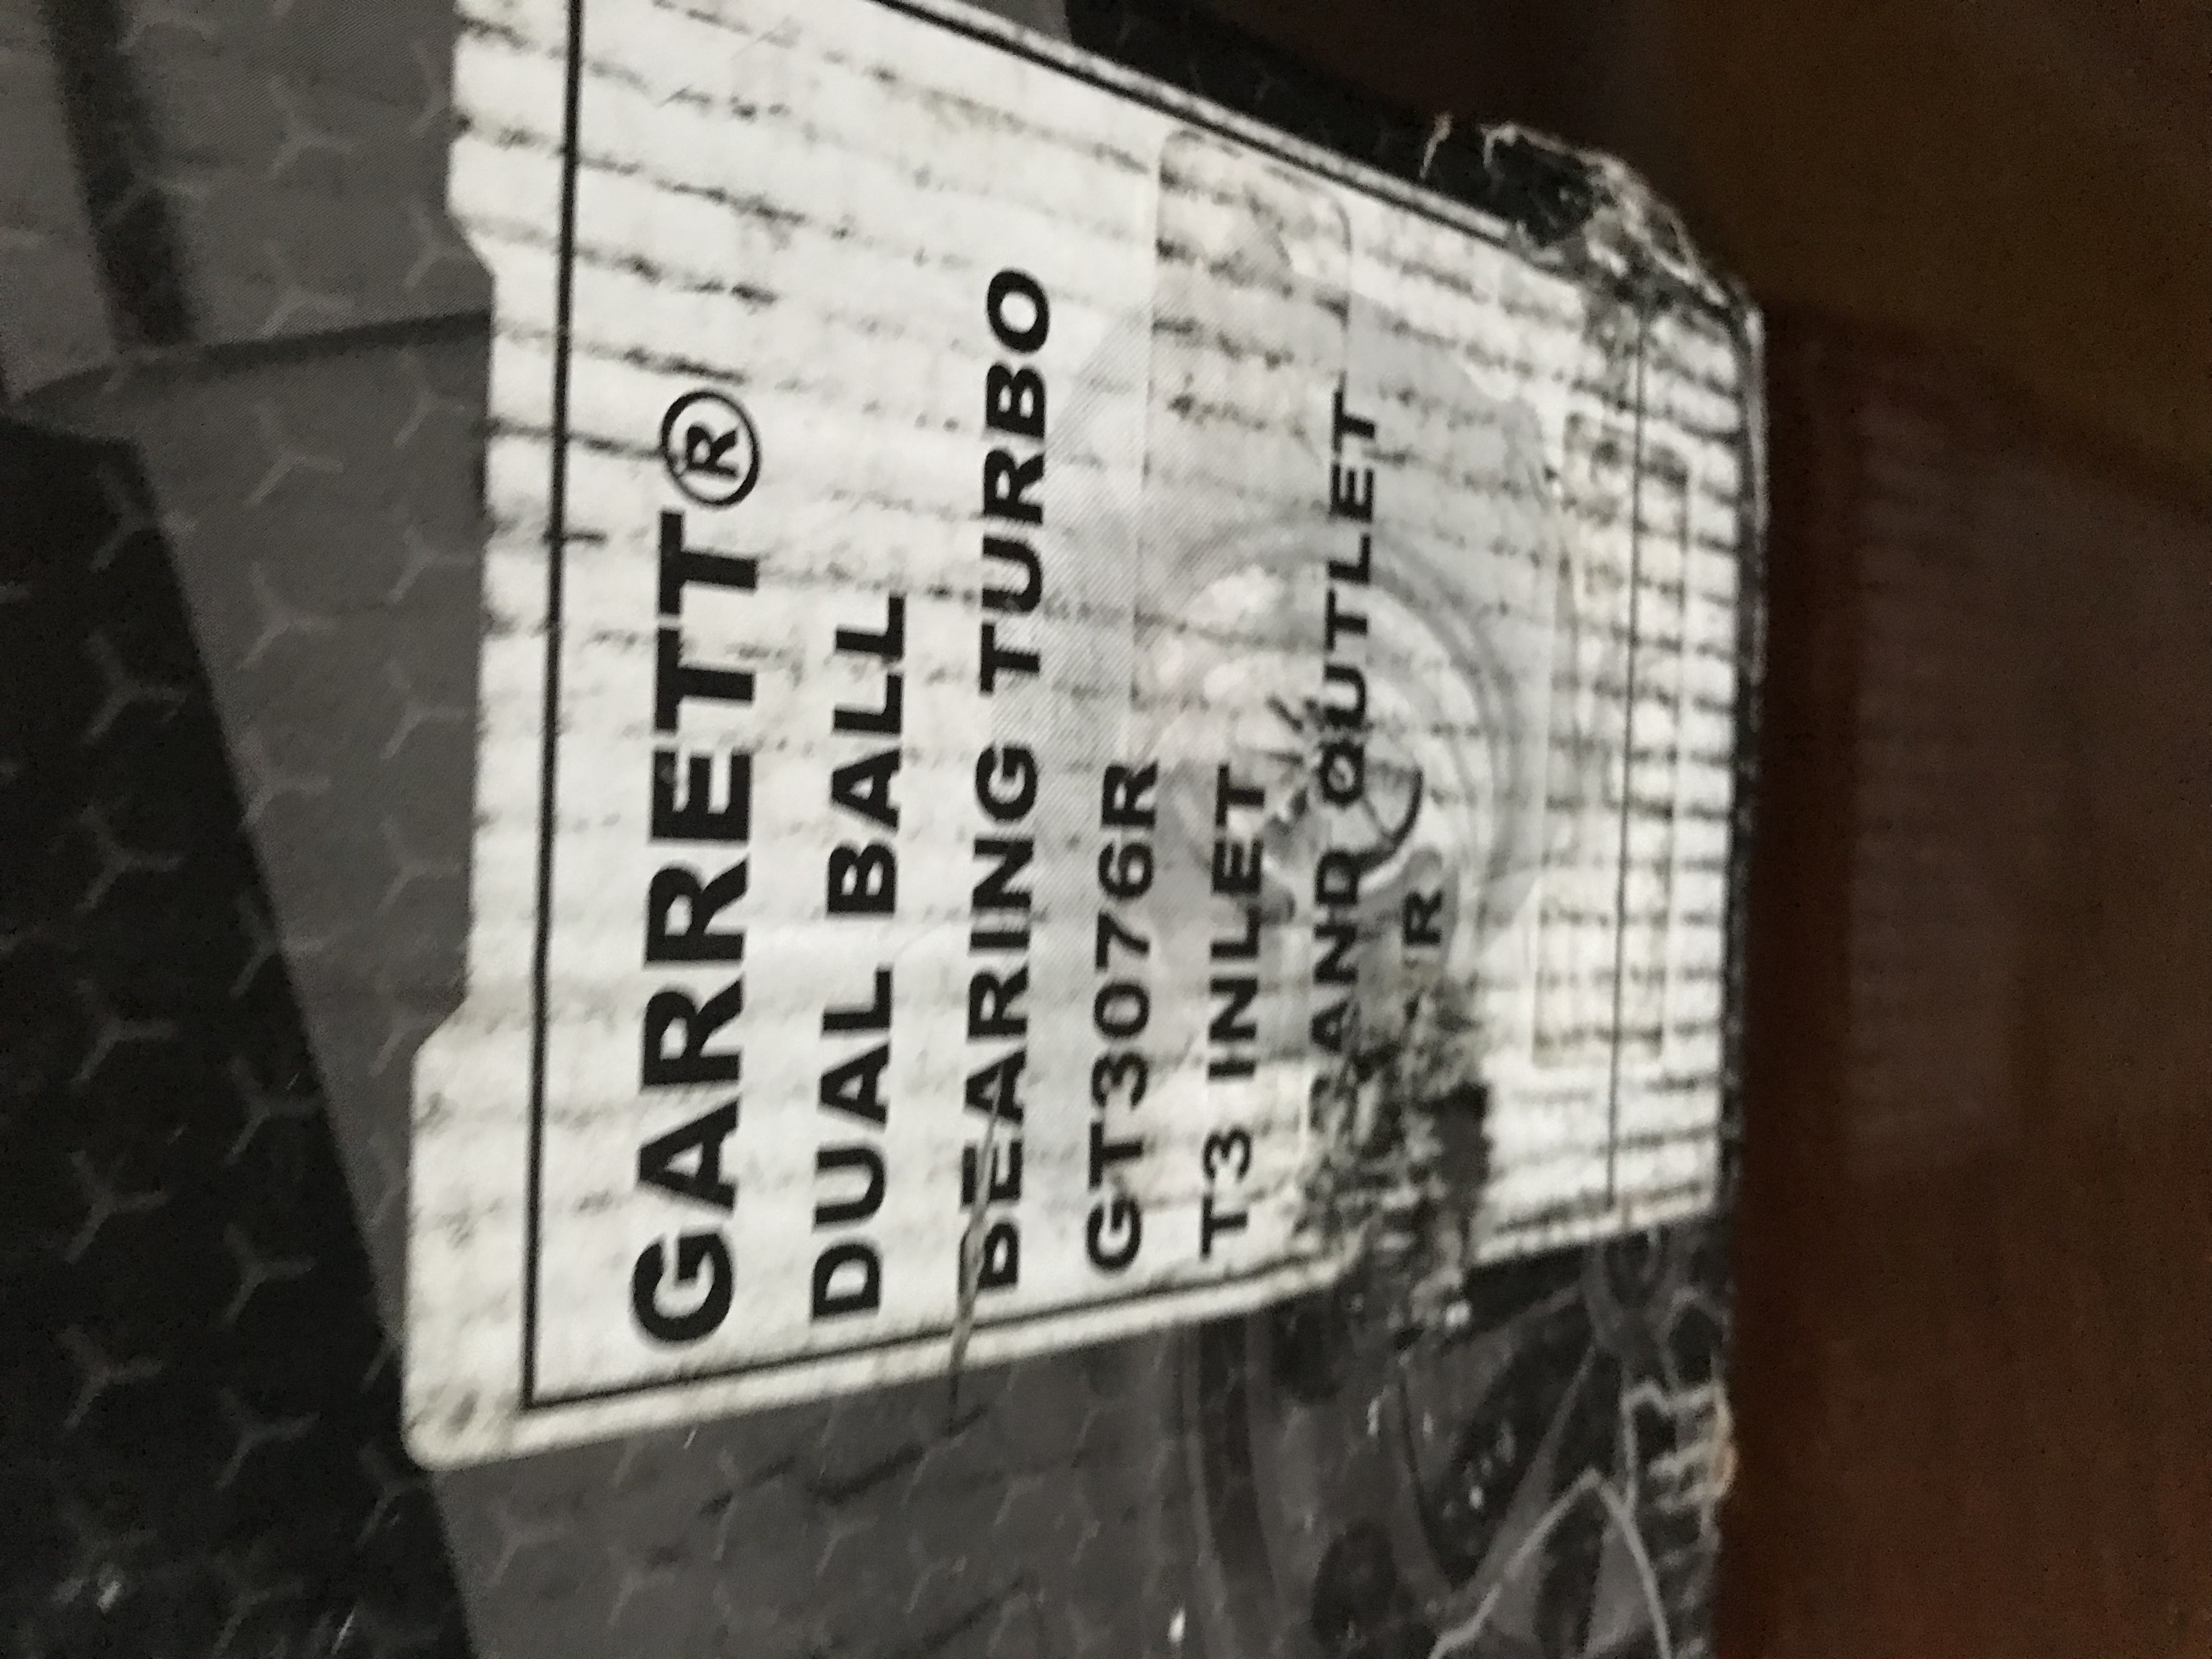
I decided on a Garrett G25-660 turbo. After lots of research I was price shopping and about to pull the trigger and an eBay price alert went off. Long story short- I was able to get a GT3076R dual ball bearing unit for $700 that was new in the box. It won’t have the same low end but it should fine given the ball bearings.
Next step is to order a kit to build the rams horn turbo manifold!
New engine deal of the day!
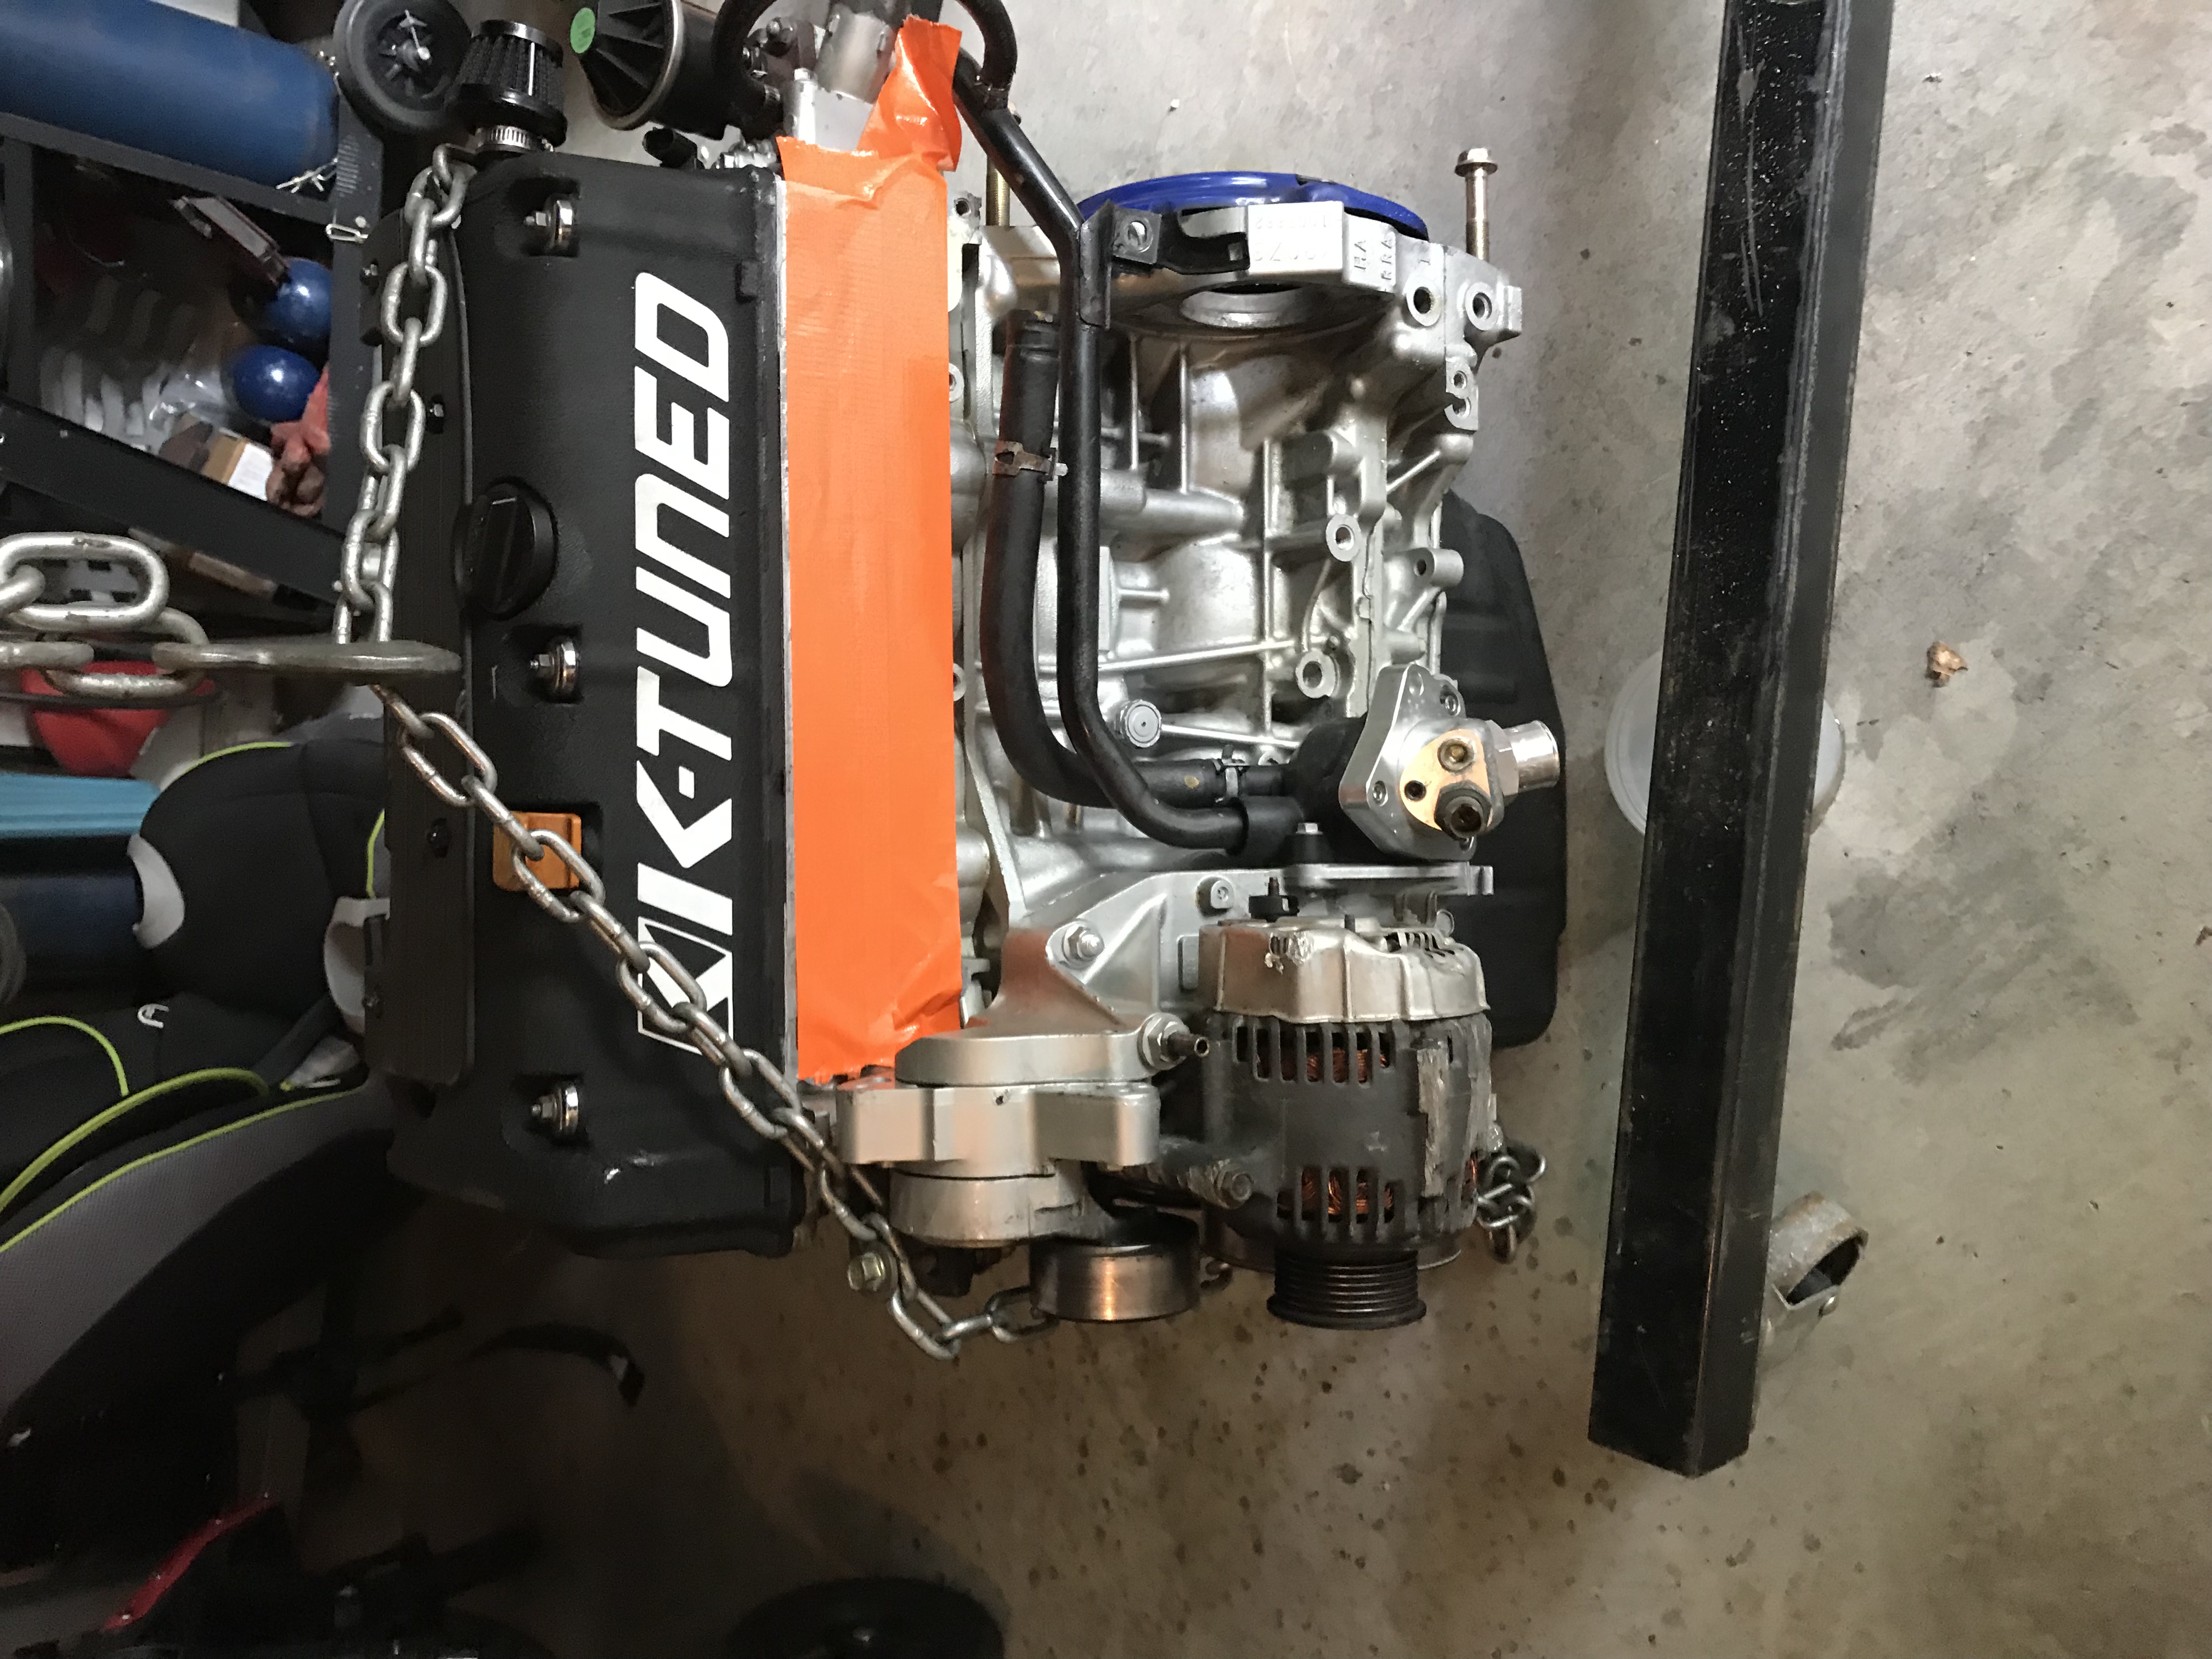
I’ve been watching the internet for an I-vtec motor and seem to find every idiot in town. Eventually I found someone that had a K20Z3 engine with medium miles. It was a good option and should fit well. At 7 am I pulled it out of my truck and drained the oil. All in all it looks like it’s up to the task!
I don’t have an intake manifold. If anyone has one that would fit please let me know. I’m going to try a standard Honda one first before going the skunk2 route.