K20 Power now bolted in!

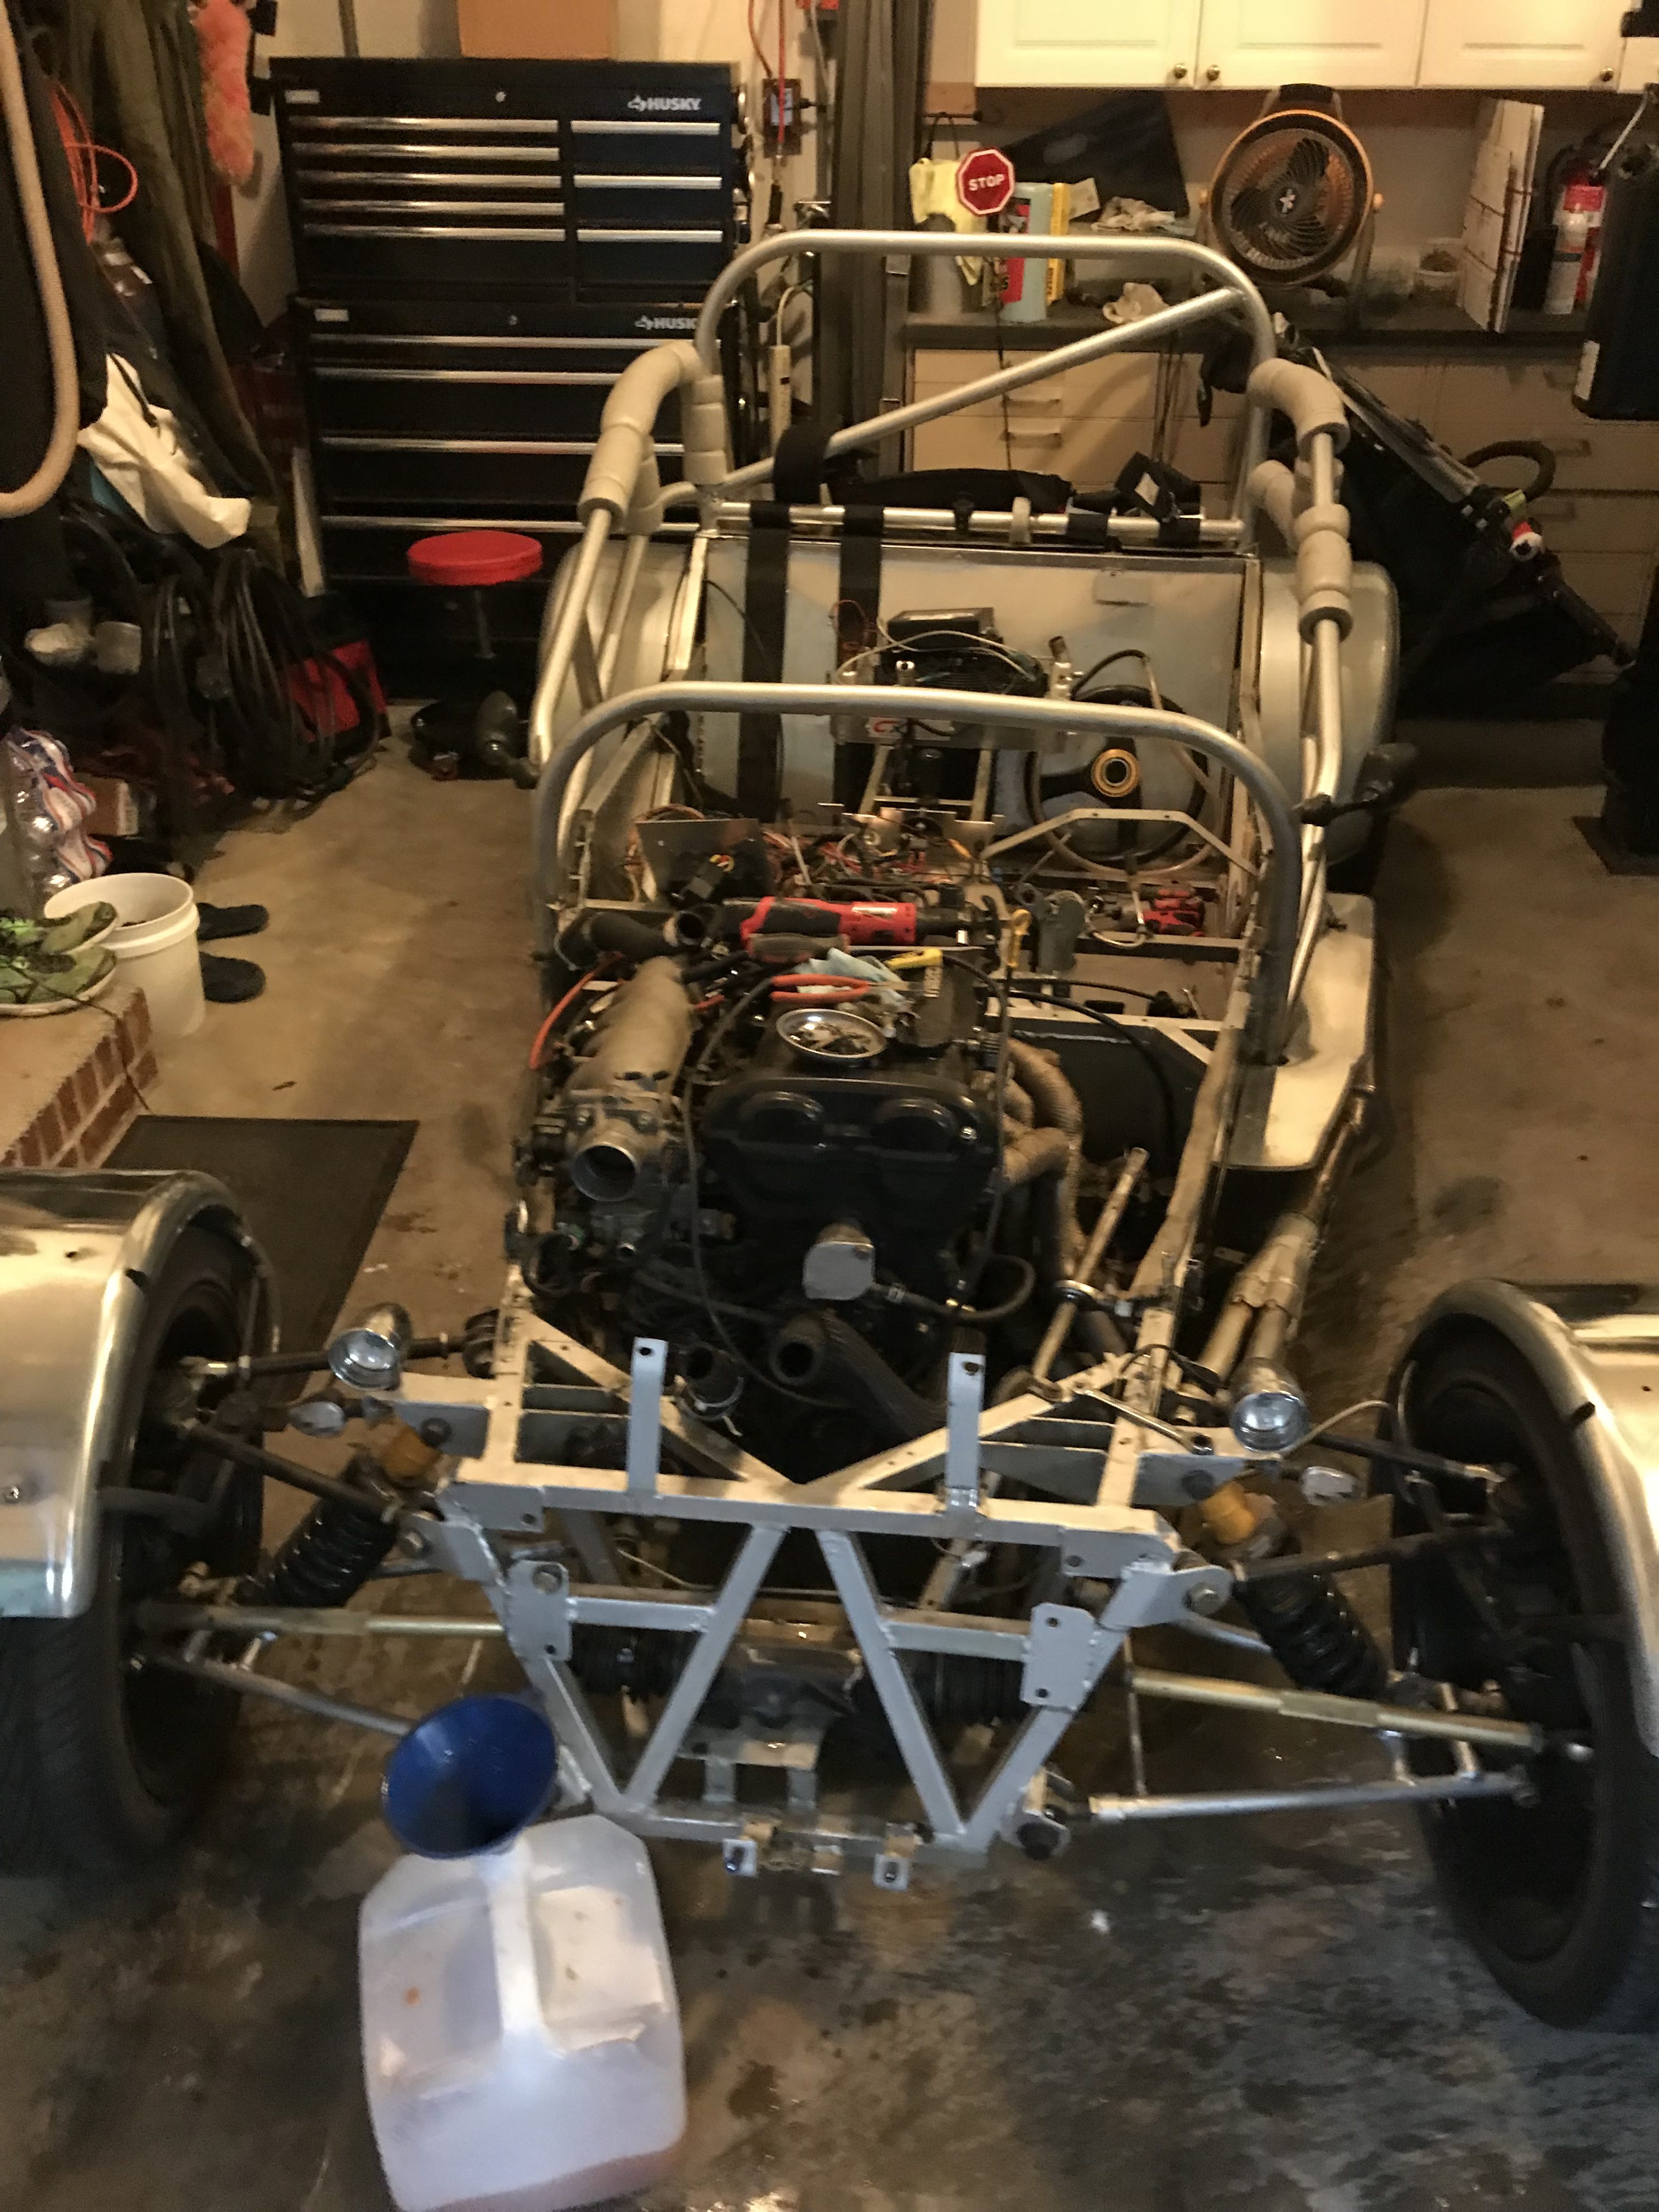
It took a while but I snuck a half day into working on the car with my dad. While I thought it was 3 hours of work it actually took 6.

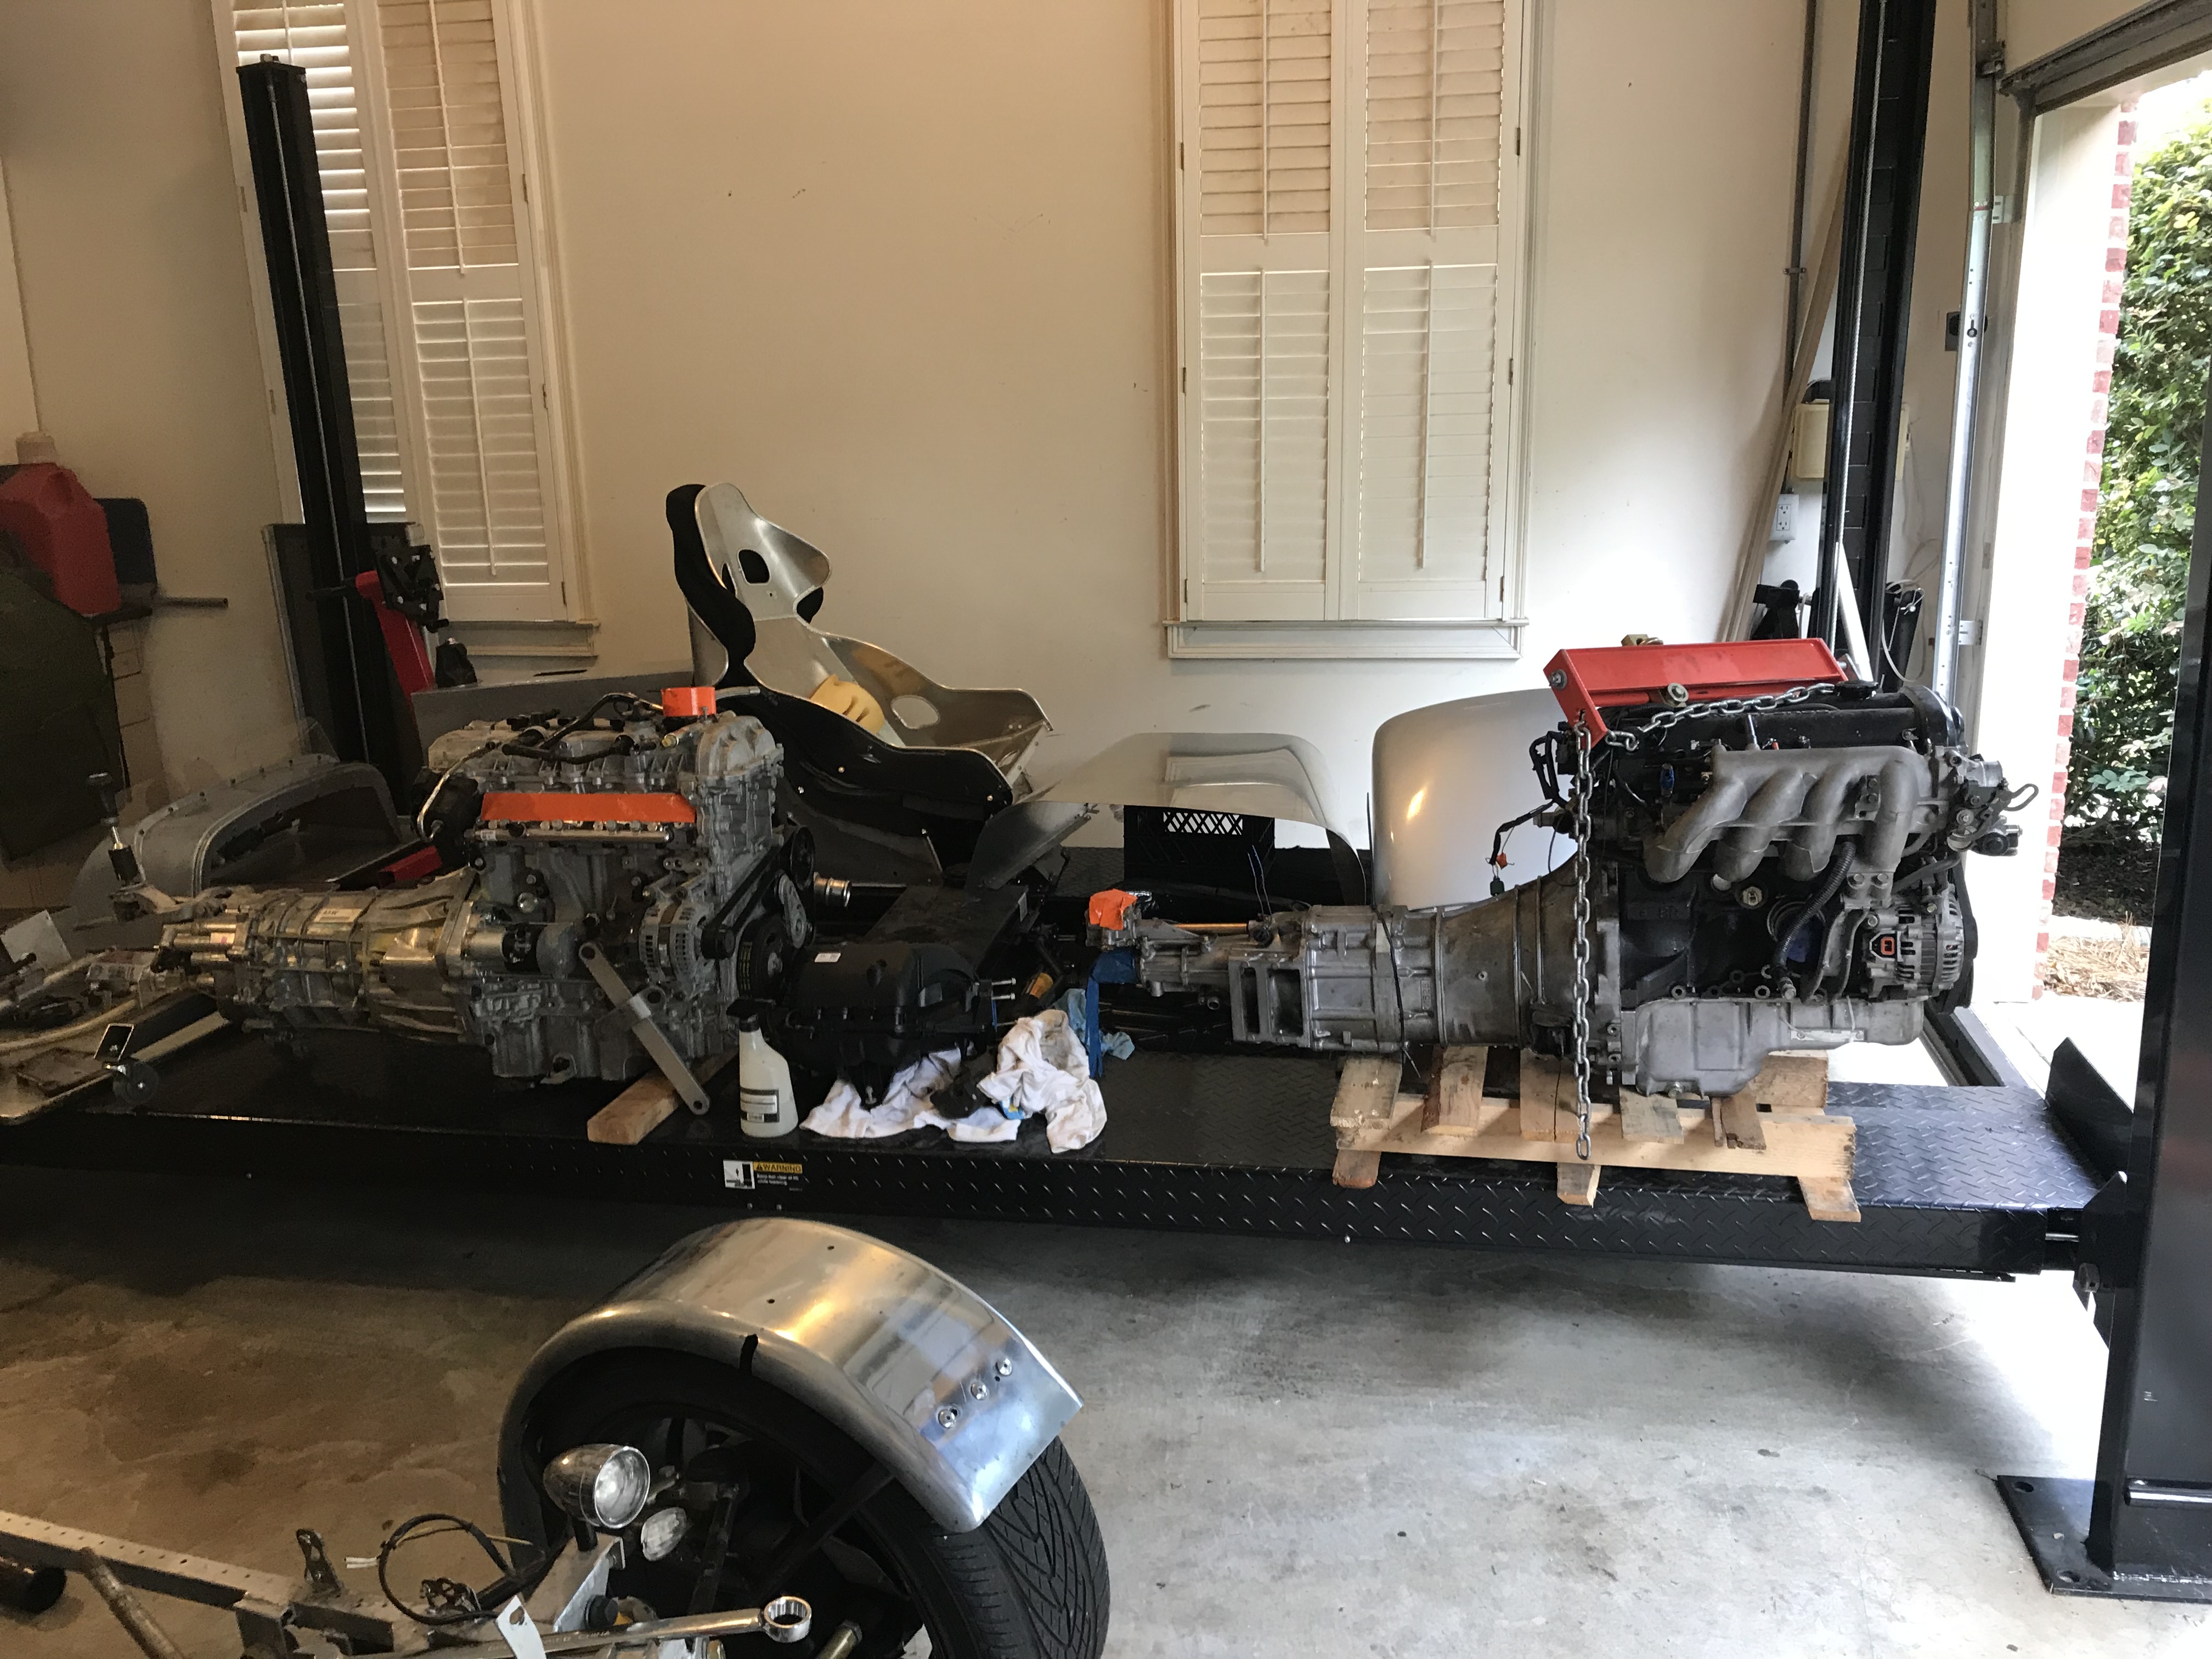
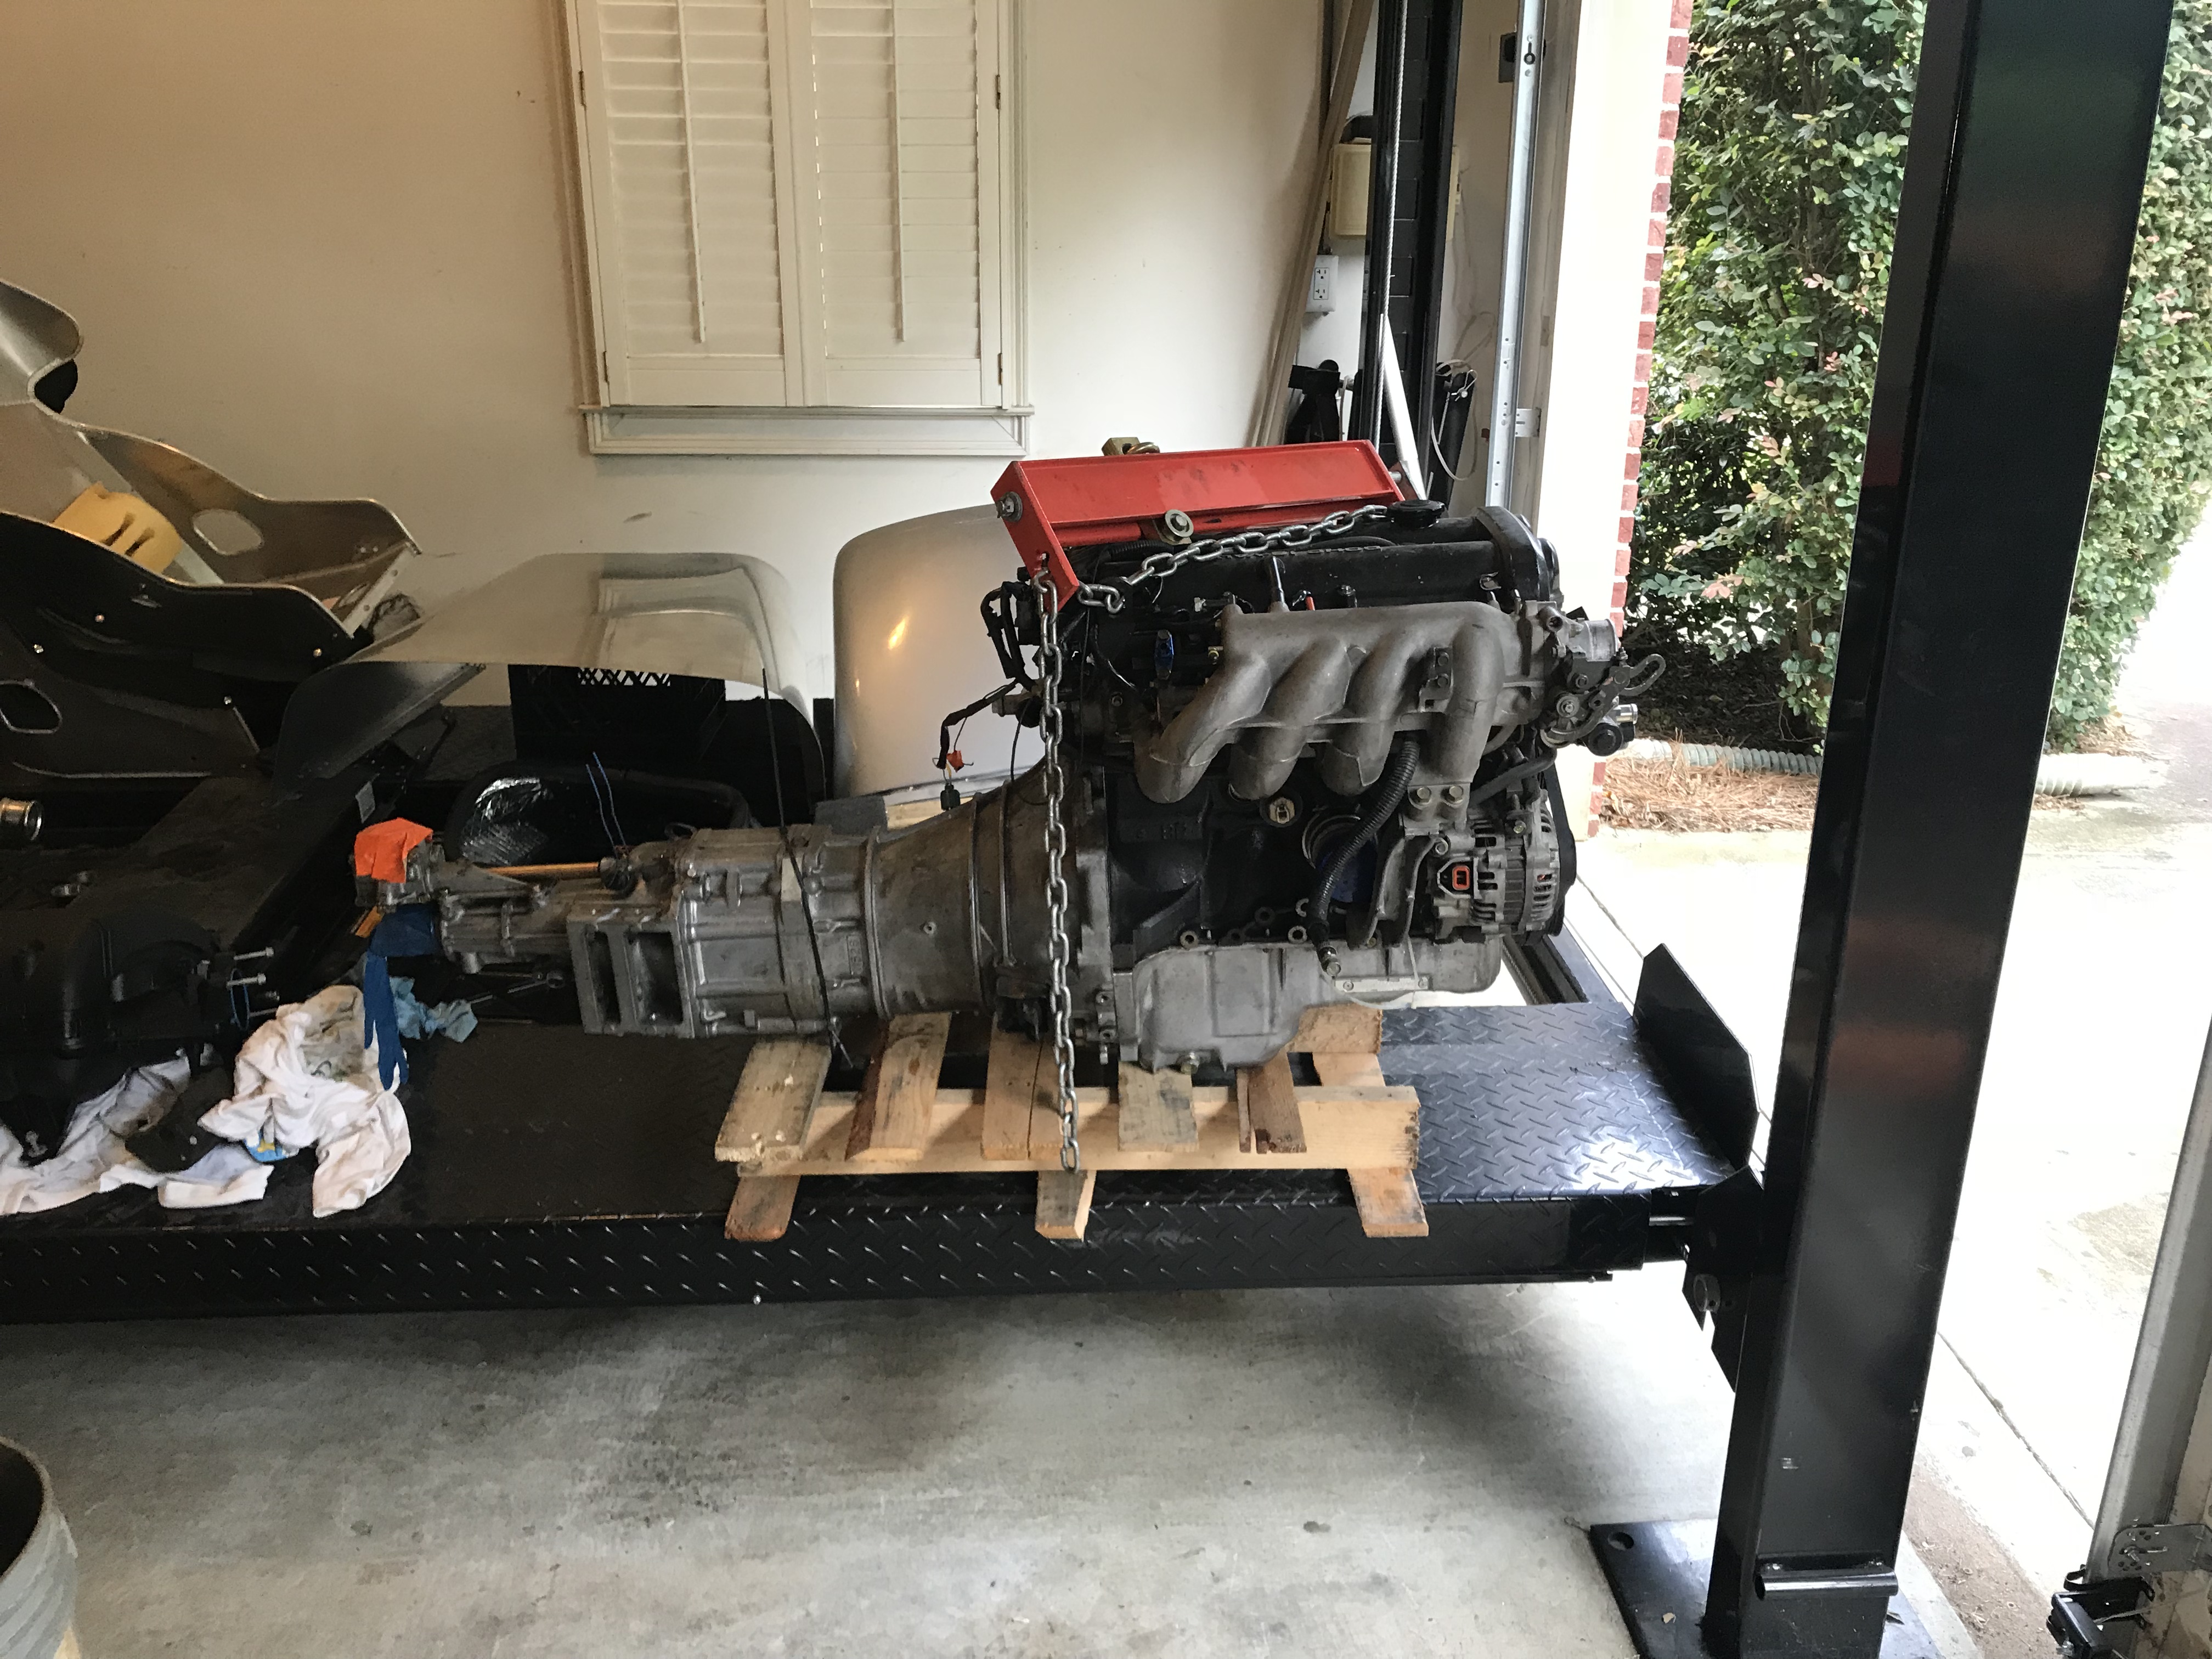
First thing was to pull the k20a3 and remove the transmission and adapter plate.

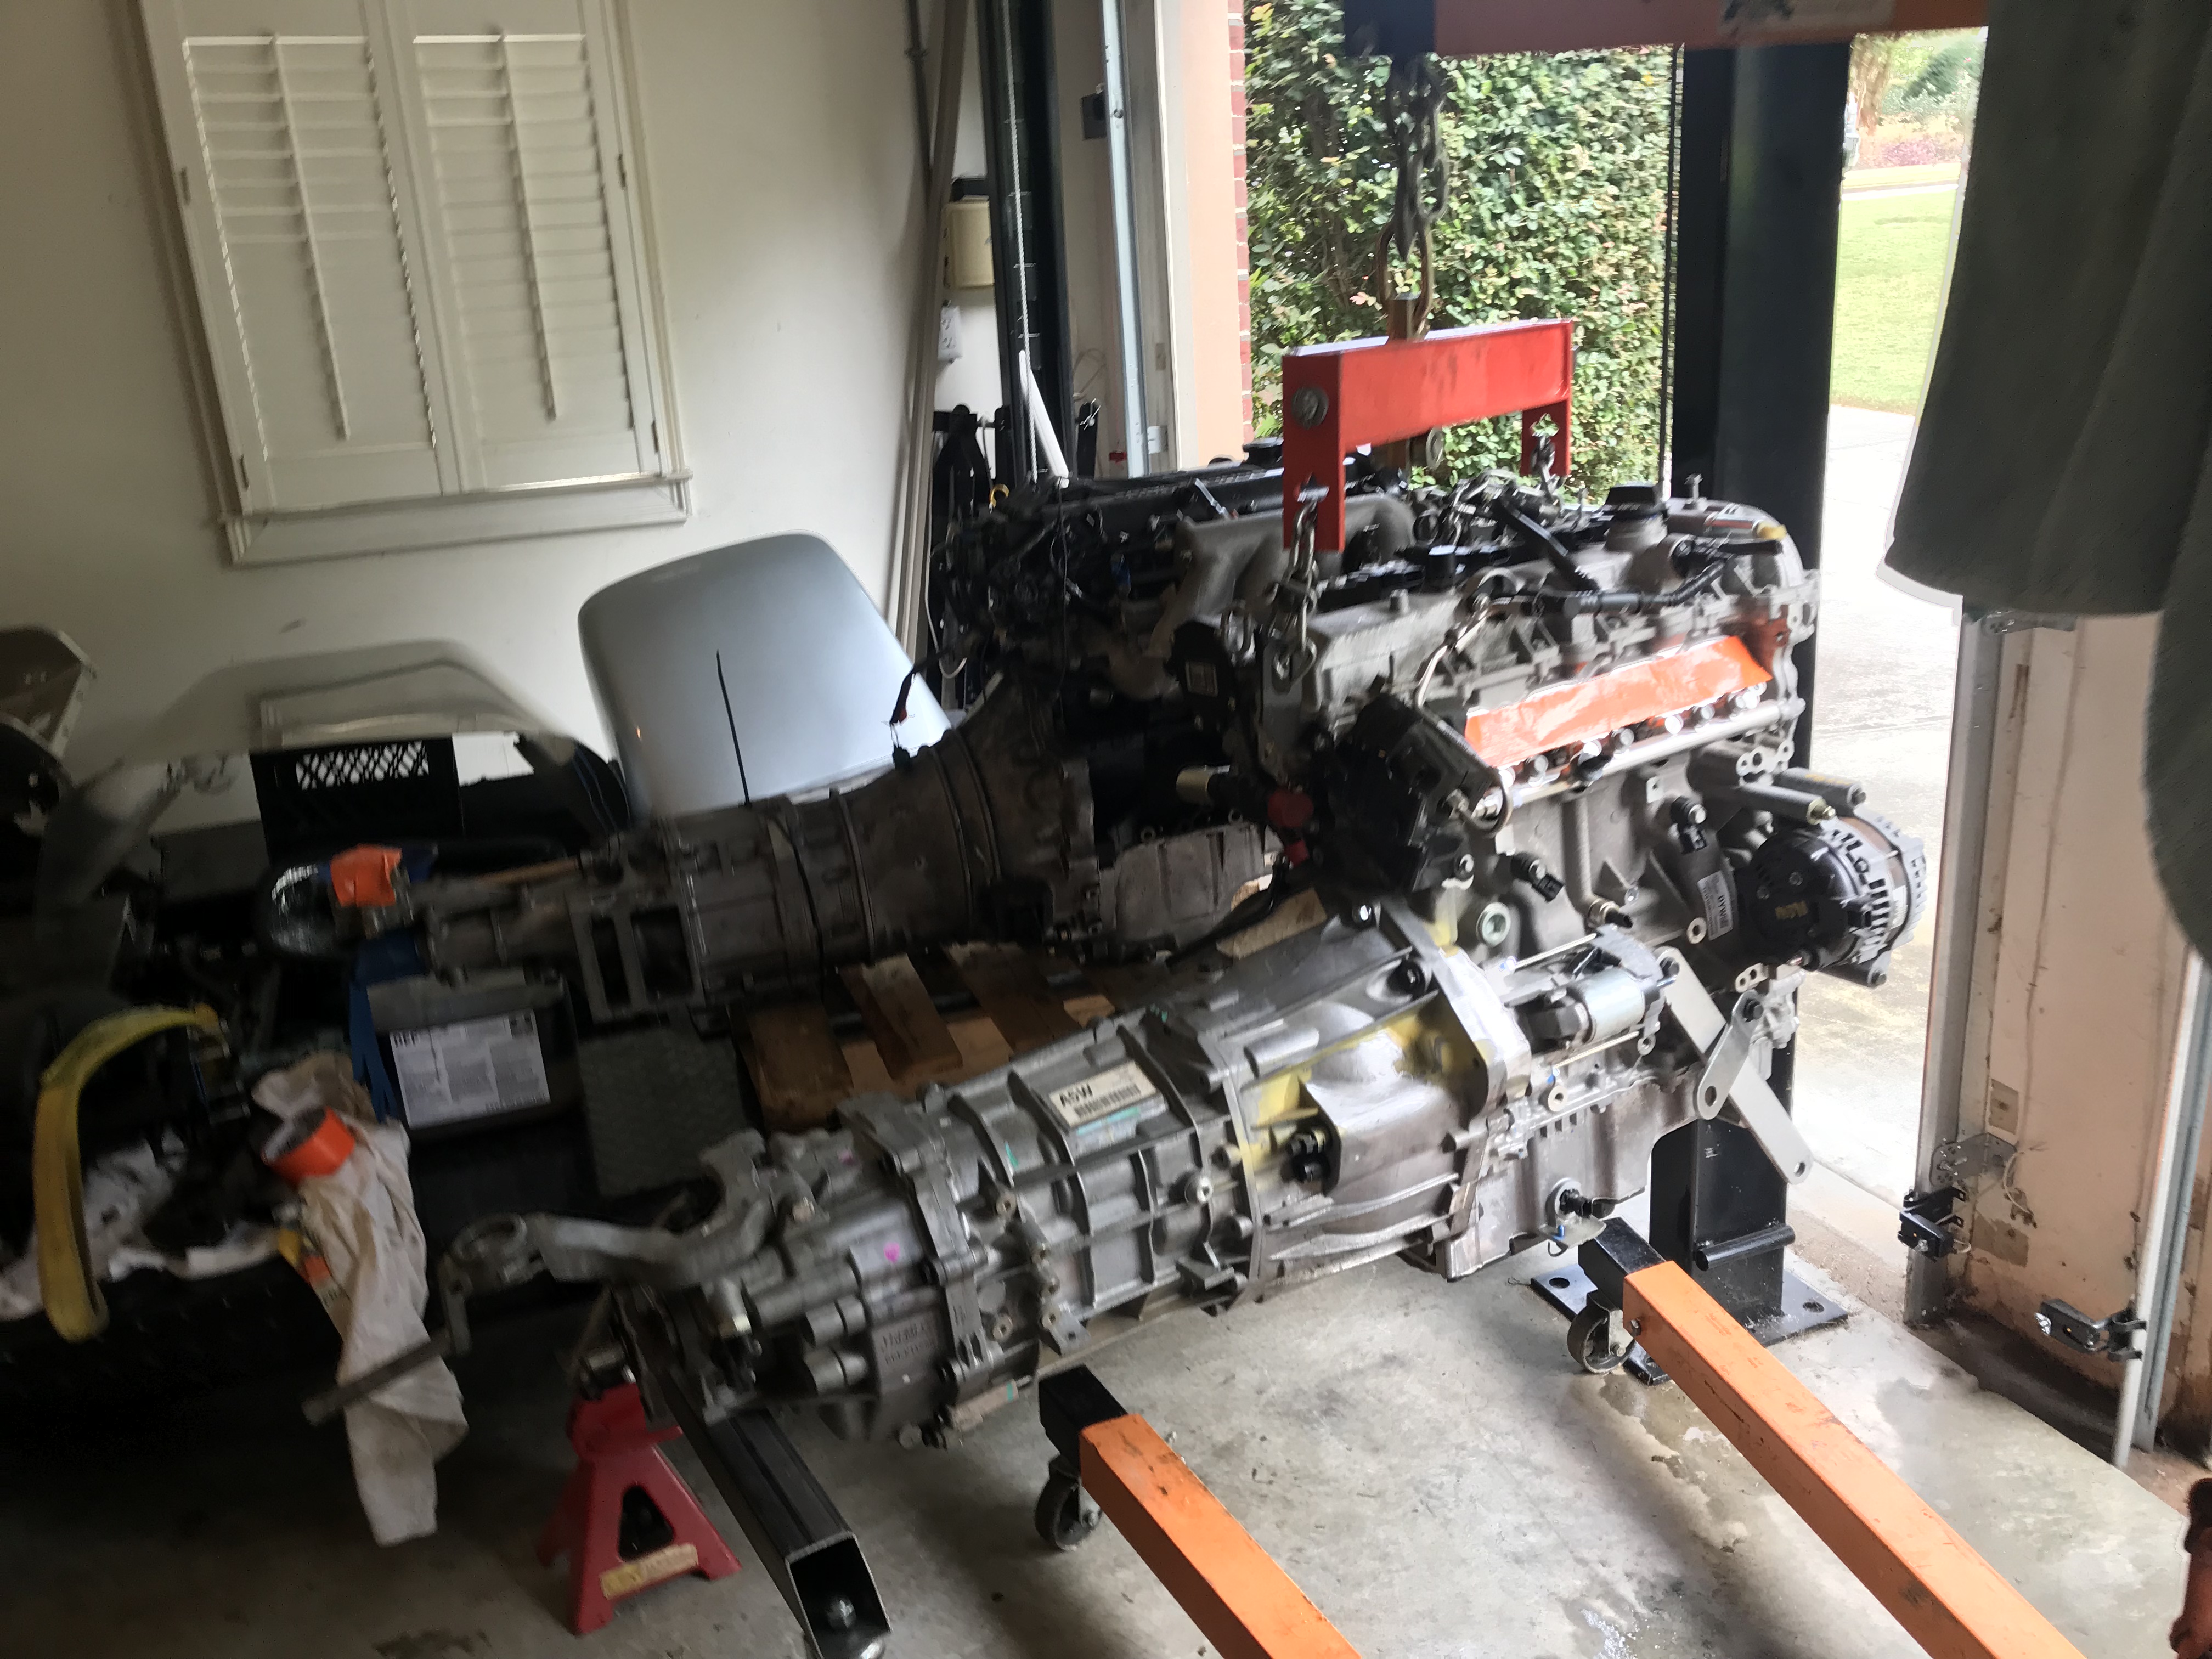
Up next was moving those parts to the K20z3 and bolting them all back together.

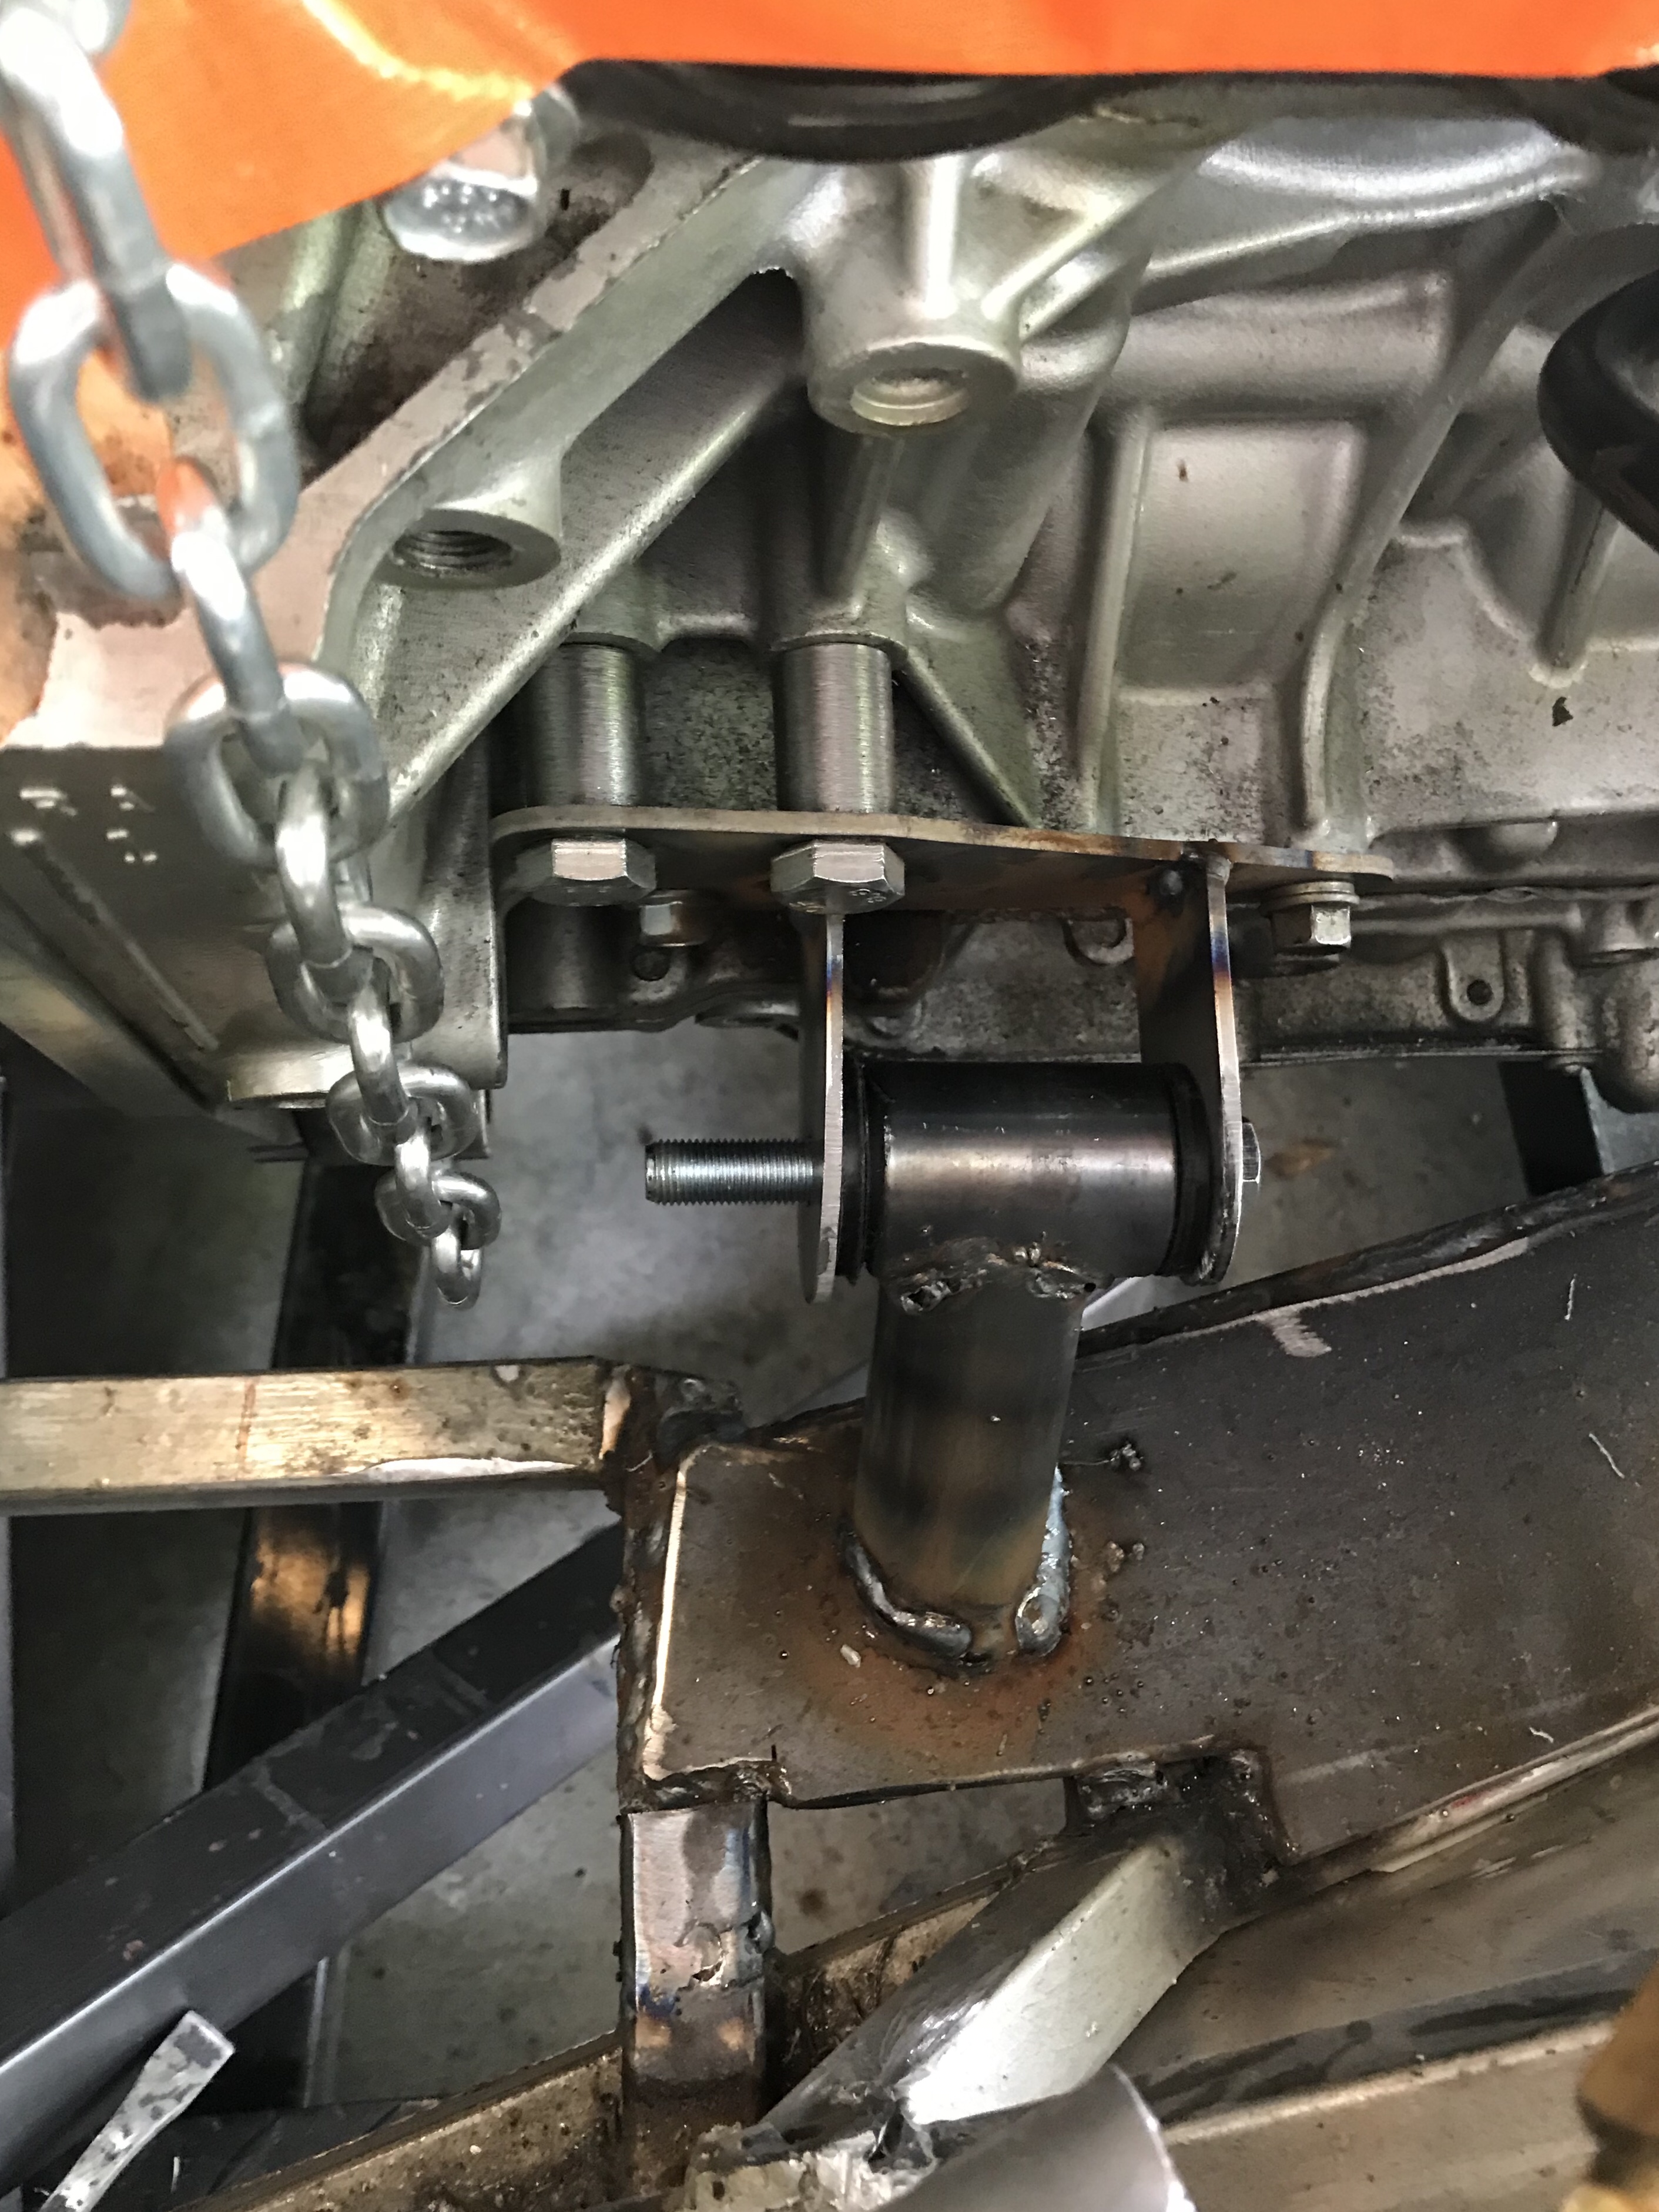
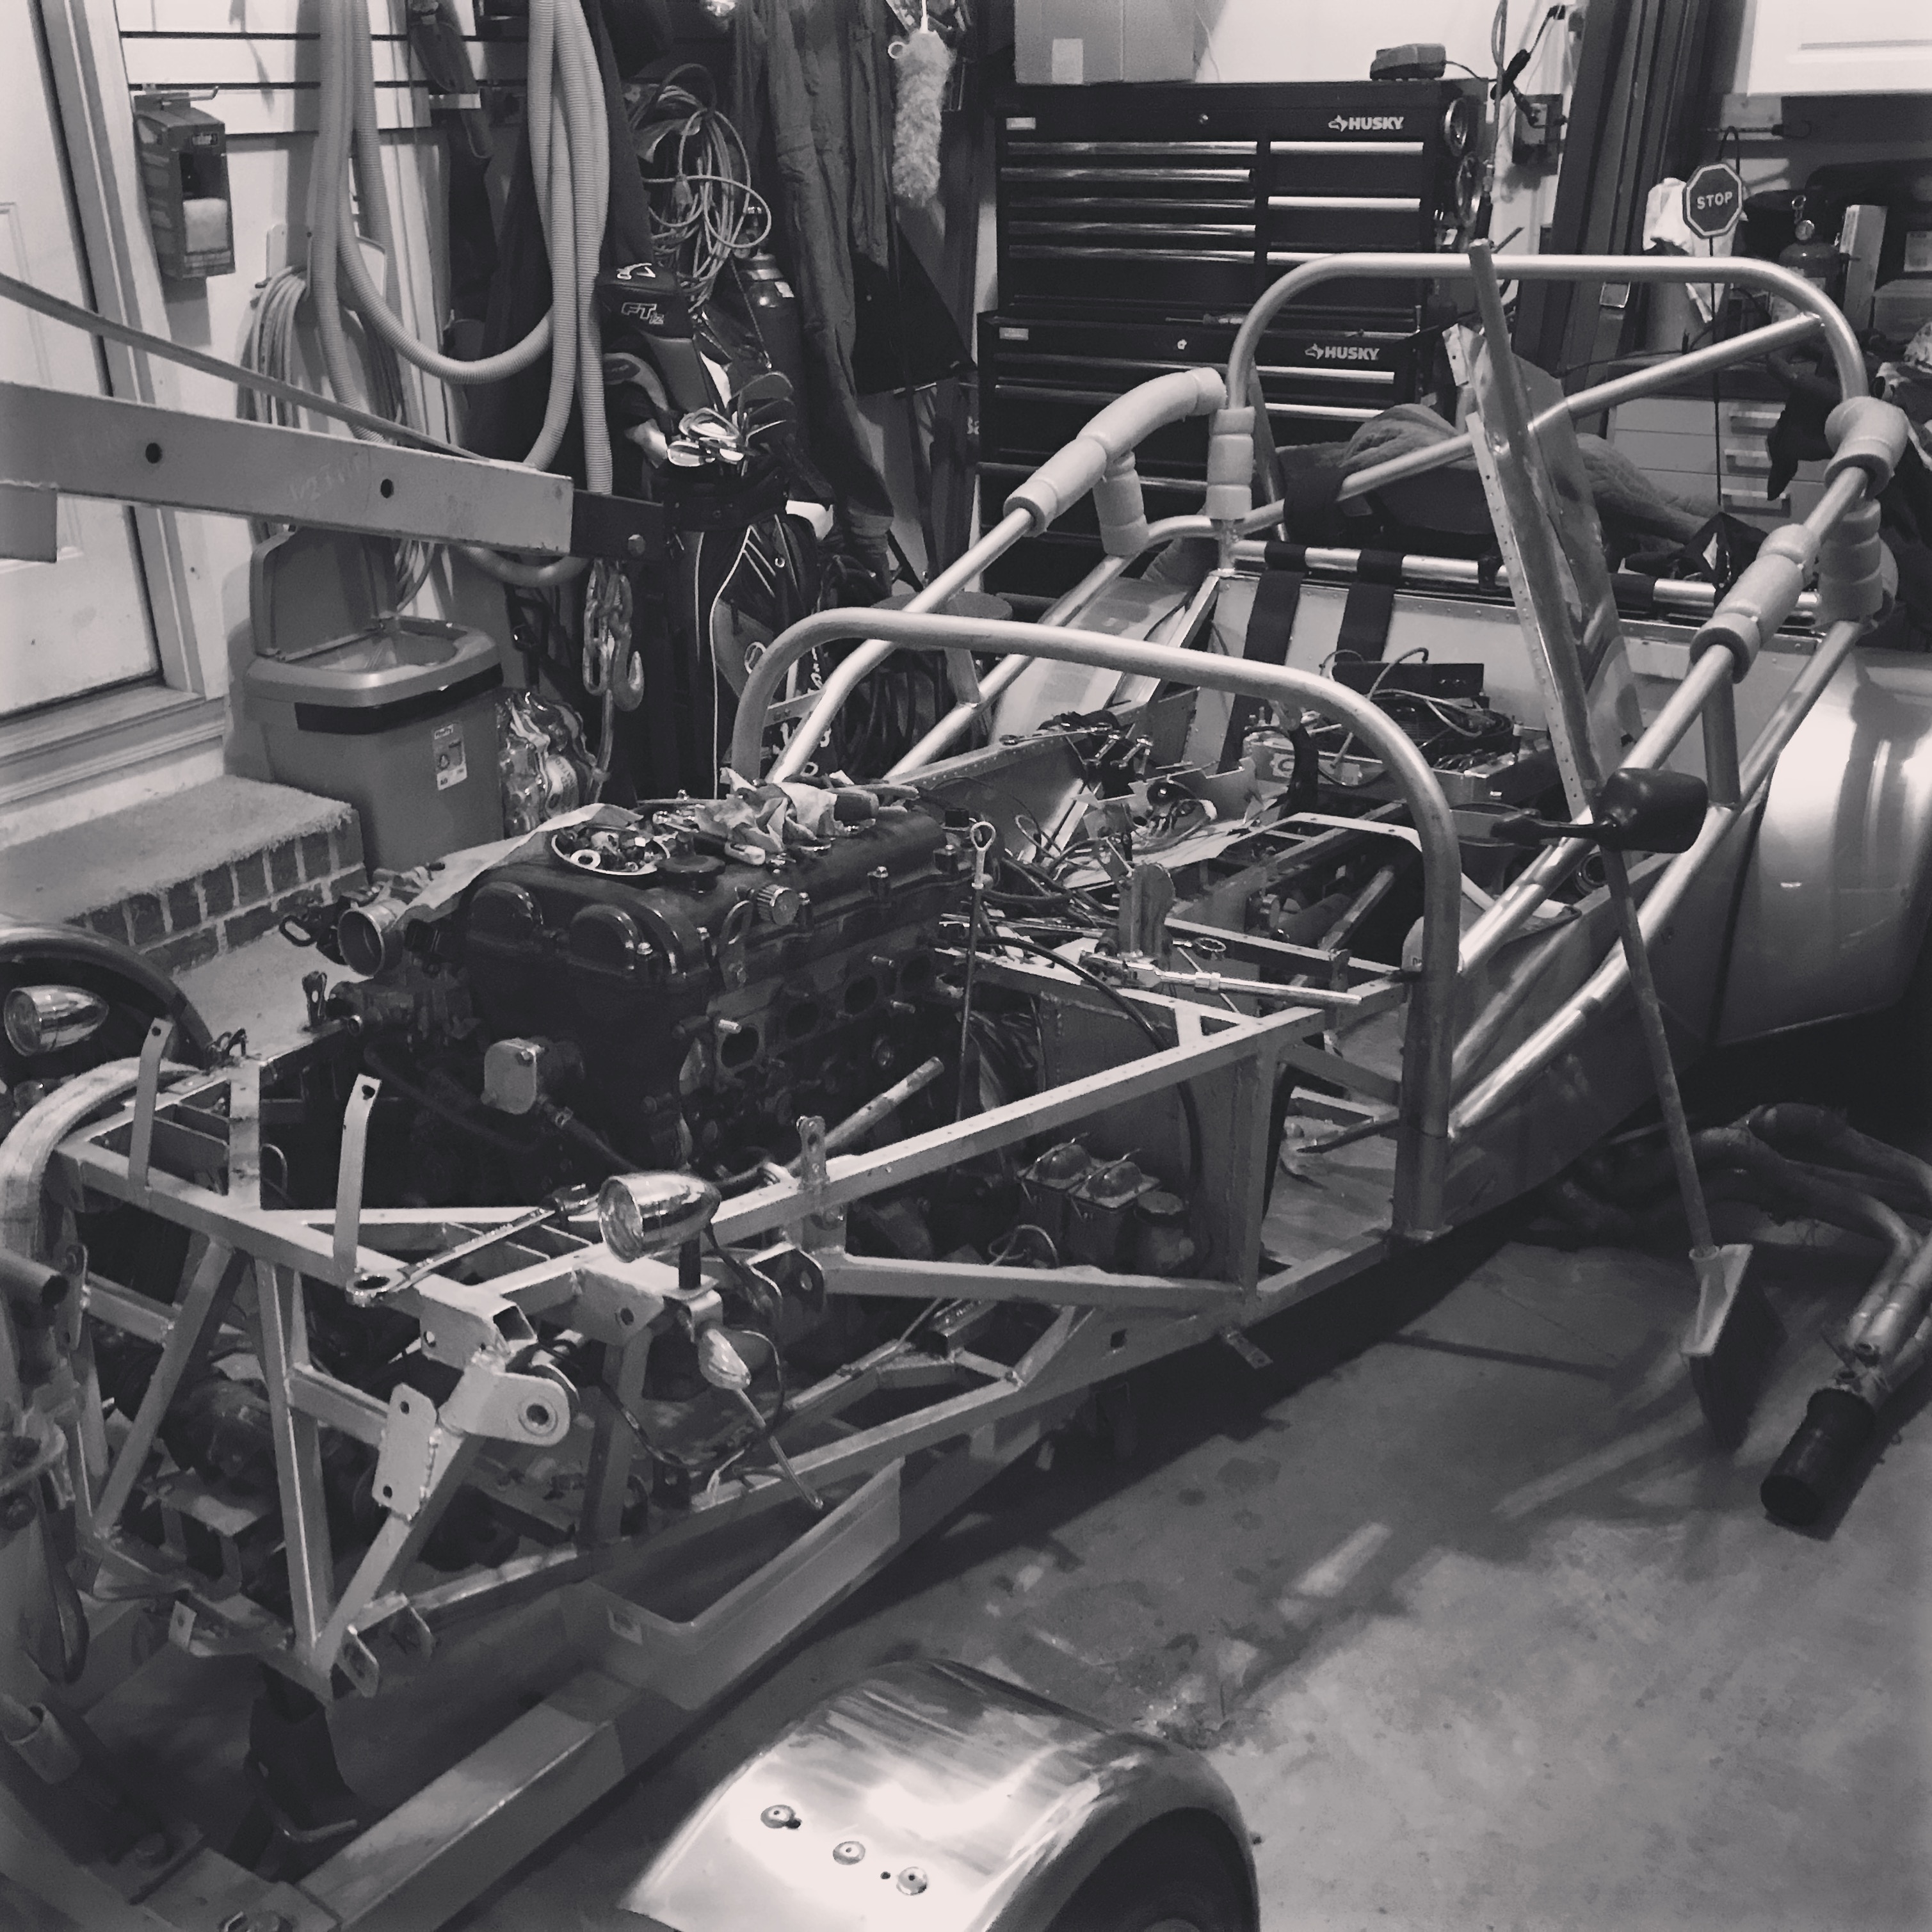
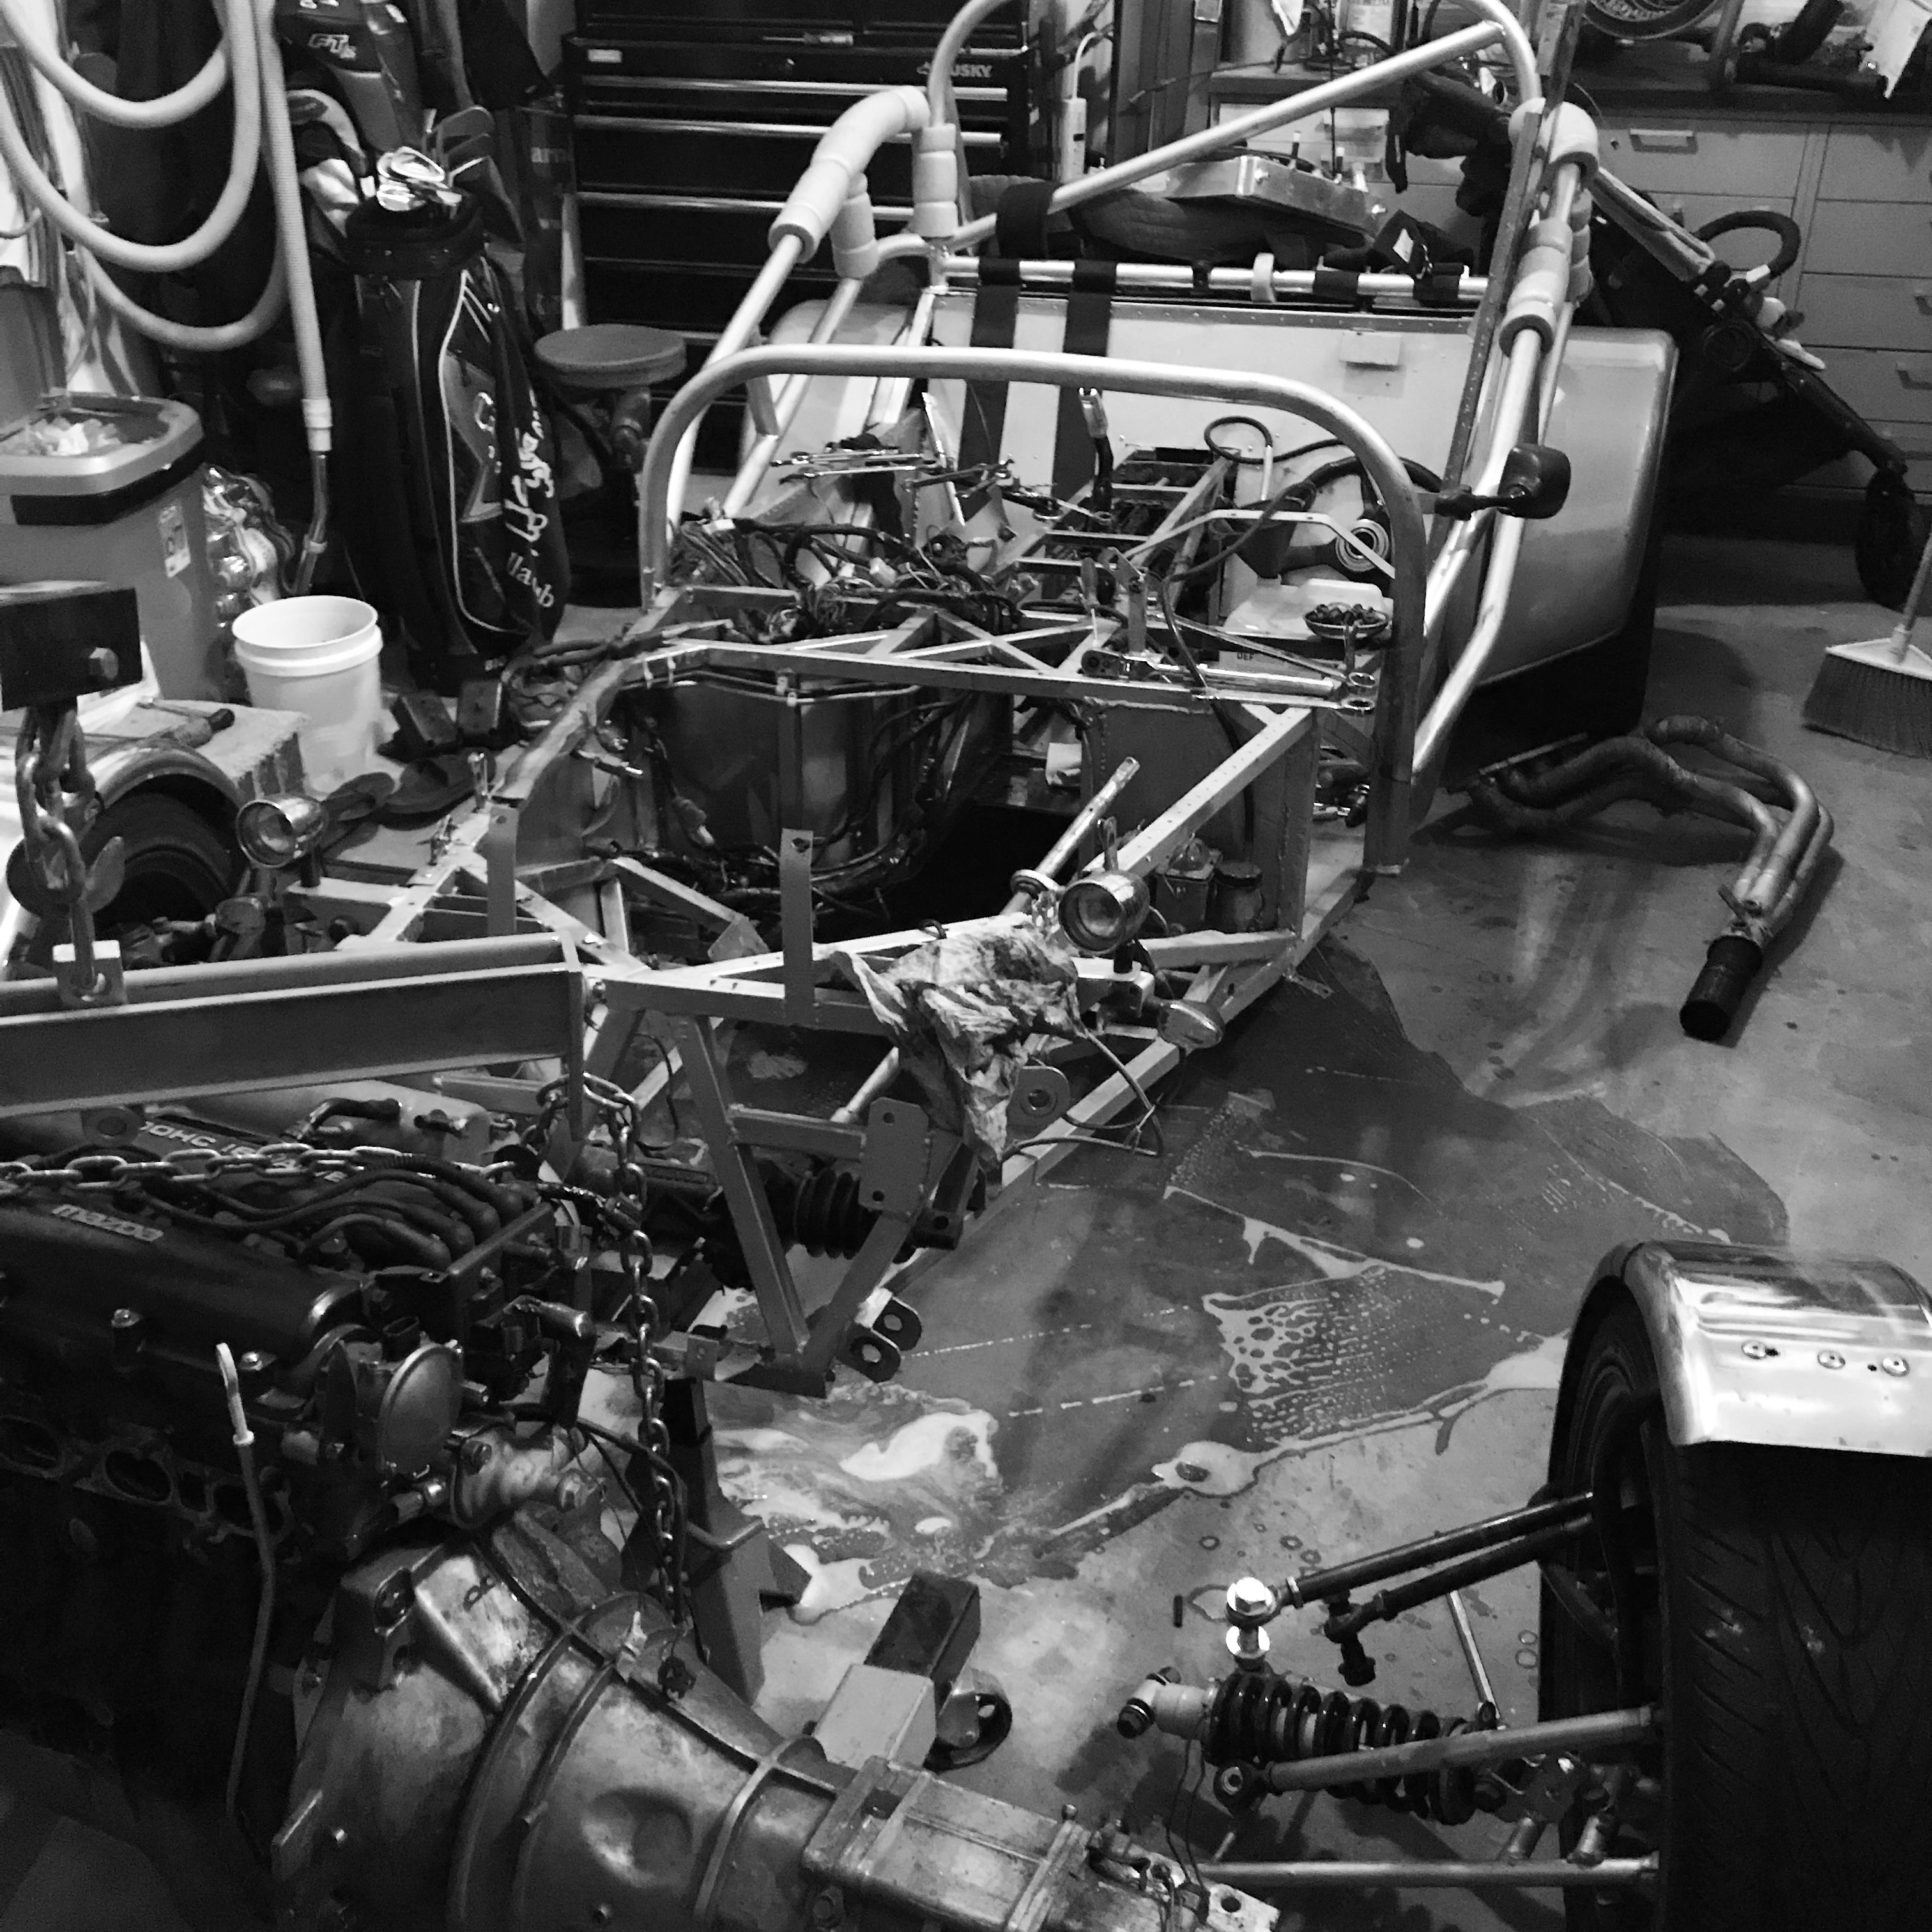
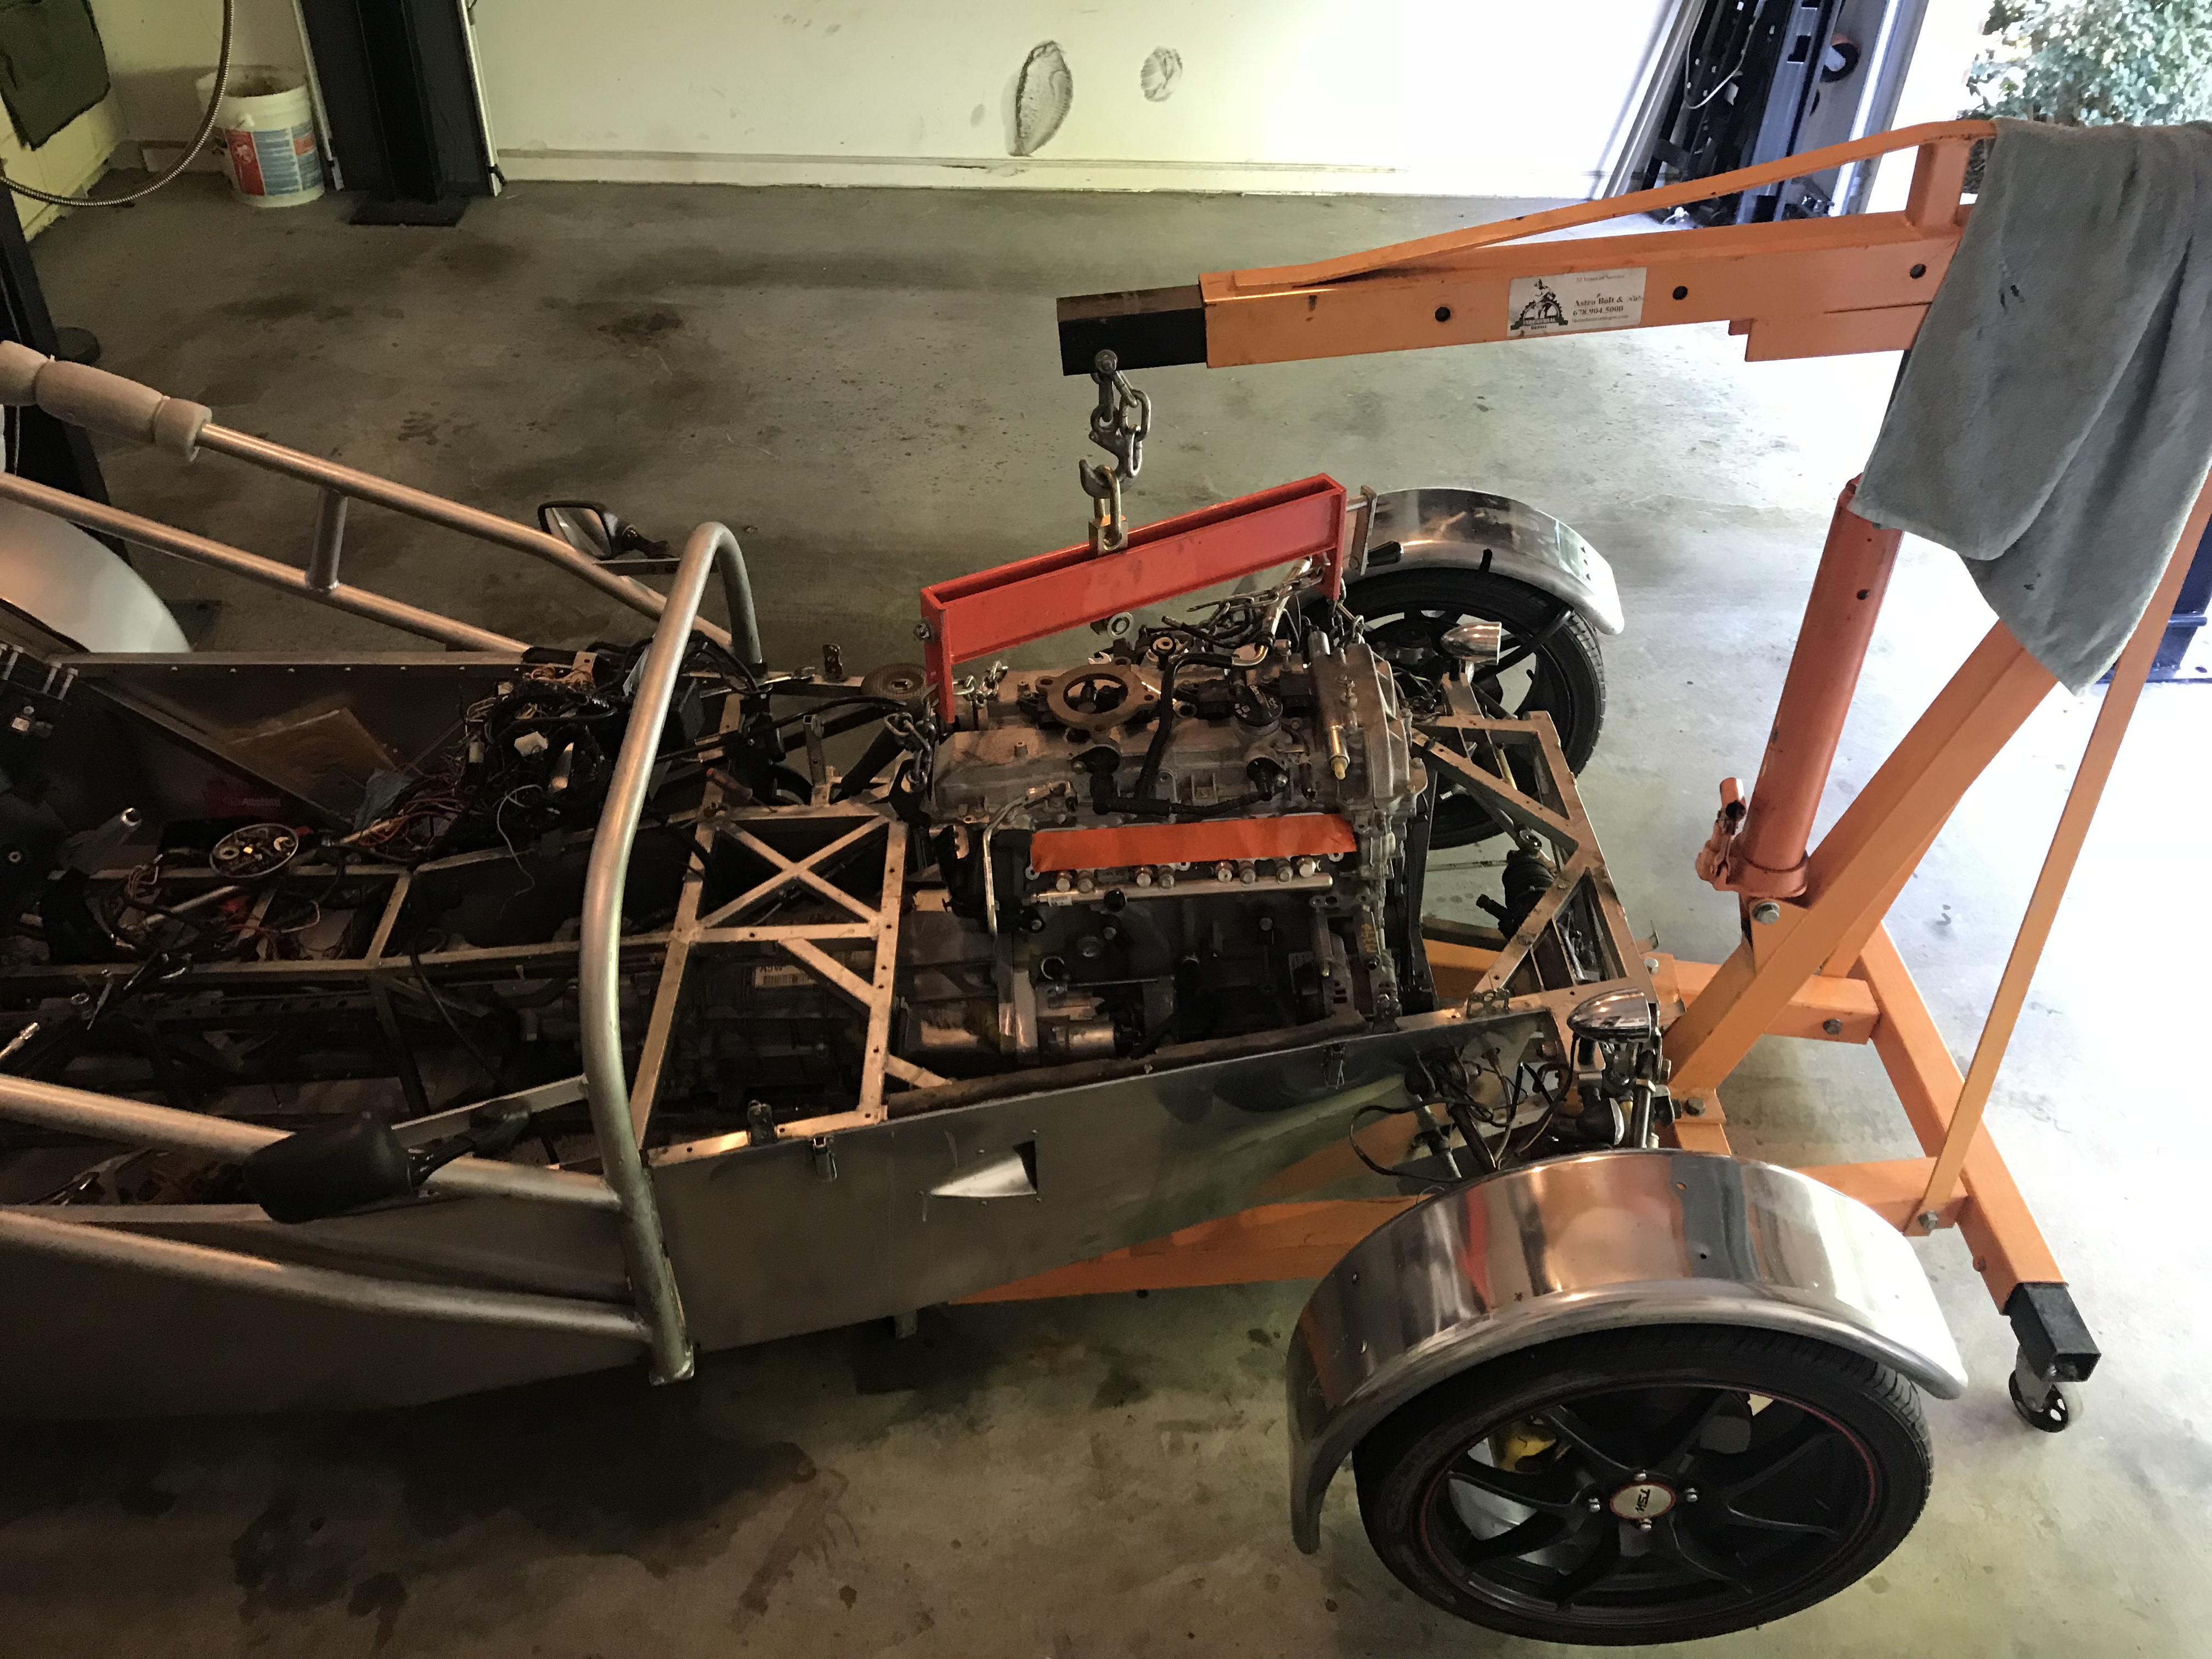
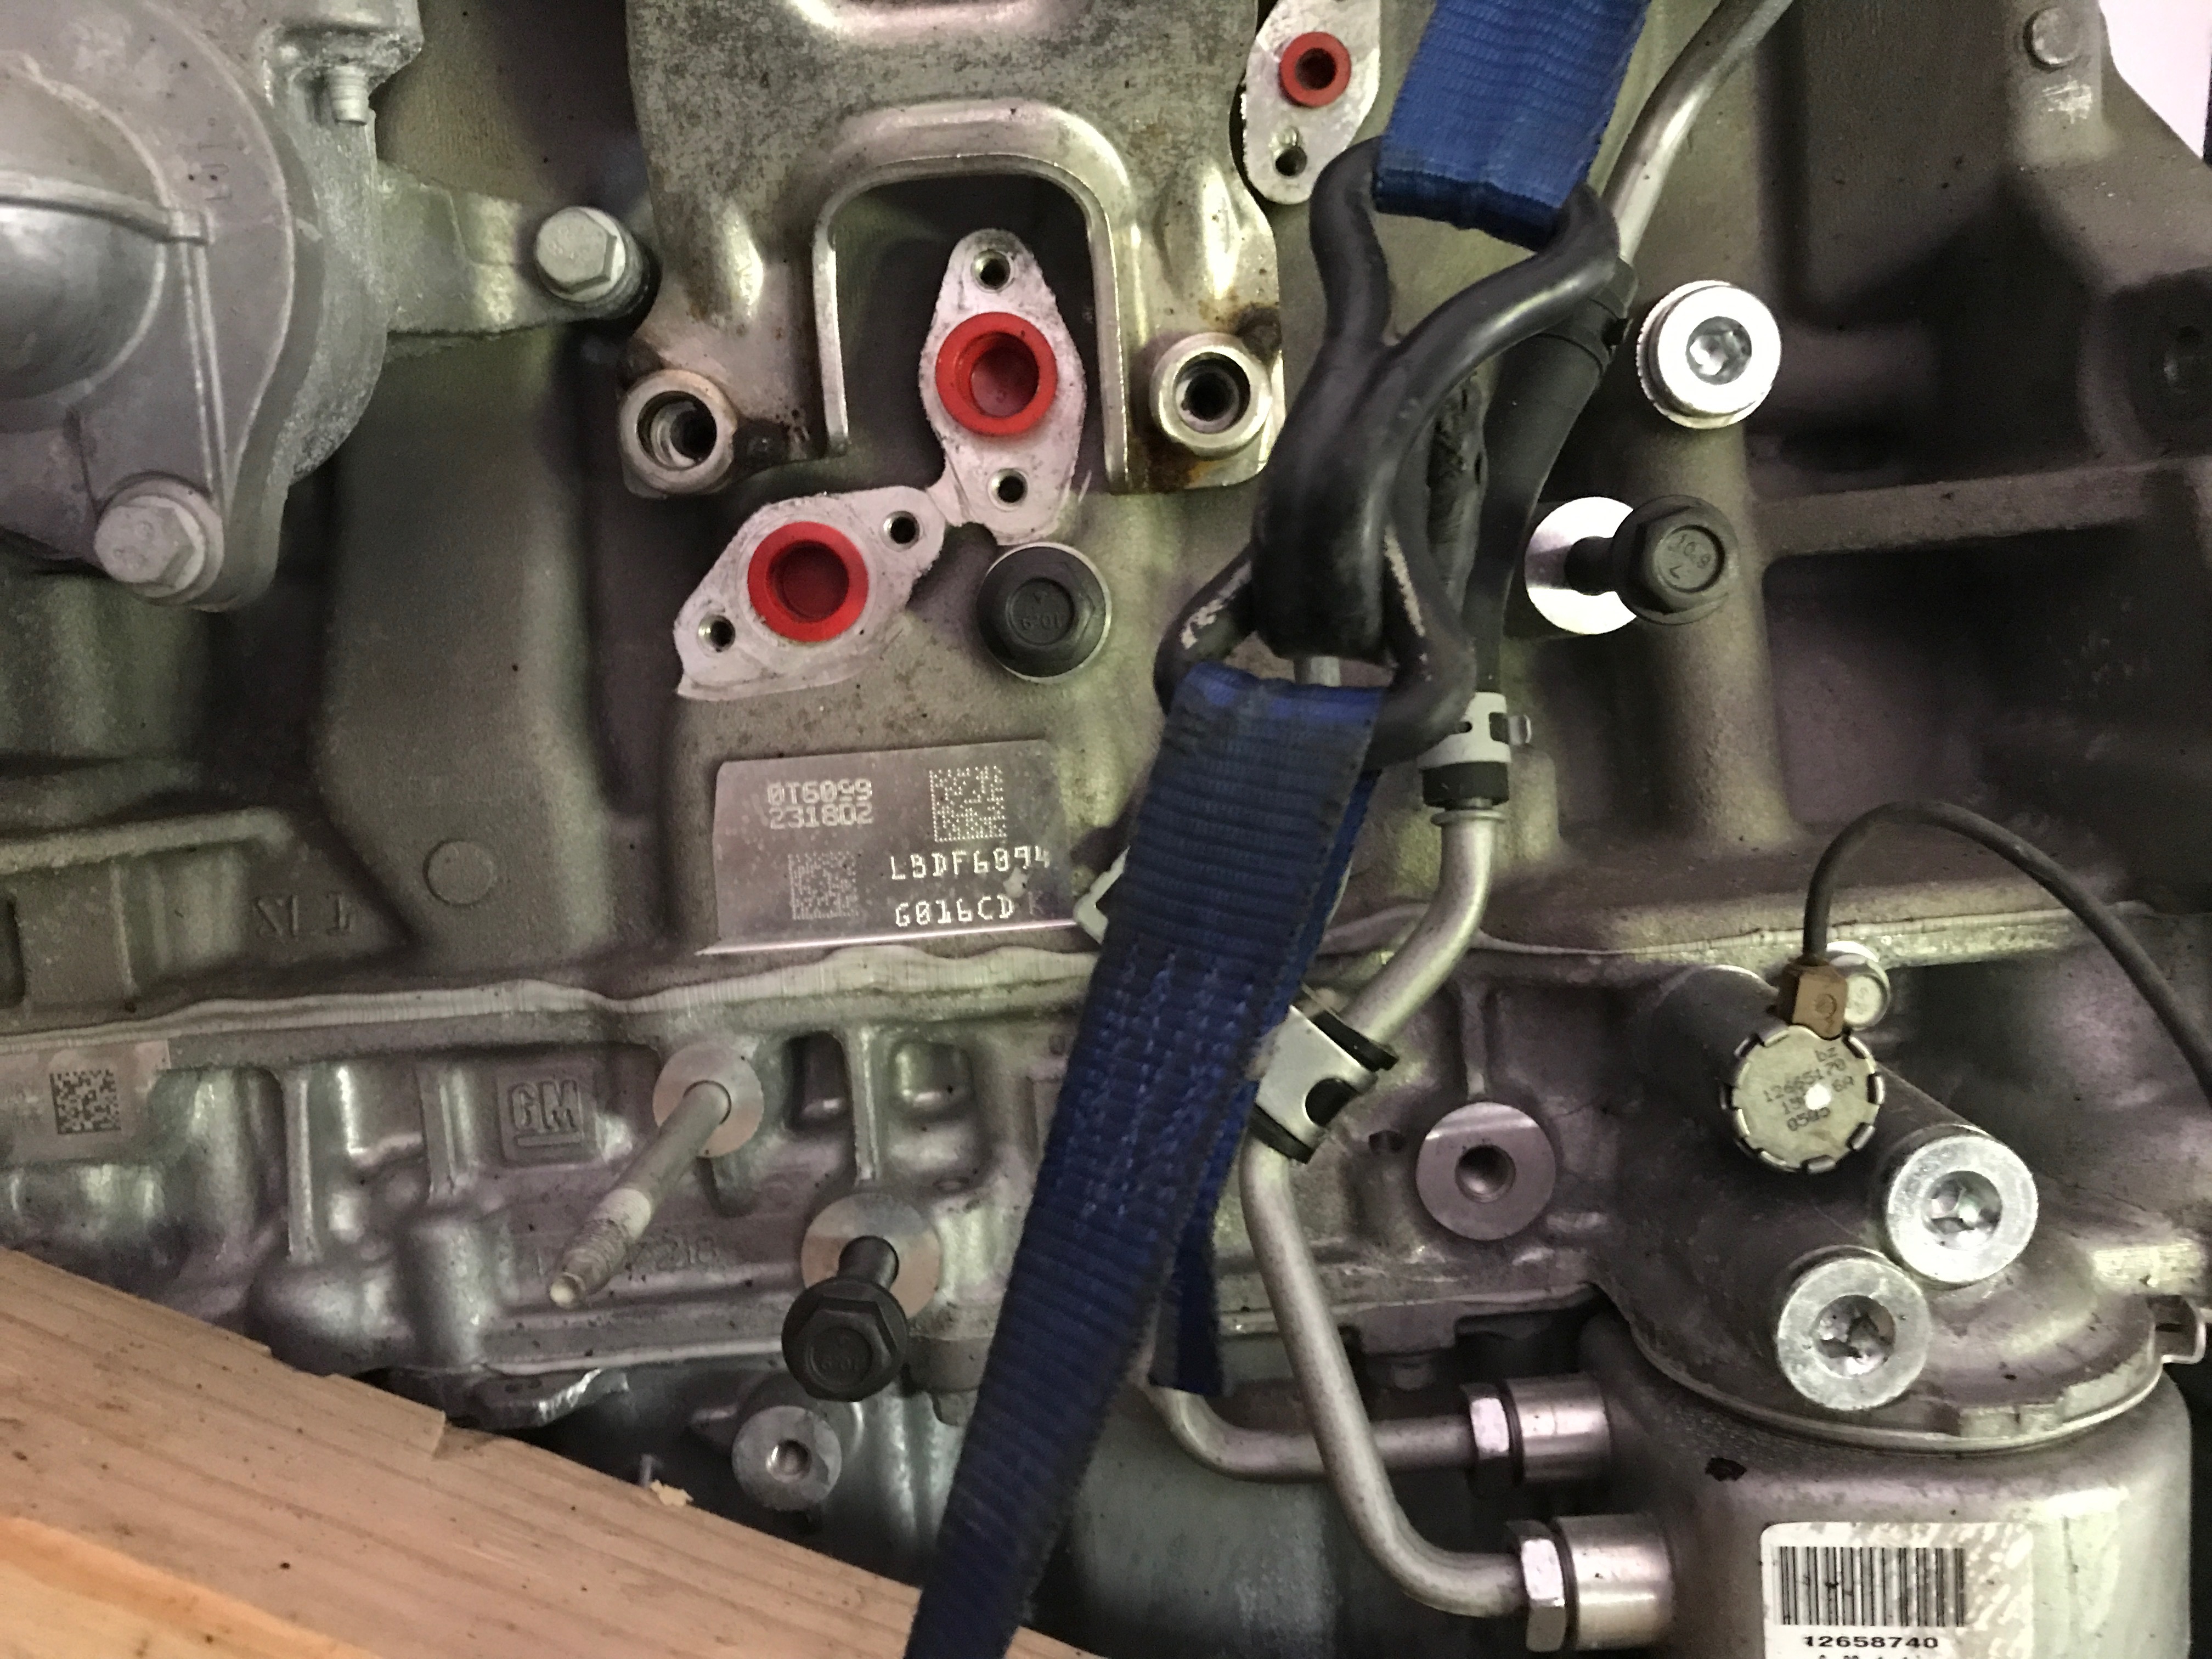
From there we worked out what needed to be changed and we we removed and replaced a tube in the chassis. We also removed the old motor mounting plate and cut a new piece. After 5-10 minutes of welding we started to position the engine.

After measuring and cutting several tubes we had the left side mounted. Next we leveled the engine to 0.6 degrees and started on the driver side. They came out quite well

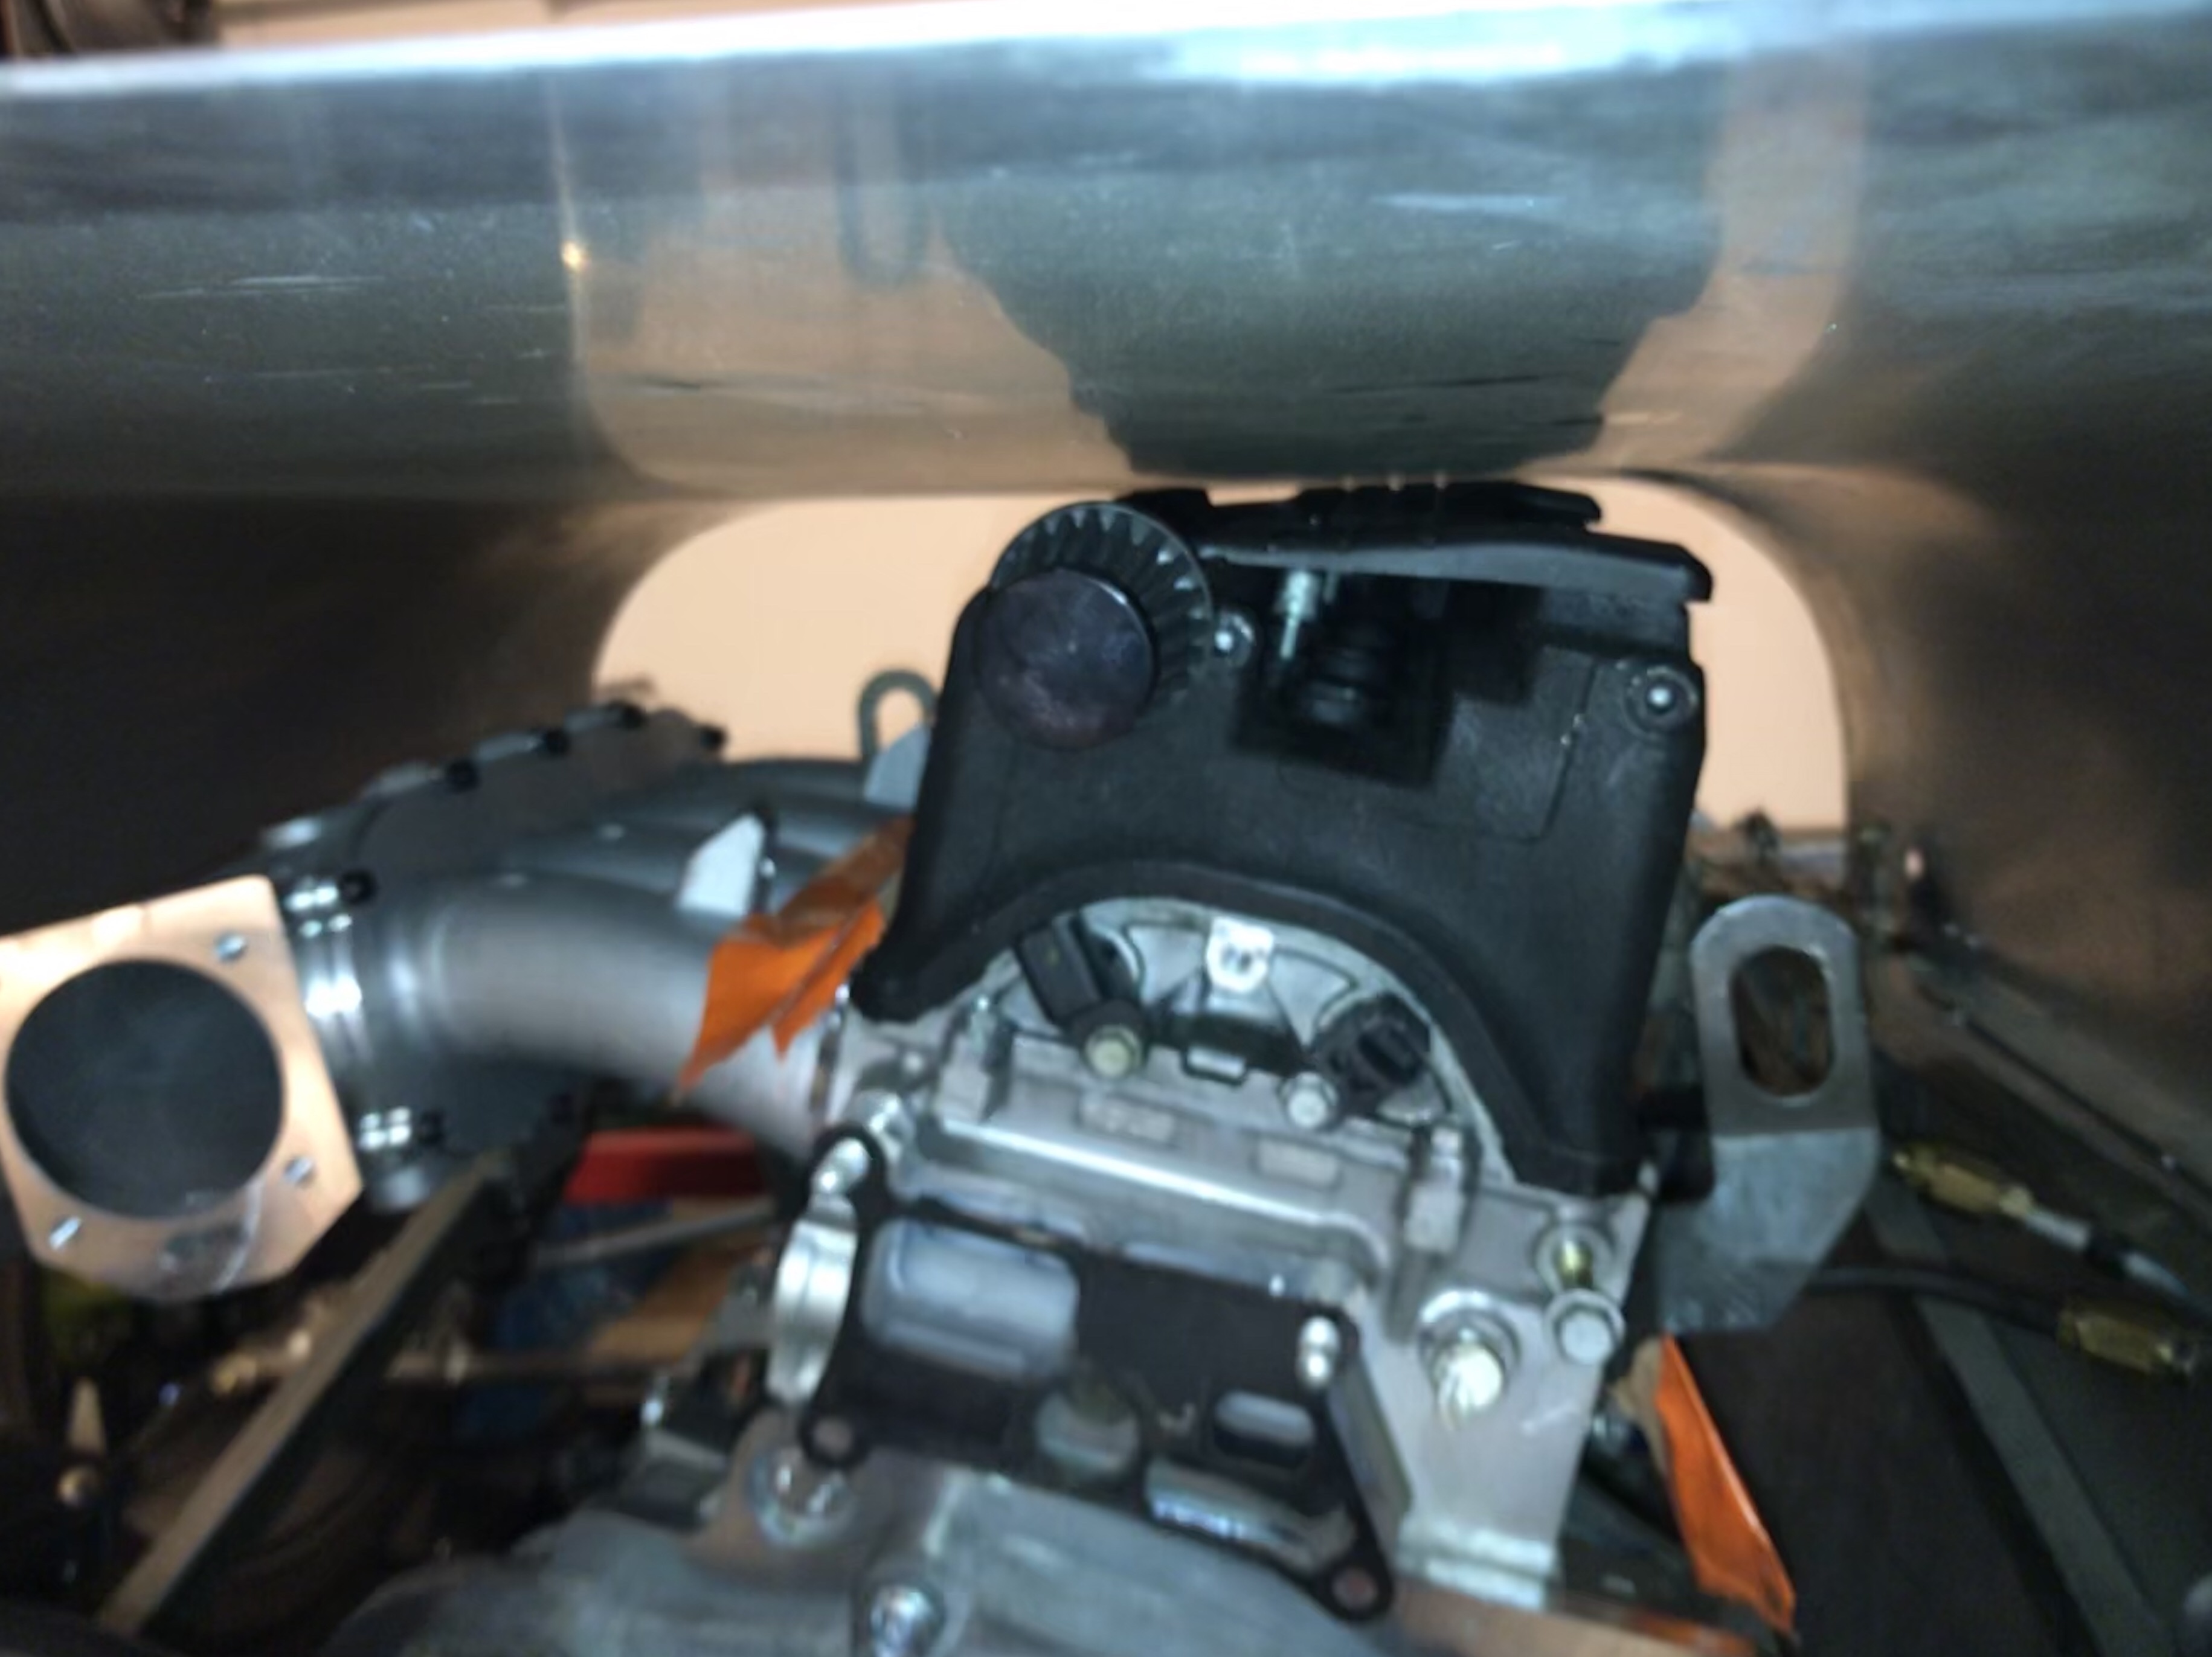
The final step was to check hood clearance. I didn’t expect it to fit but was nicely surprised. 3 mm to spare!

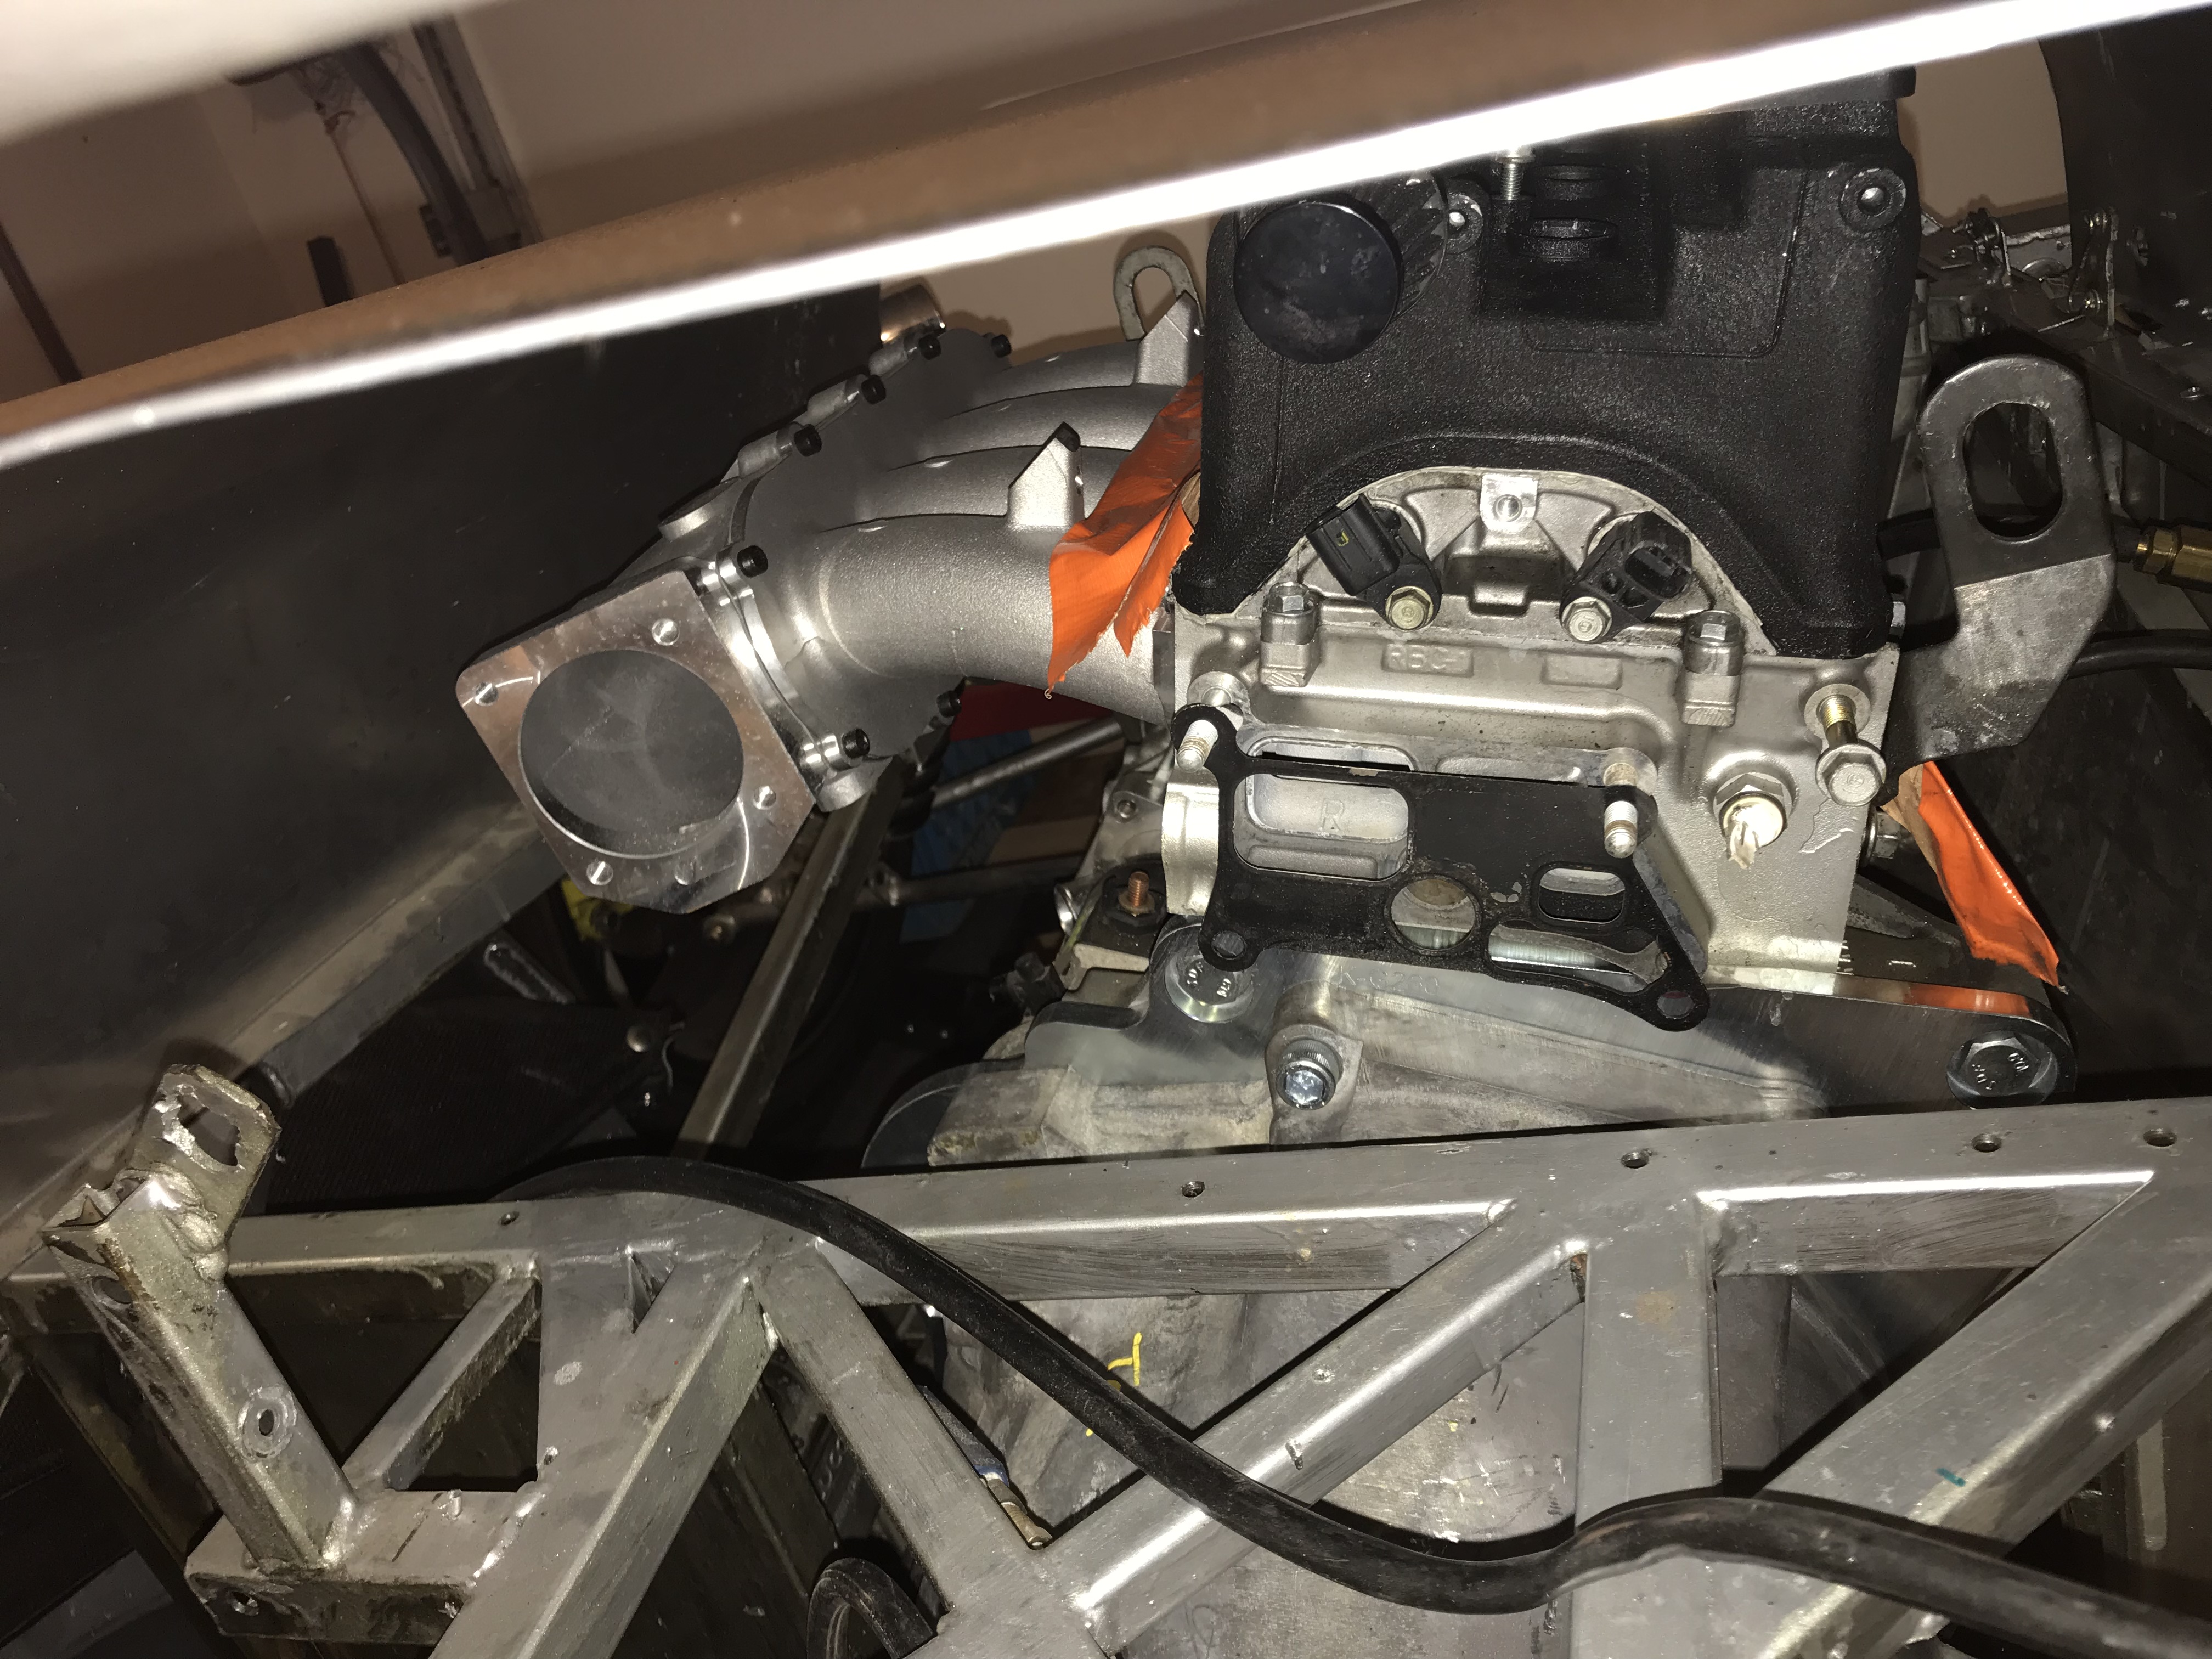
There week be some challenges with the steering and alternator but those are for a different day!

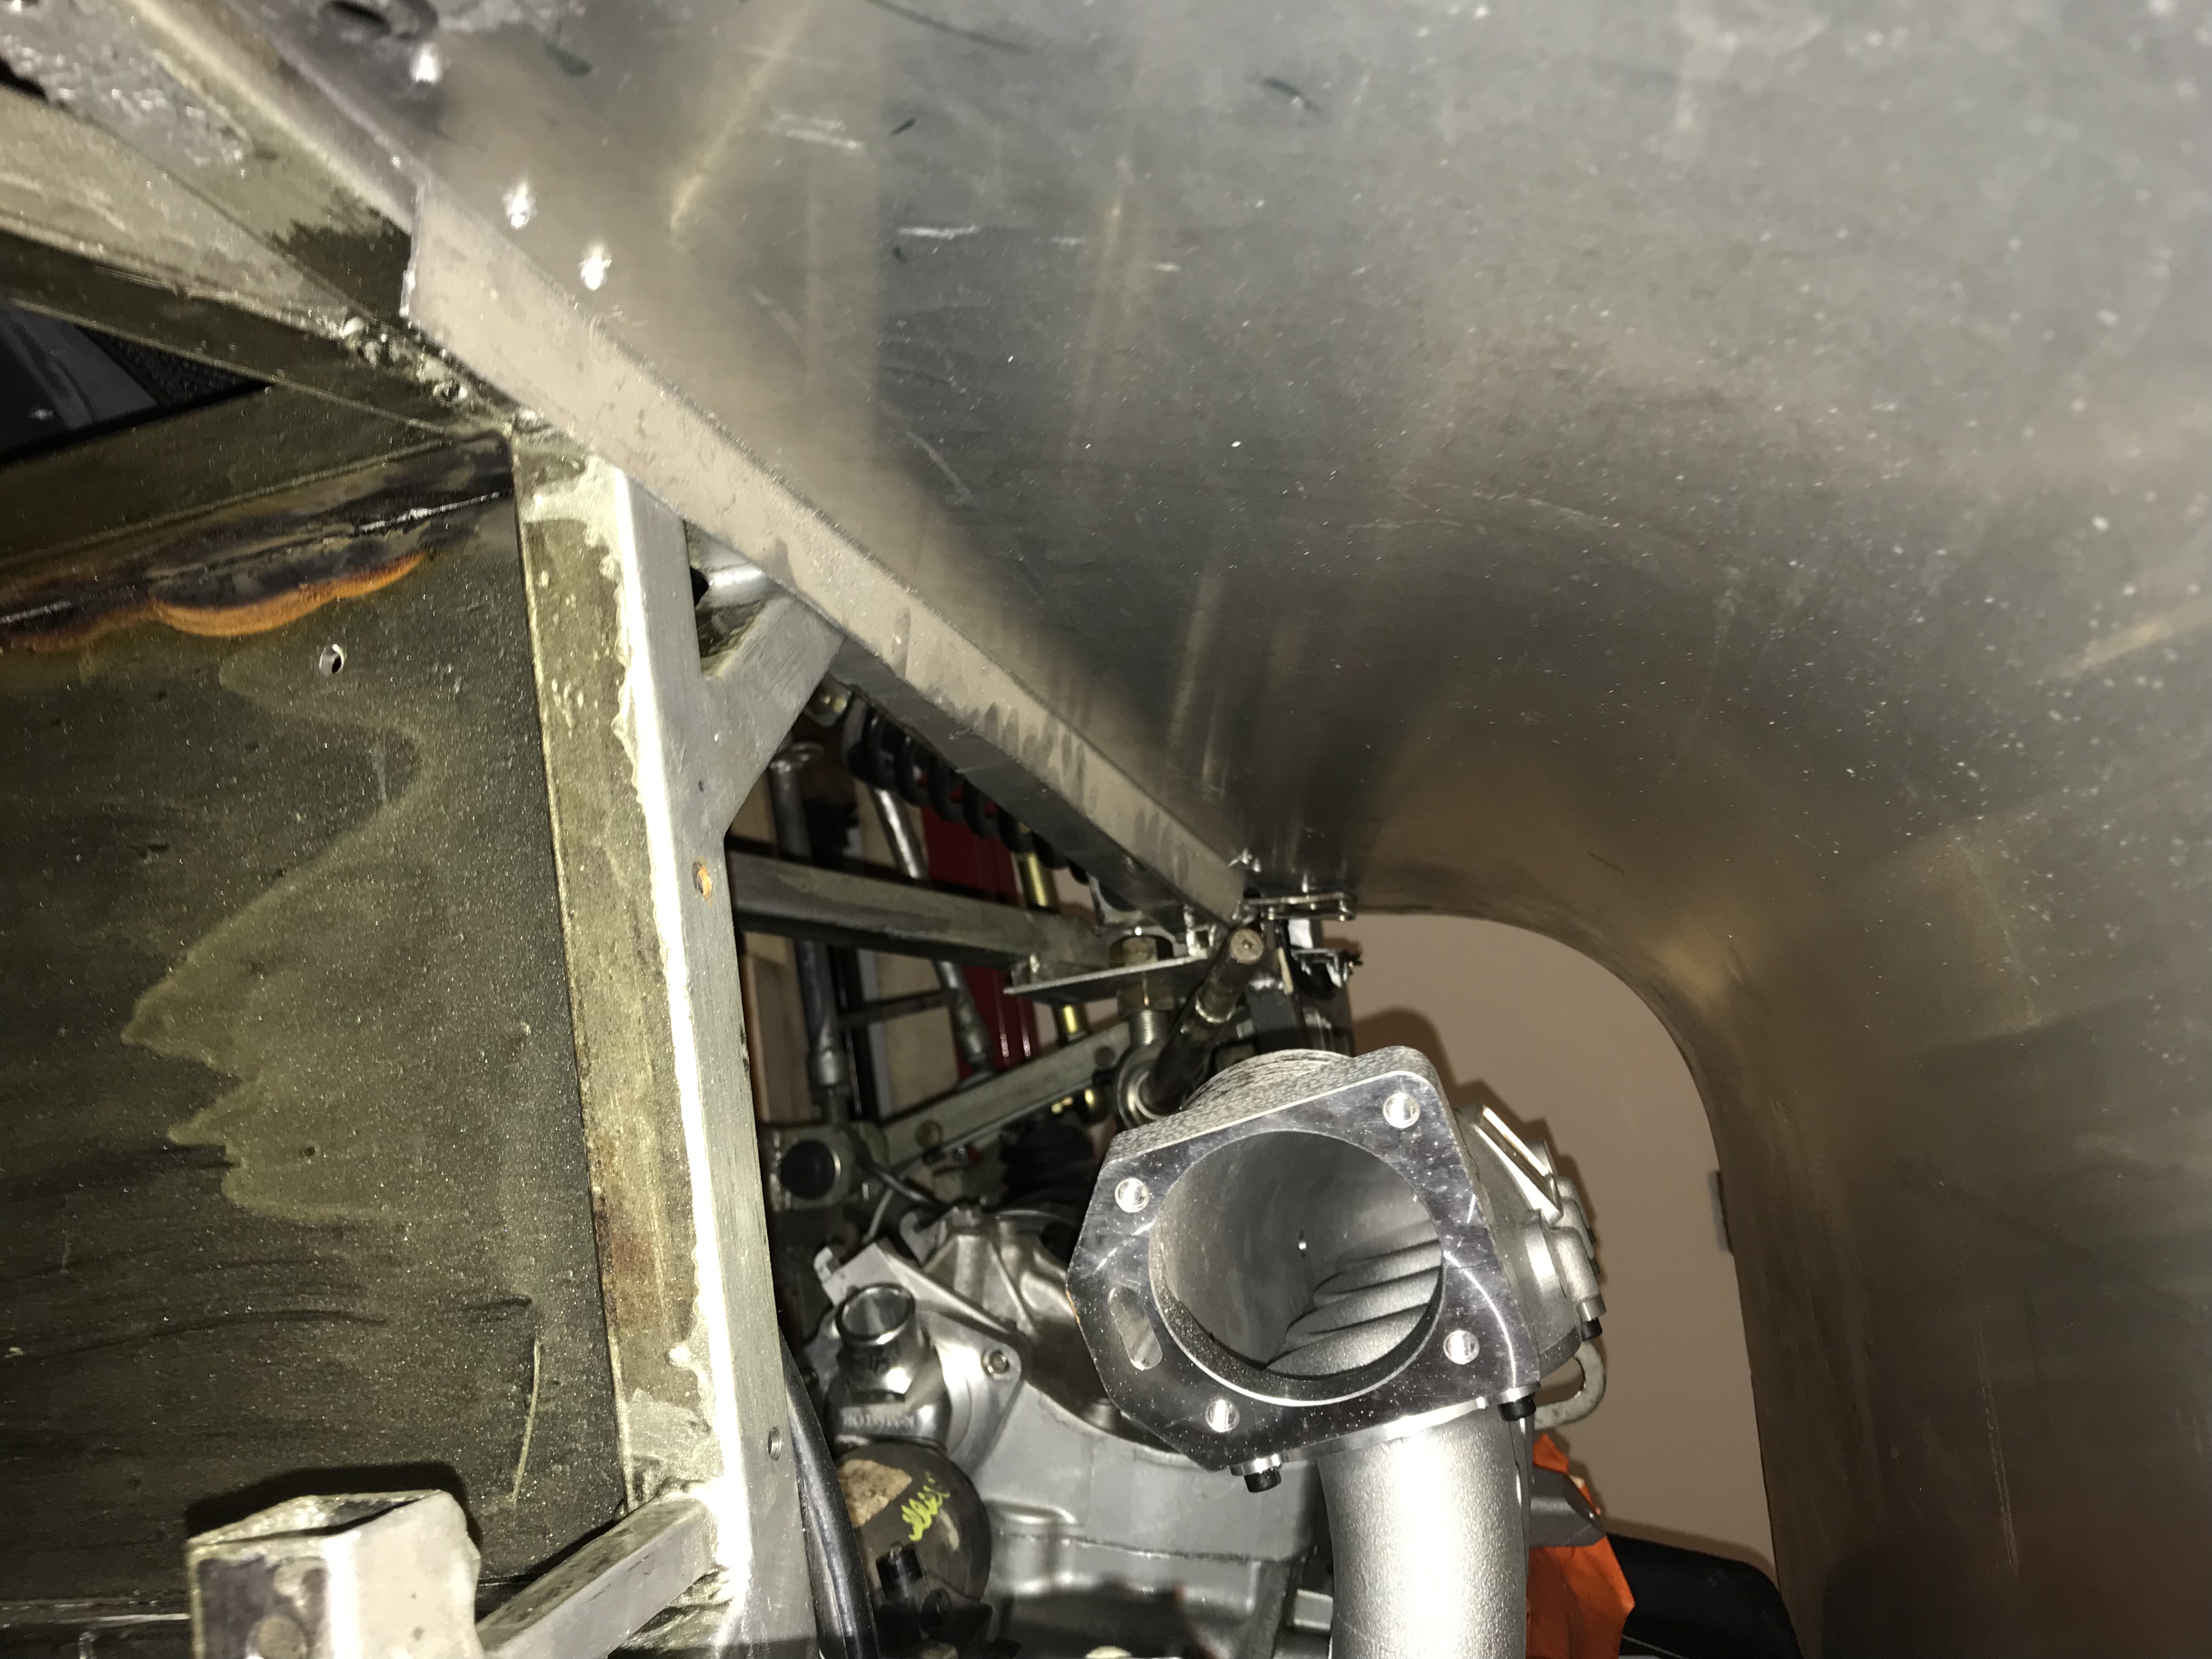
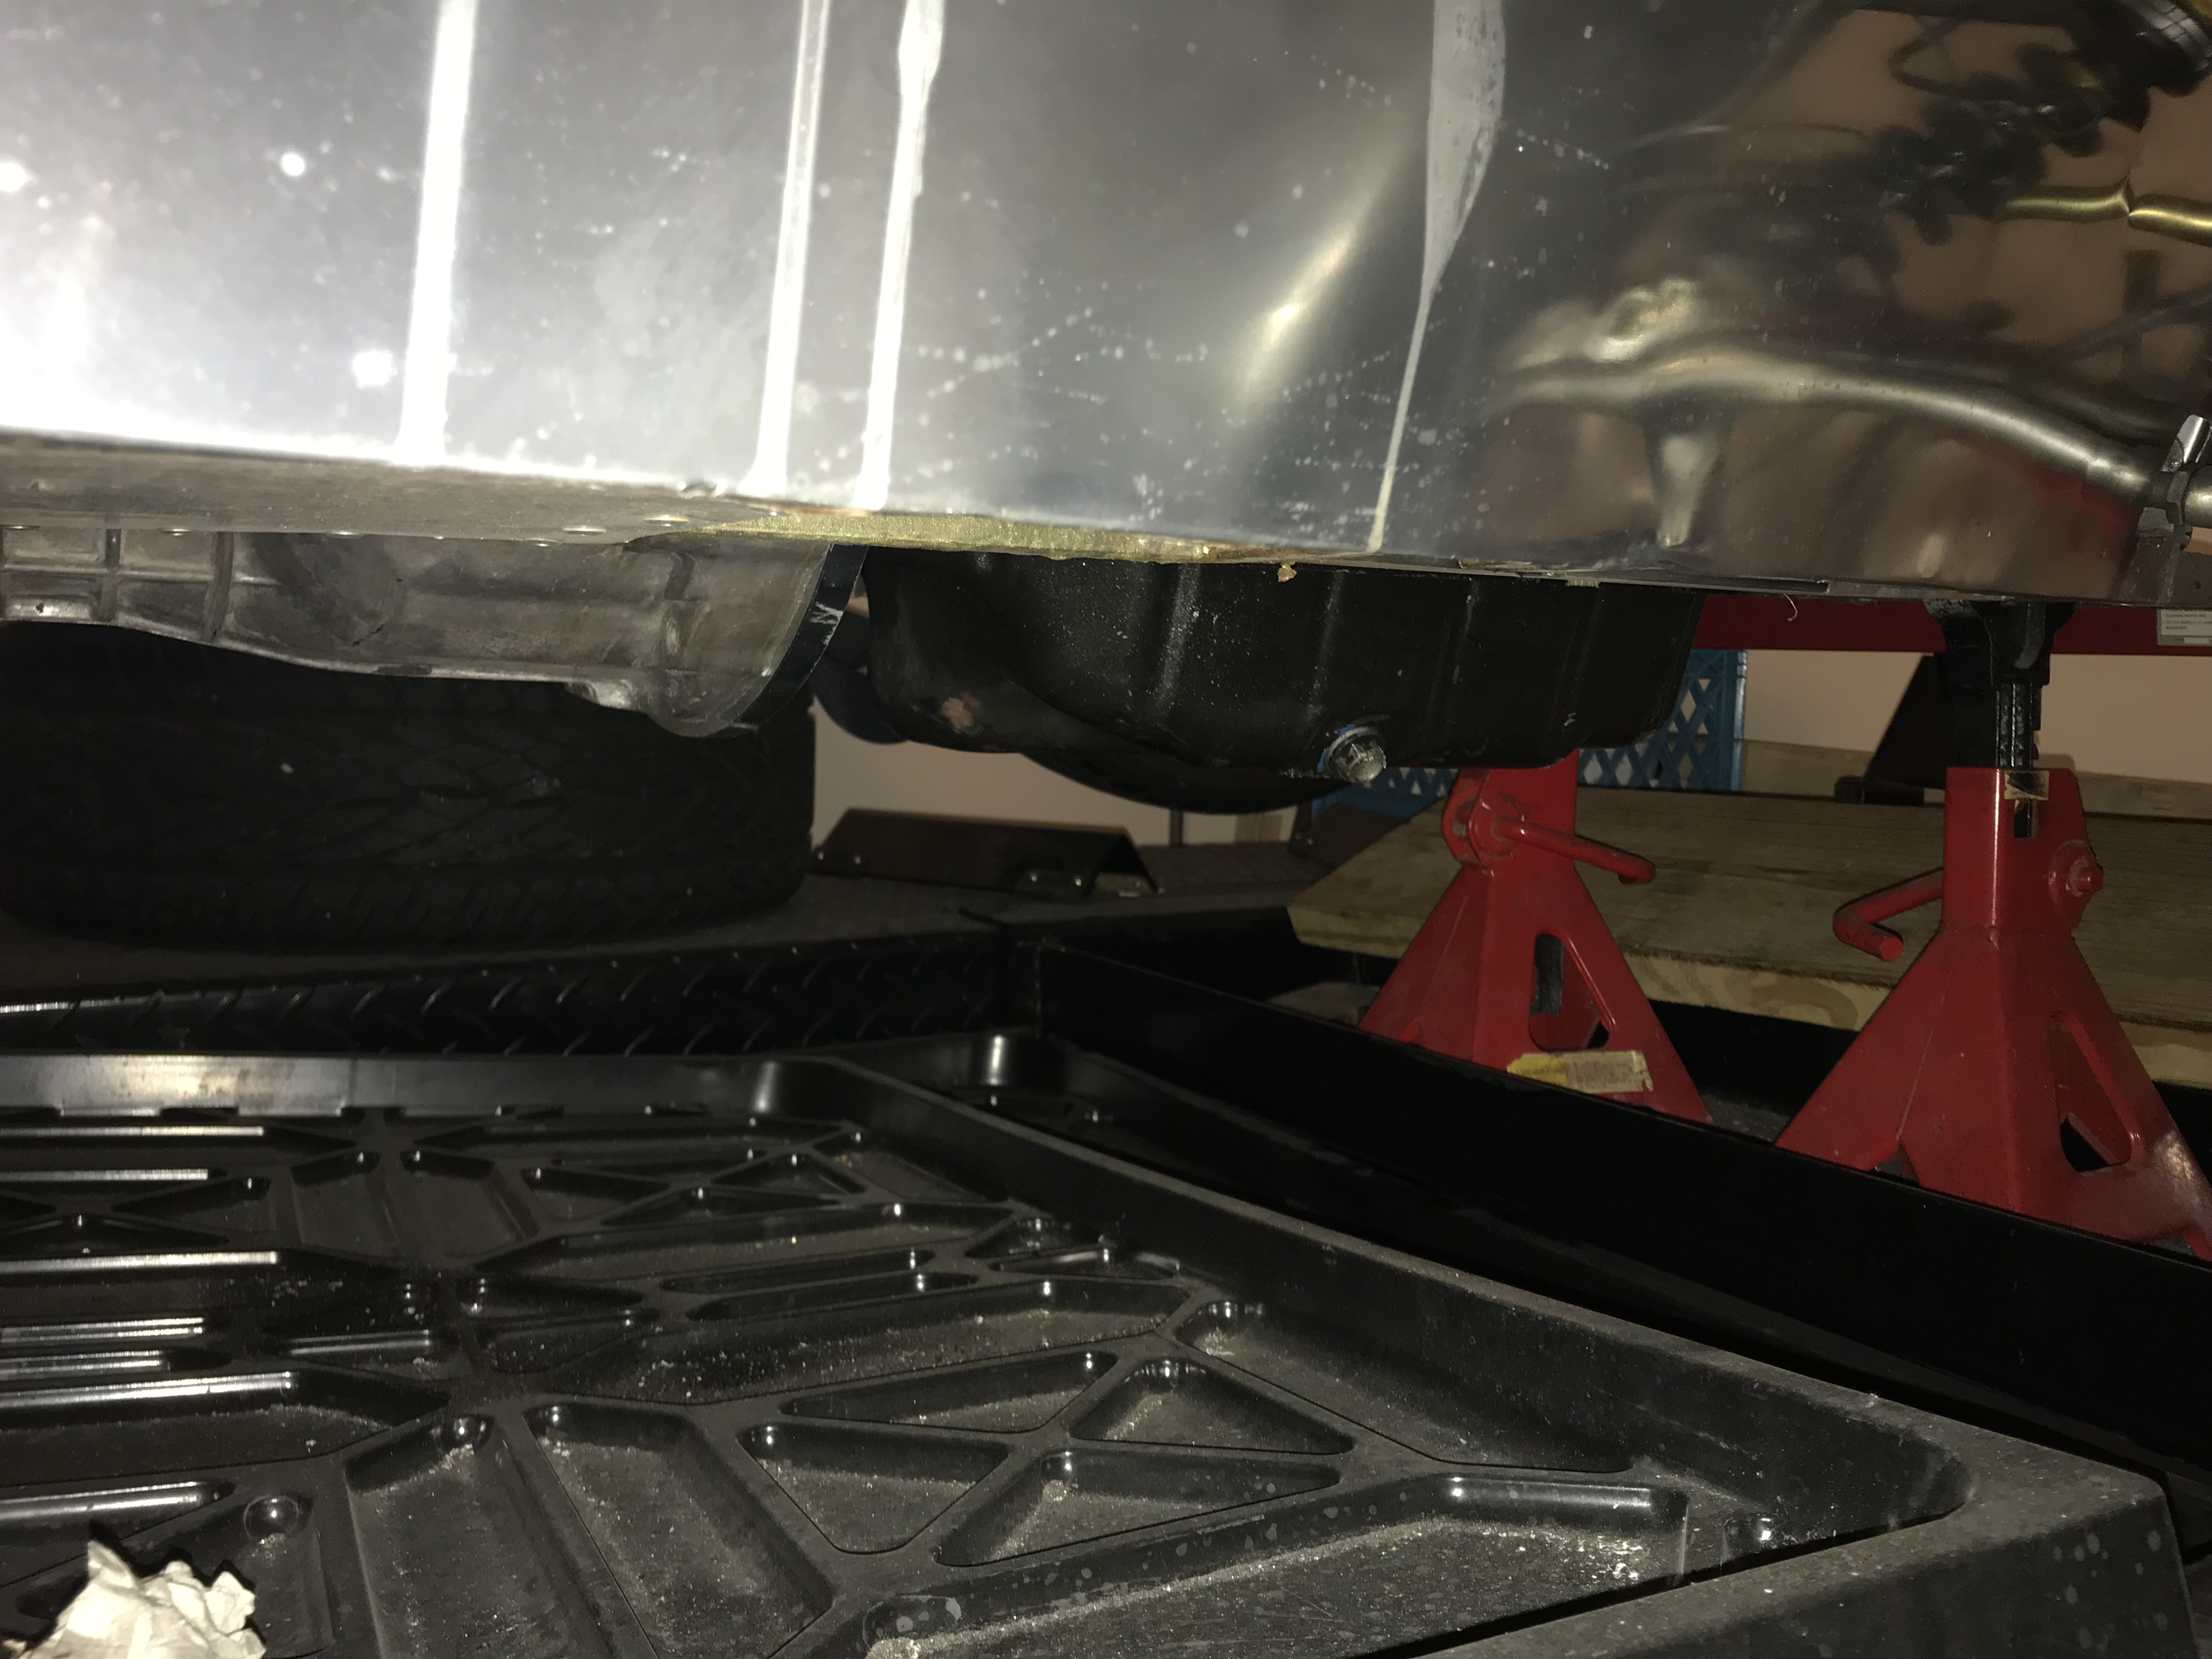
Ground clearance is a nice and acceptable 4″

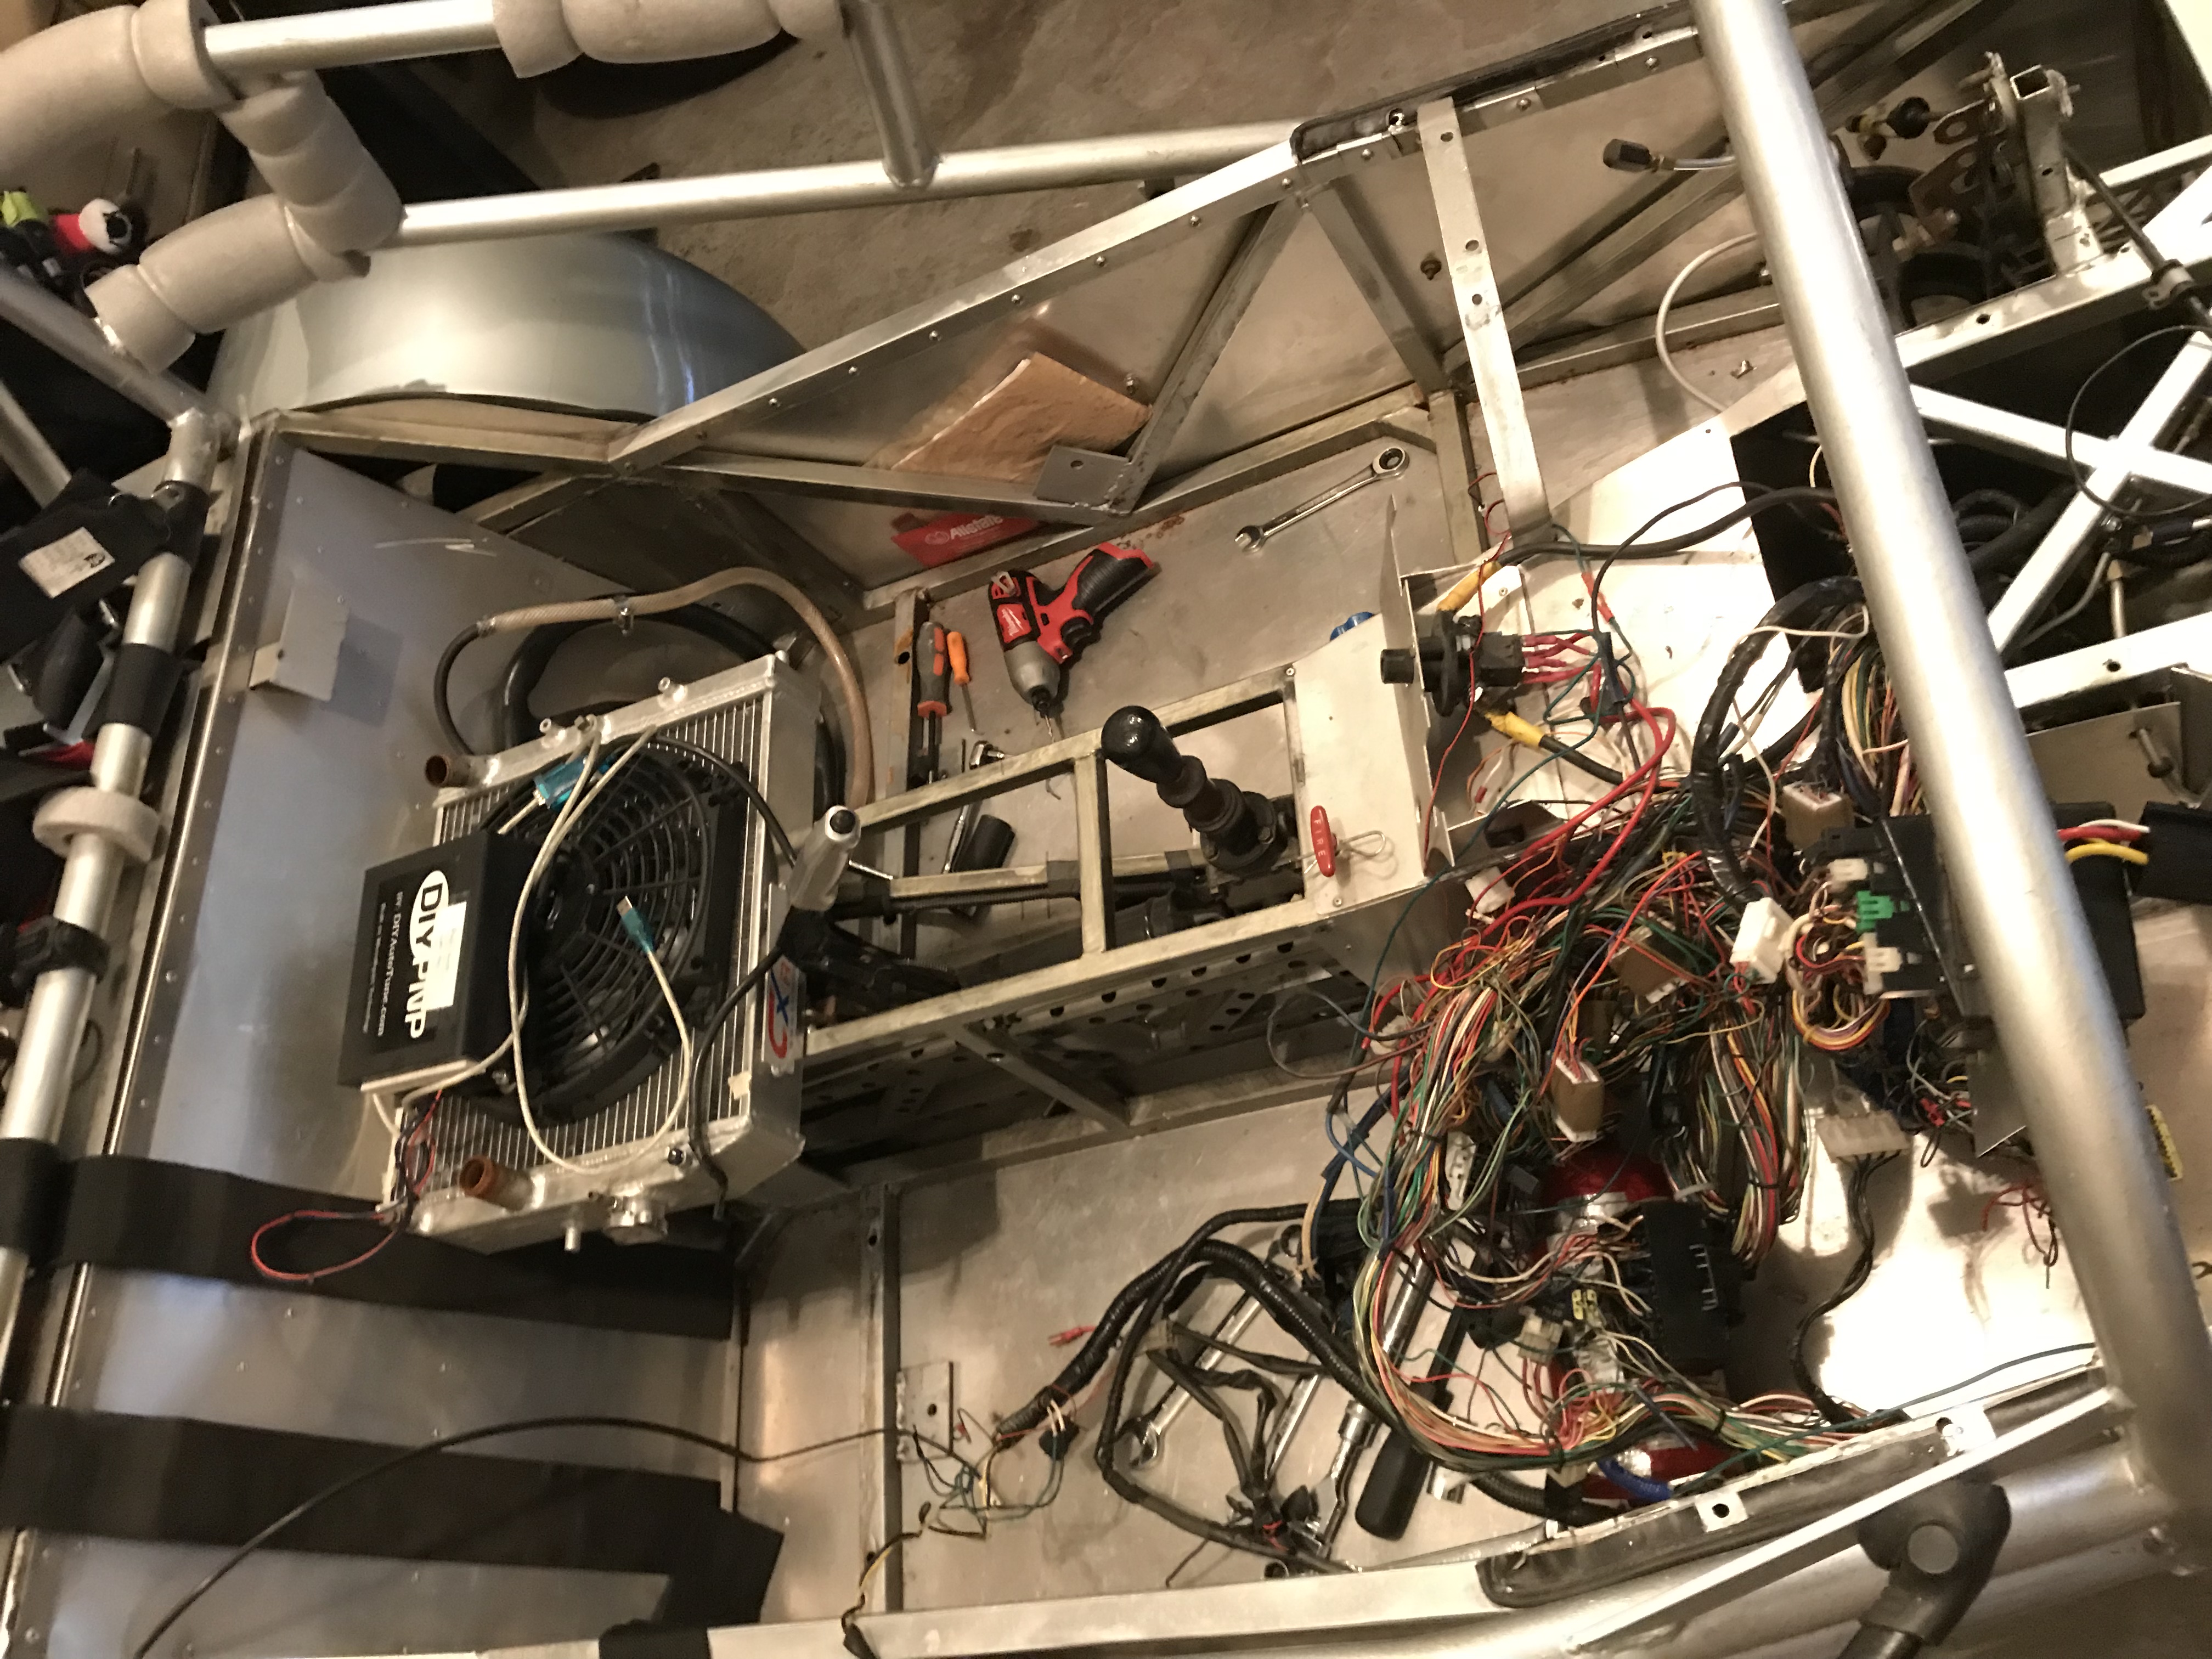
Up next is the transmission mounts!

Out with the old… in with the new..

The work to remove the motor and transmission was fairly straight forward 

I removed the body panels on the front,the scuttle, nose, hood, side panel, dashboard etc and then removed the exhaust exposing the engine.

Up next- we pulled the engine (Drain all of the fluids before ever pulling an engine..) and made a big mess.  Shockingly it came out quite easily.

On the left- The ecotec engine.  On the right- The Miata engine. (note the miata engine is on a pallet which lifts the height.  The transmission on the ecotec is about 2″ shorter so the shifting location isn’t idea.

Anyone want a miata engine? I have a deal 🙂  94 Miata with about 80k on it.

Side by side View. Ecotec in the front.

New engine in.. Kinda! I had to cut out some trans tunnel bars. The engine is a bit wider and taller. Taller was expected. Wider not as much. There will need to be some modifications made to get this to work.. The fight isnt over!

Here is a video of the walk around

The disassembly begins….

After many months of collecting parts I believe I am finally in a position to start pulling the car apart in preparation for the engine swap.  For those who haven’t seen or heard- I will be removing the Miata Engine and replacing it with a 2.0 GM Ecotec engine (with Turbocharger and direct injection..)


Here is a short video on the overview : https://www.youtube.com/watch?v=IajZ-zl0AzY


I will admit- I had a large amount of anxiety (and still do..) about pulling apart a car that was driving and running quite well. Especially not knowing if this new engine would fit or how many modifications are needed.

Starting with the seats, then the transmission tunnel, Radiator, scuttle and some sheet metal I started to pull off the covers and find things to remove- There certainly is no shortage.

The radiator was long overdue for a flushing, the seats had crap under them from 2010 and the questions continue. I also made the decision to remove the installed Halon Fire system and replace it with a single hand held unit in future. There are a few pounds I feel we can save!

Looking at all the wiring and I certainly think there is a good 40 or 50lbs of wiring that will be coming out of the already trimmed down harness

Mitch from Swap Time recently did a video about the harness. It is set to arrive on Wednesday of this week. Following that I will probably try find an hour or 2 to pull the engine this weekend and see if the new one fits!

Here was a video of the harness he made- https://www.youtube.com/watch?v=1jGzw7sIMFI

I suspect I will need to wire in headlights, tail lights and turn signals as well. The goal there is to keep them all as minimal as possible

Subscribe if you wish to follow along. The YouTube video channel as well as this webpage should both see a few updates in the coming weeks!

Clutch Parts needed to make a braided Line

If you own a Camaro or ATS chances are you have the same transmission I am using.  The one piece I will be using is the stock throw out bearing.  Unfortunately The clutch hose I received was cut and my car actually has a steel braided AN line today. I plan to simply unscrew the -4 fitting that attaches to the miata slave cylinder and thread this piece on. That should be all that is needed to operate the hydraulic clutch for the LTG.

Part Number 139160 from Summit Racing

LTG Motor Mounts

To get the motor off of the pallet I wanted to build a “skate” to hold the engine and trans. My goal is to add wheels to the engine and the trans and have an assembly  that can move around and probably running.

This is the passenger side of the engine that a mount needs to connect towards

 This is the drivers side of the engine. 
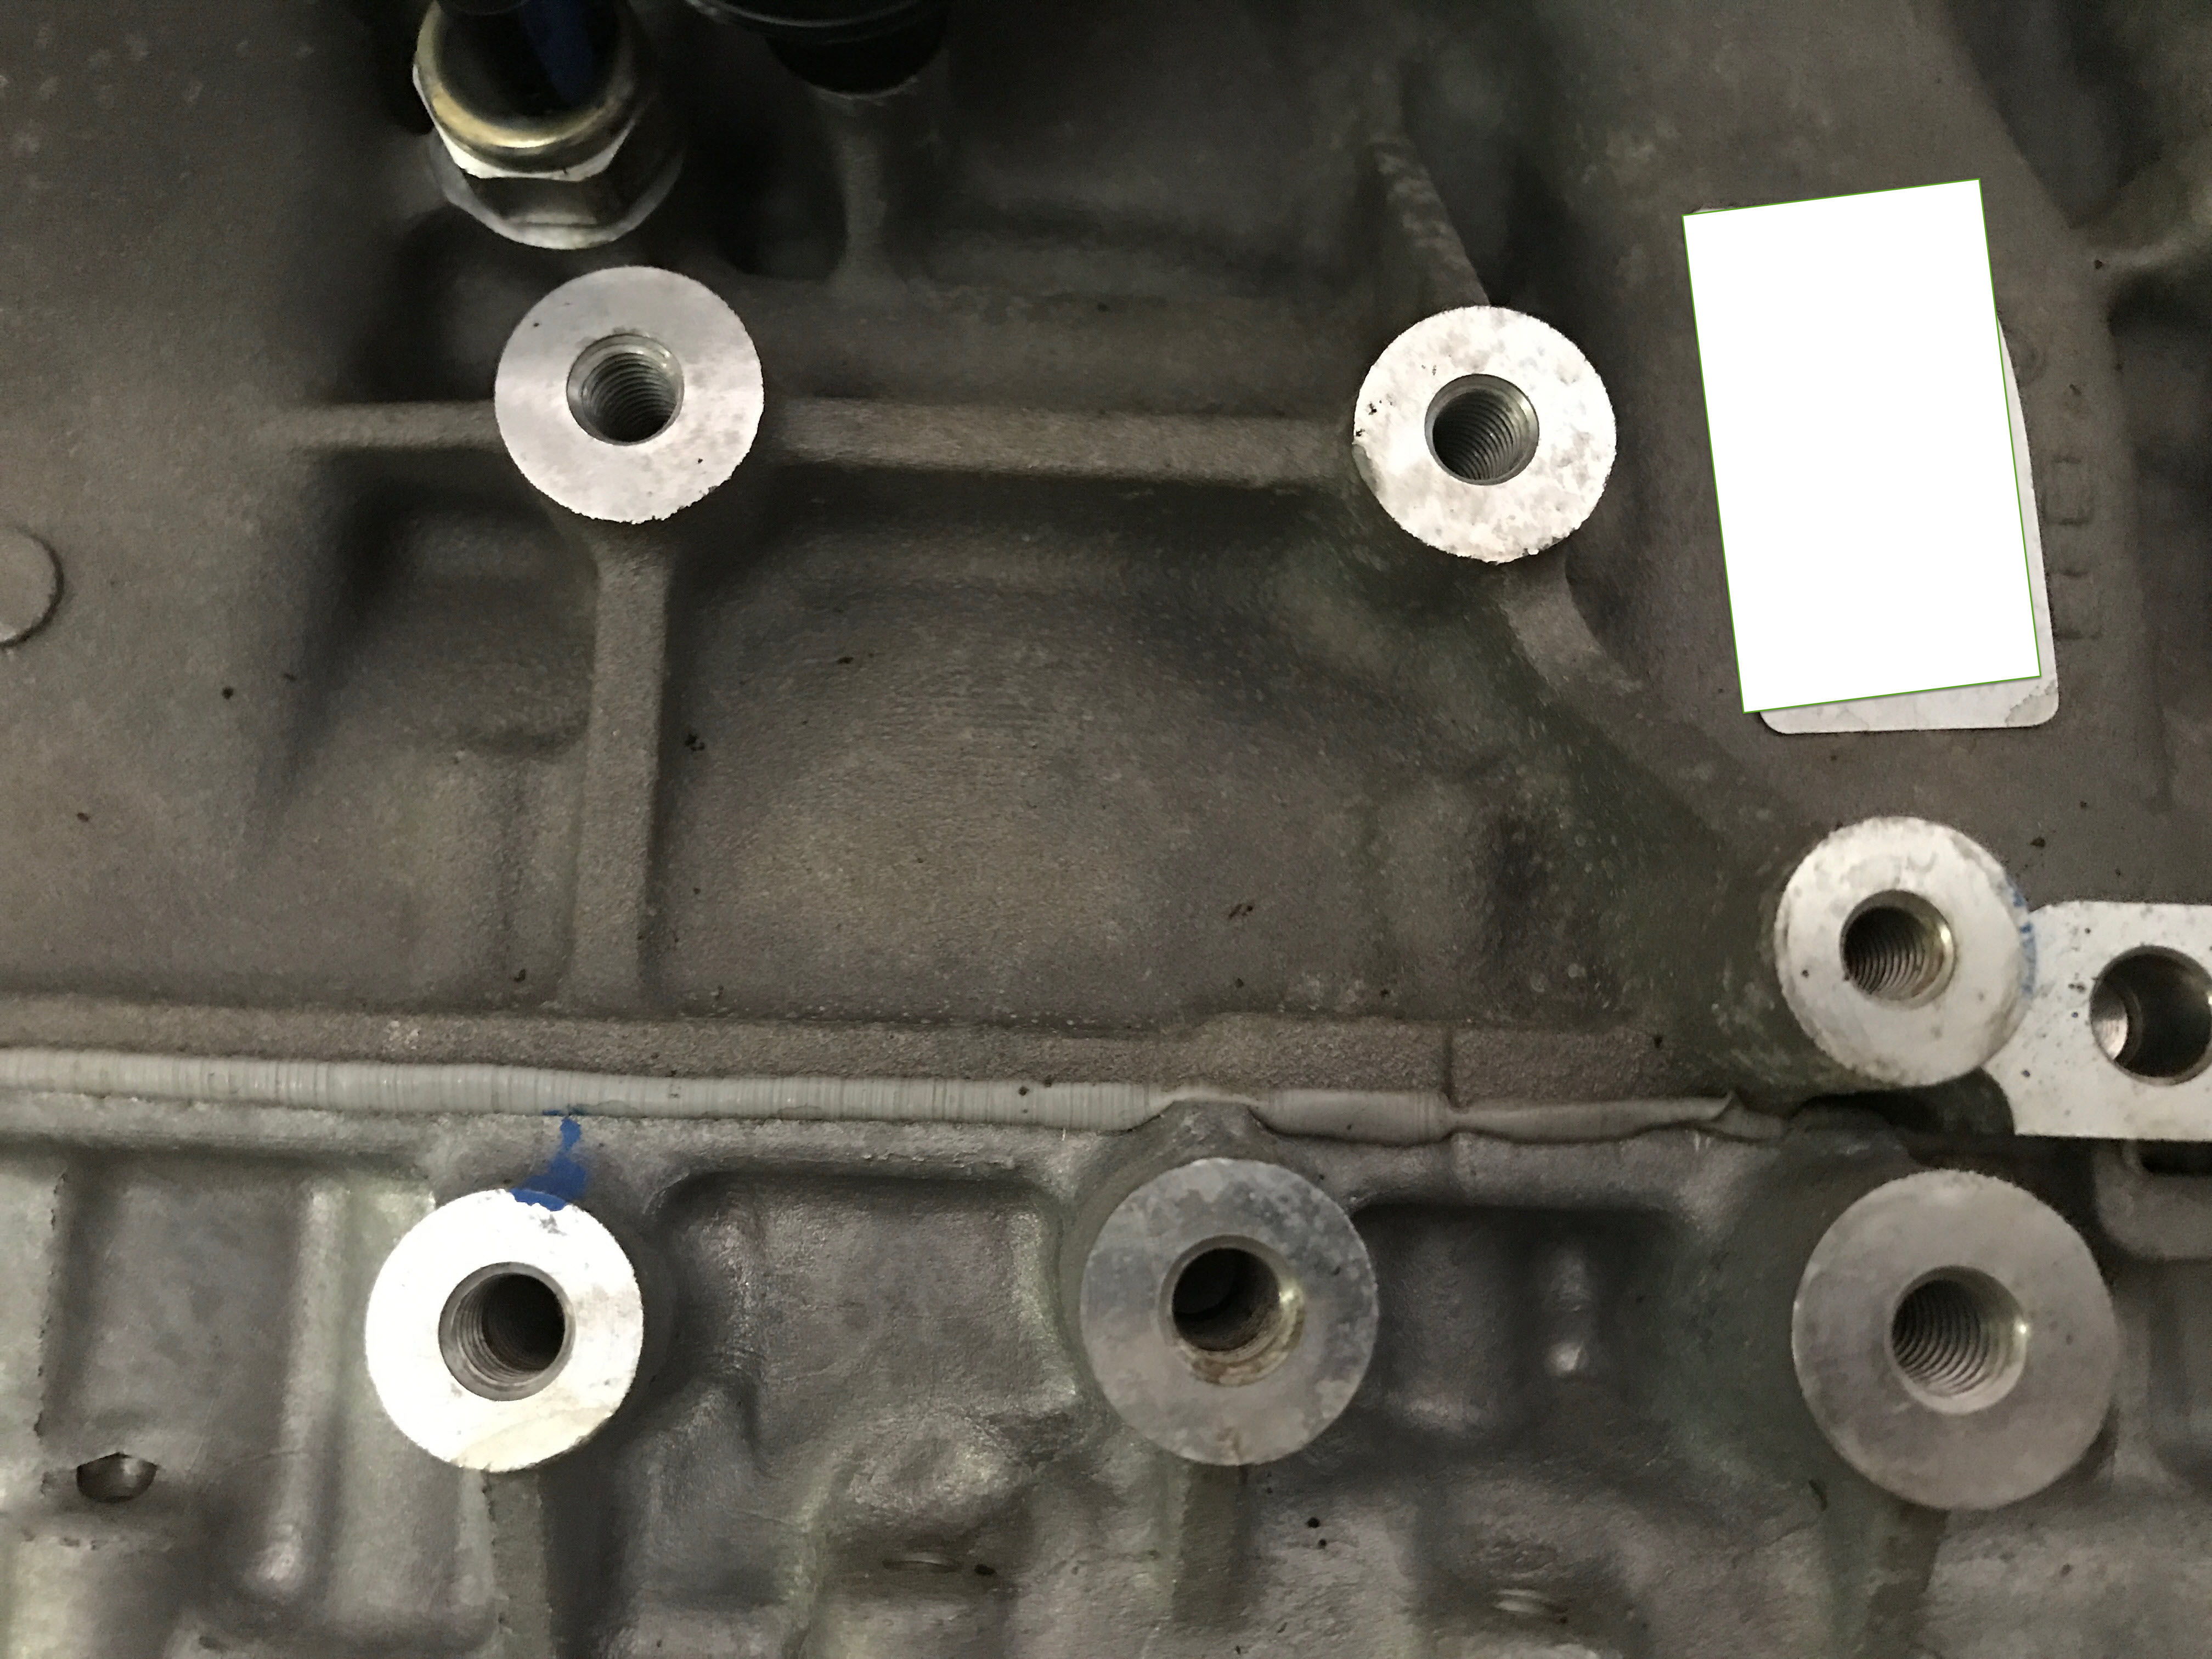
This is what I suspect the mounting plates will look like. 
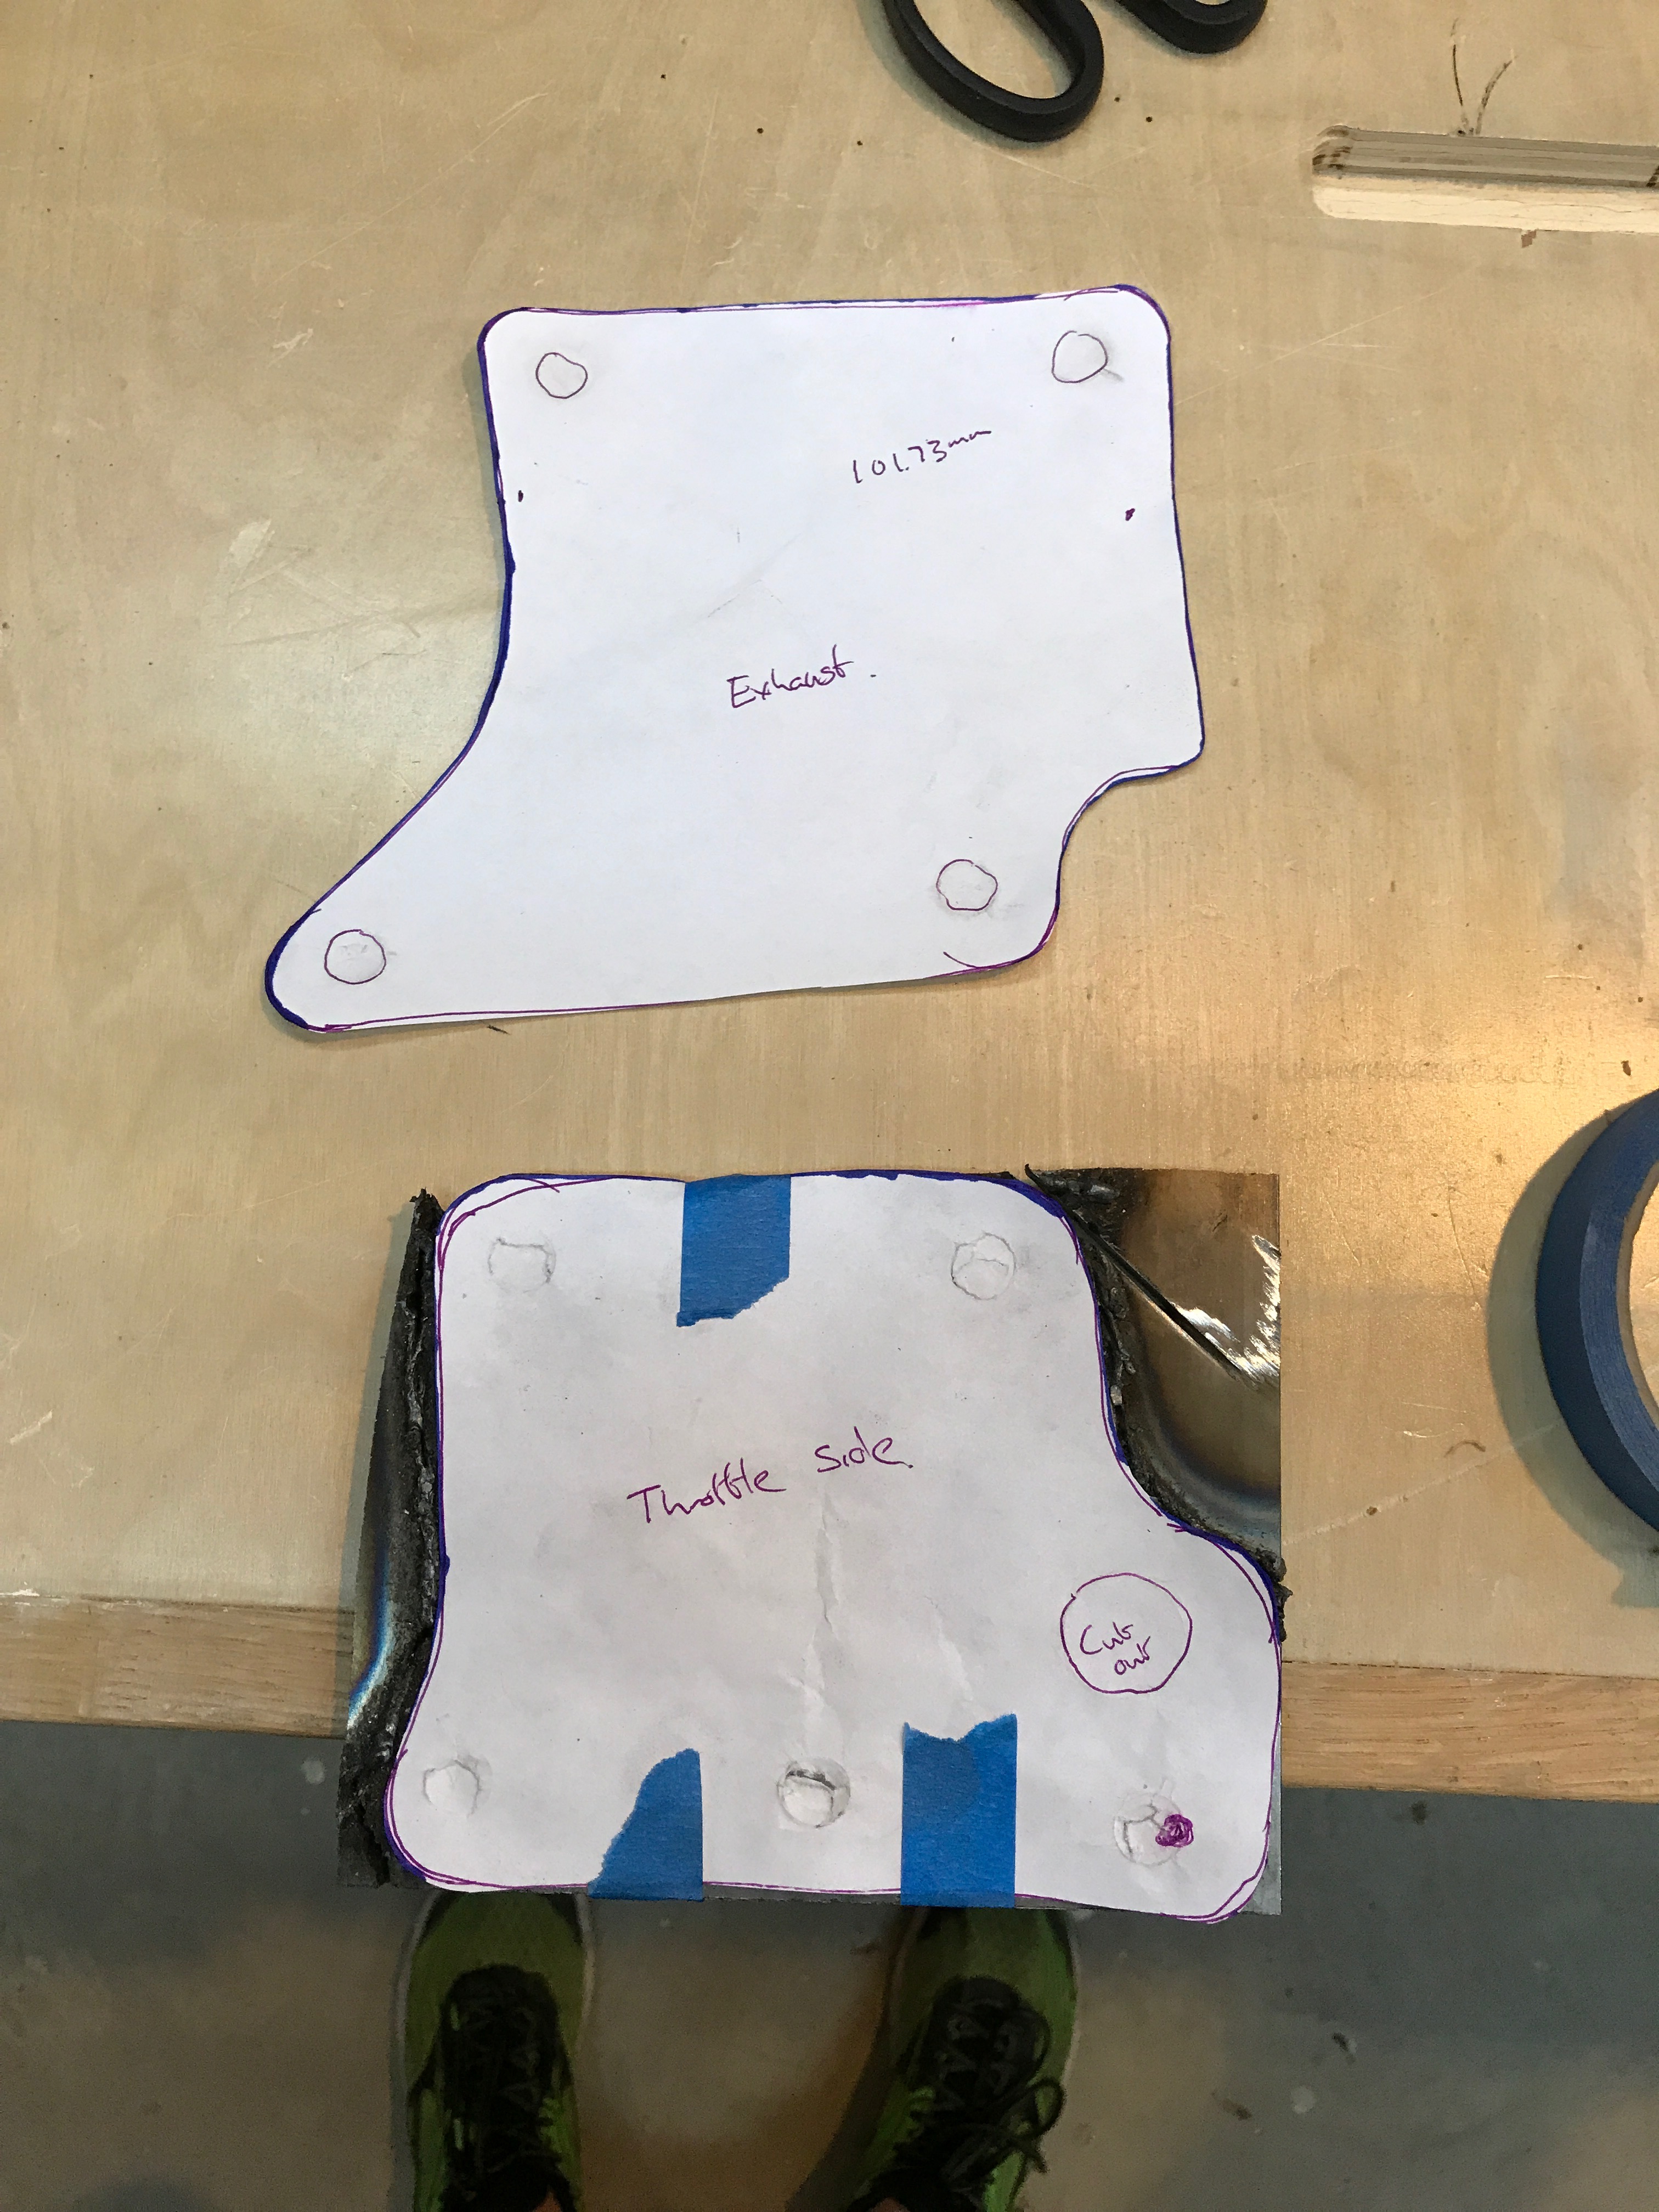
I tried to mount the paper version on a piece of steel and trace it out. My goal was then to cut it out with the plasma cutter. Unfortunately 25 amps was not enough and the breaker would trip at that point.  A 4.5″ angle grinder did a good job and soon after I bought a bunch of flap disks with the intent of getting them to being really smooth and pretty. Next up I need to measure and cut spacers as the plates will not bolt flush to the engine block.

More to come..

Cage Time!

With the car being so low I knew I needed to have some form of protection from other vehicles. While the tall front cage is probably safer I like the look of the low front hoop and the “cocoon” it creates.

I wanted to have a low front hoop but side protection. There are some NASA cars running this type of cage and I really liked it. The strength it adds to the frame is a huge factor as well. Cage is built to SCCA Spec using 1.75″ DOM Tubing.

The front hoop mirrors the scuttle almost perfectly. The lower sections are attached via two points to the chassis and provides really strong side impact protection.