Wiring and electronics

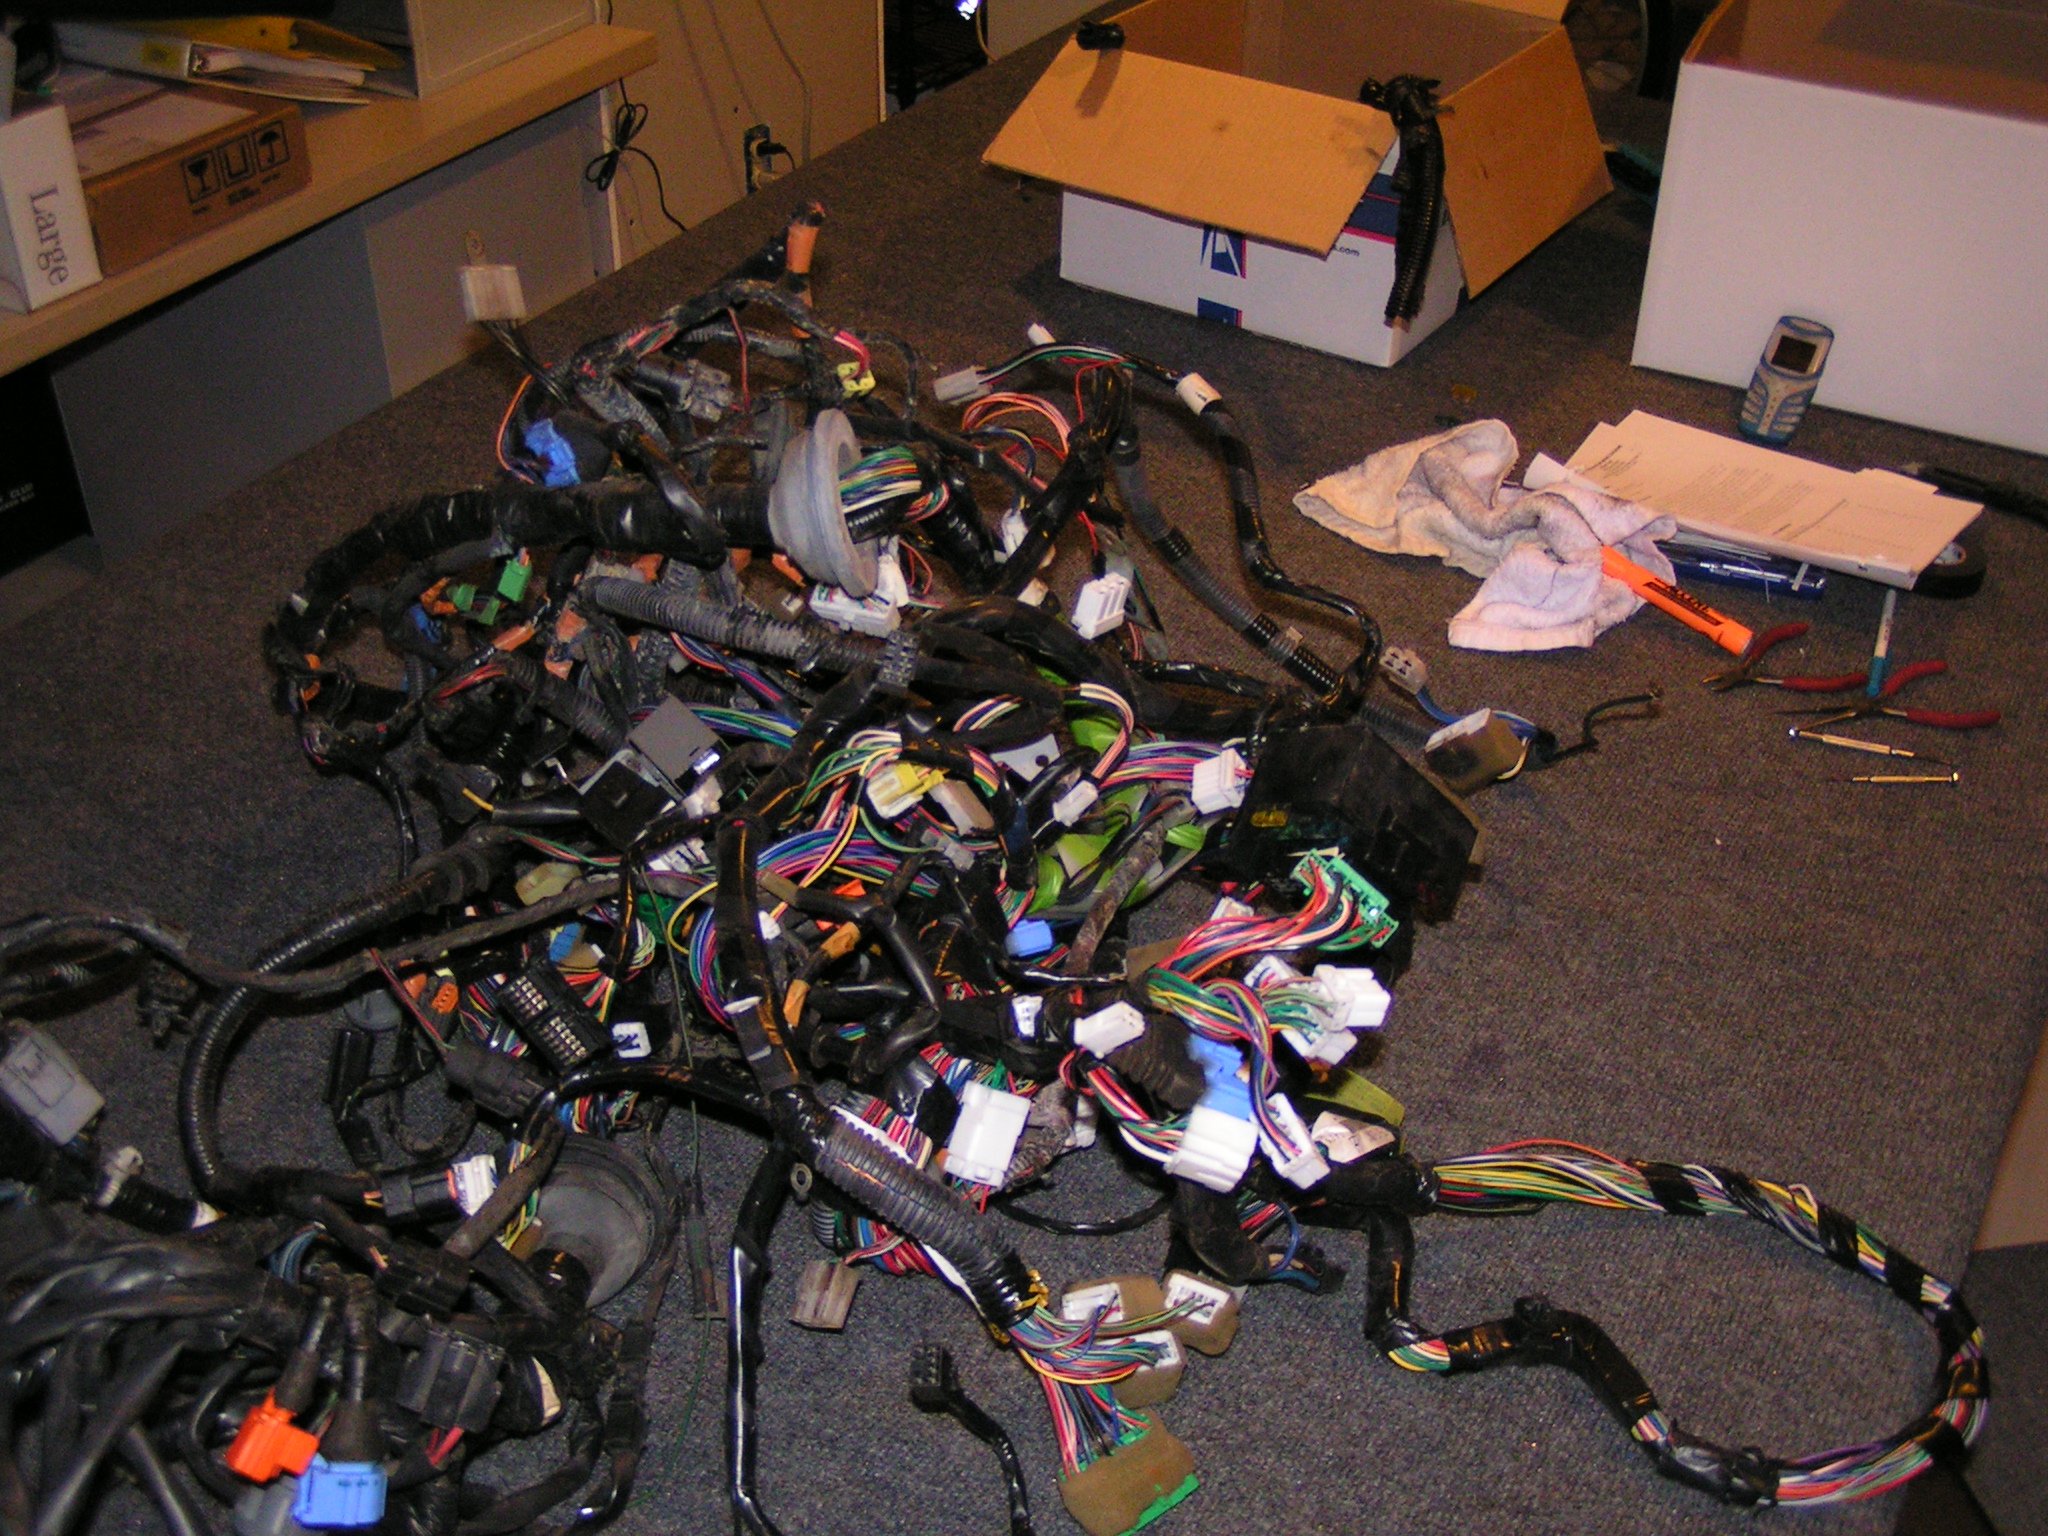
When I started I had collected the entire Miata wiring harness and related plugs/modules.  First I removed all of the wire wrap and used a gallon or 2 of degreaser to get the years of adhesive off. Using several wiring diagrams I managed to identify and remove over 35lbs of wire and sensors that I didn’t need anymore. Things like power windows, wipers,emissions crap etc all hit the scrap pile.

Admittedly I was afraid because I didn’t know exactly what the engine and ECU would need to run. I left a few extra wires and plugs when I was unsure.

Wiring Harness before modification

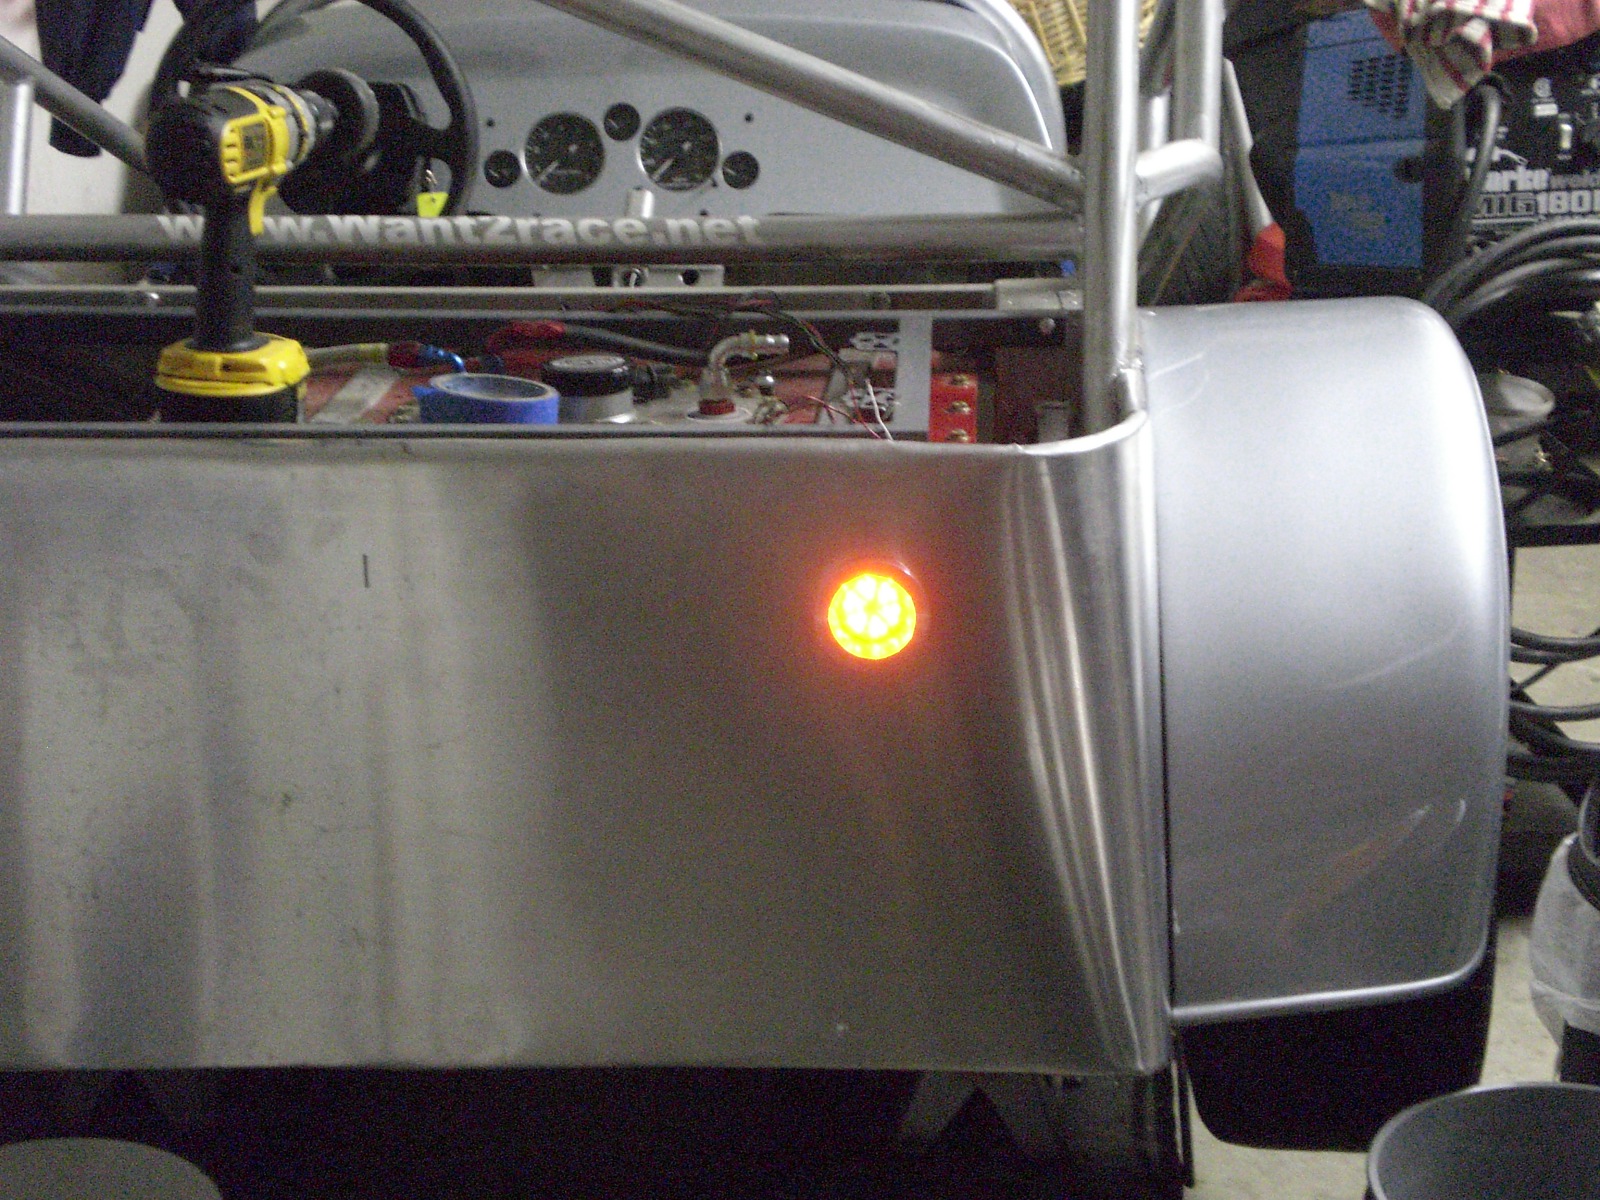
For the taillights I did not want to use anytime similar the original or Caterham- both of those solutions use RV taillights.  After looking around I managed to find some LED’s that would light up in multiple colors.

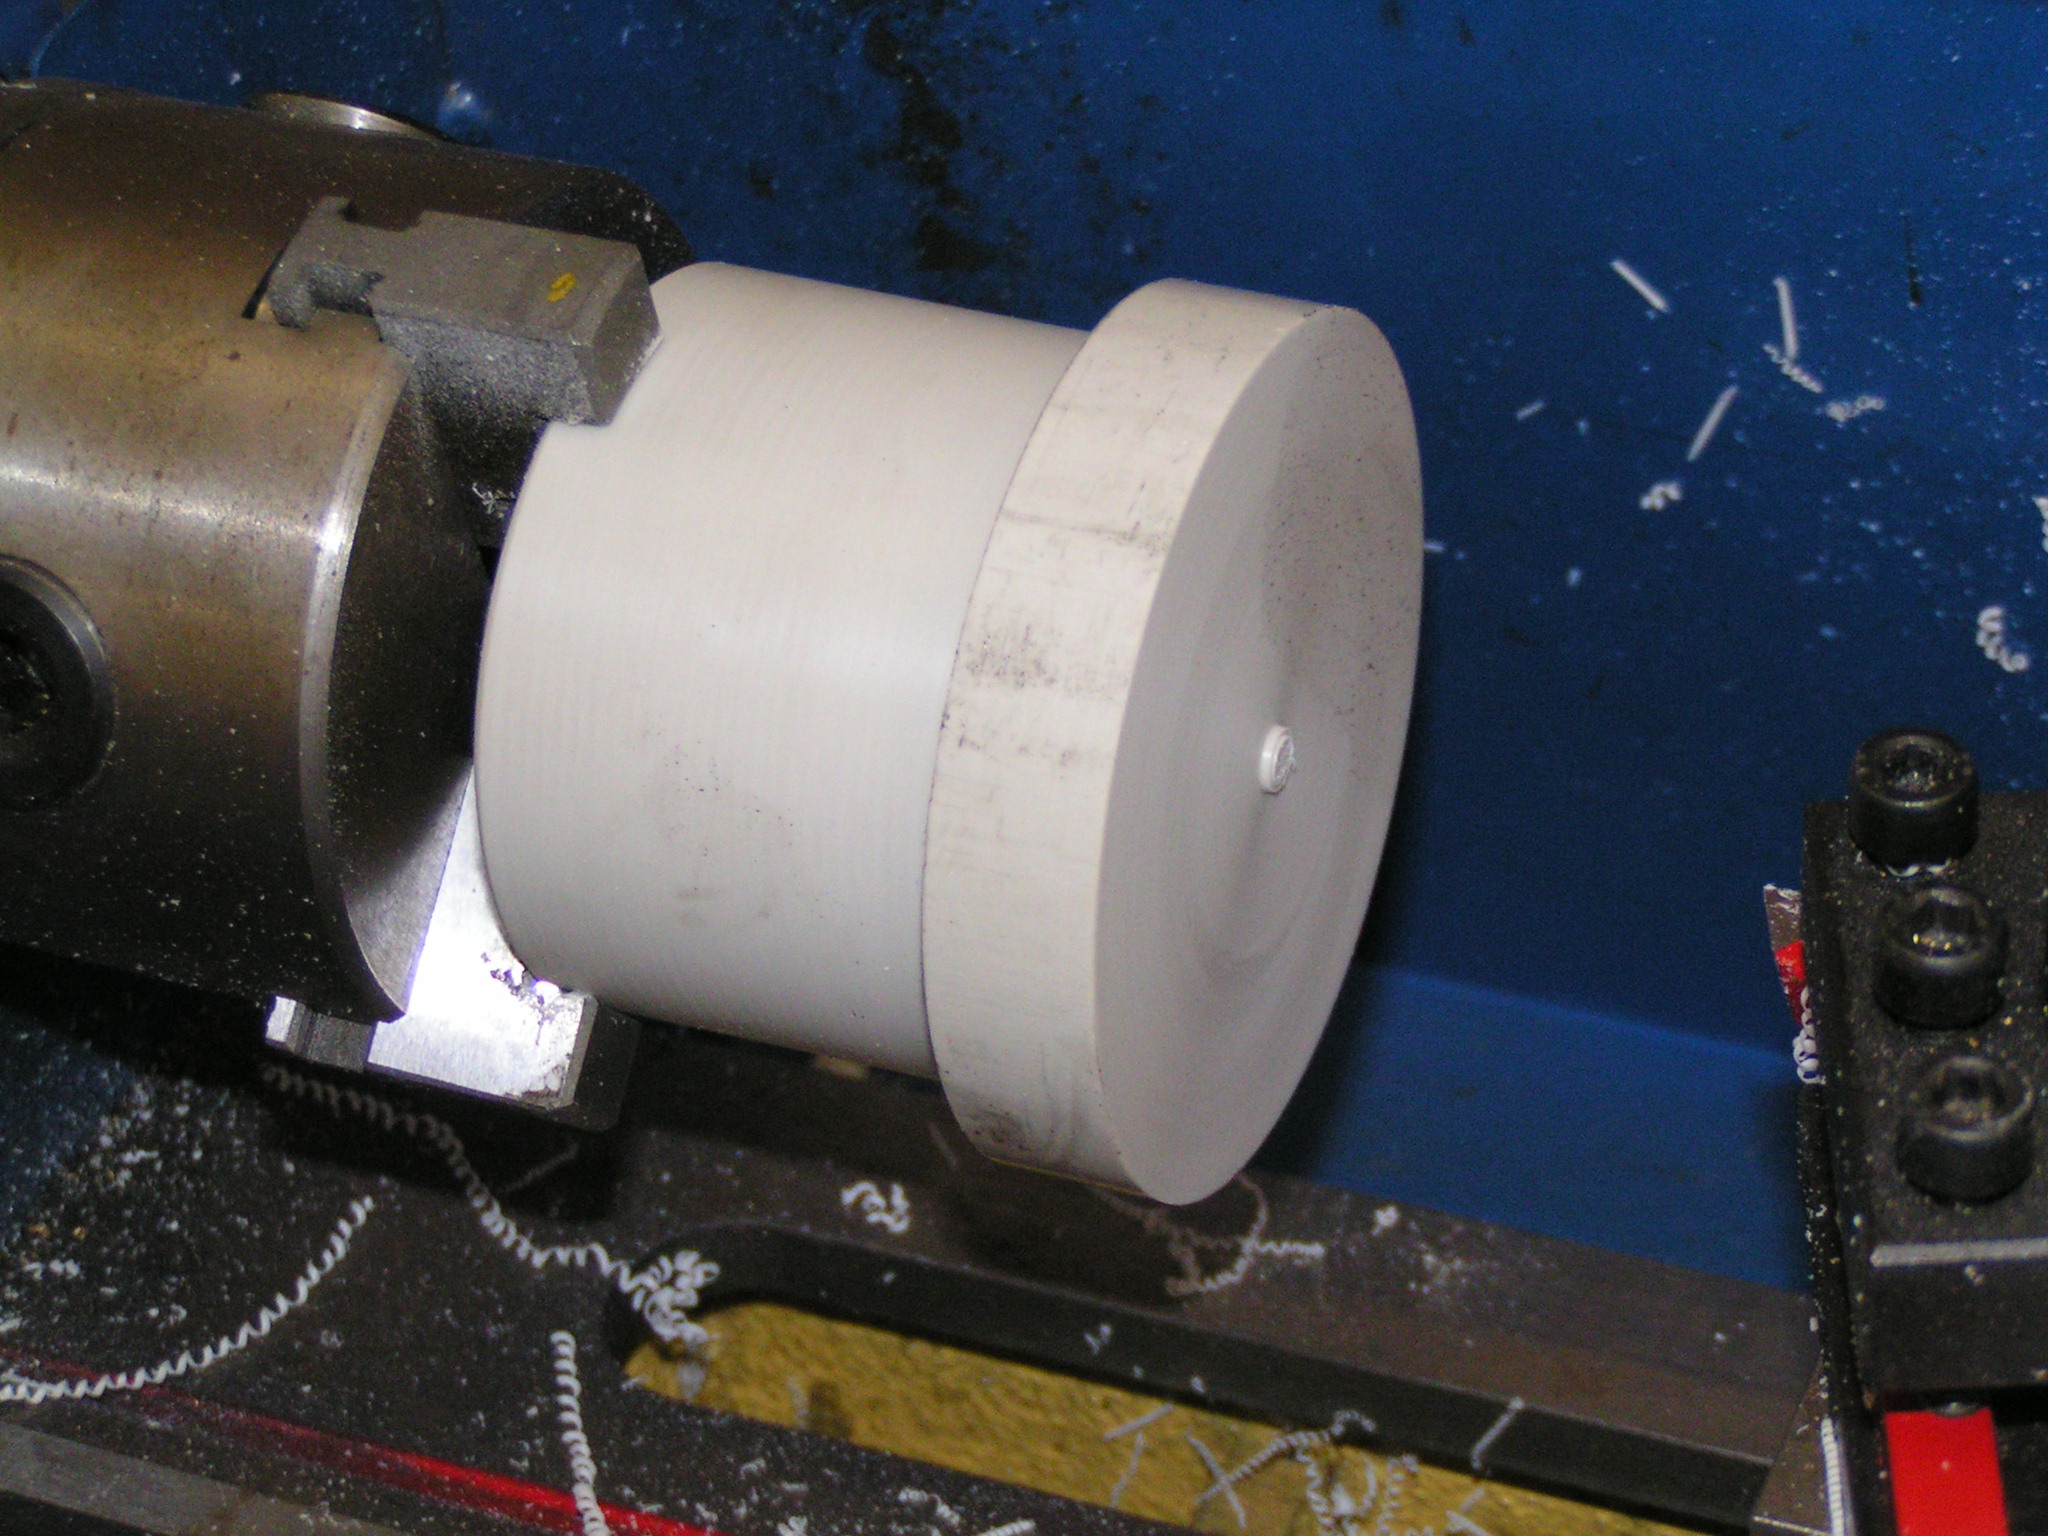
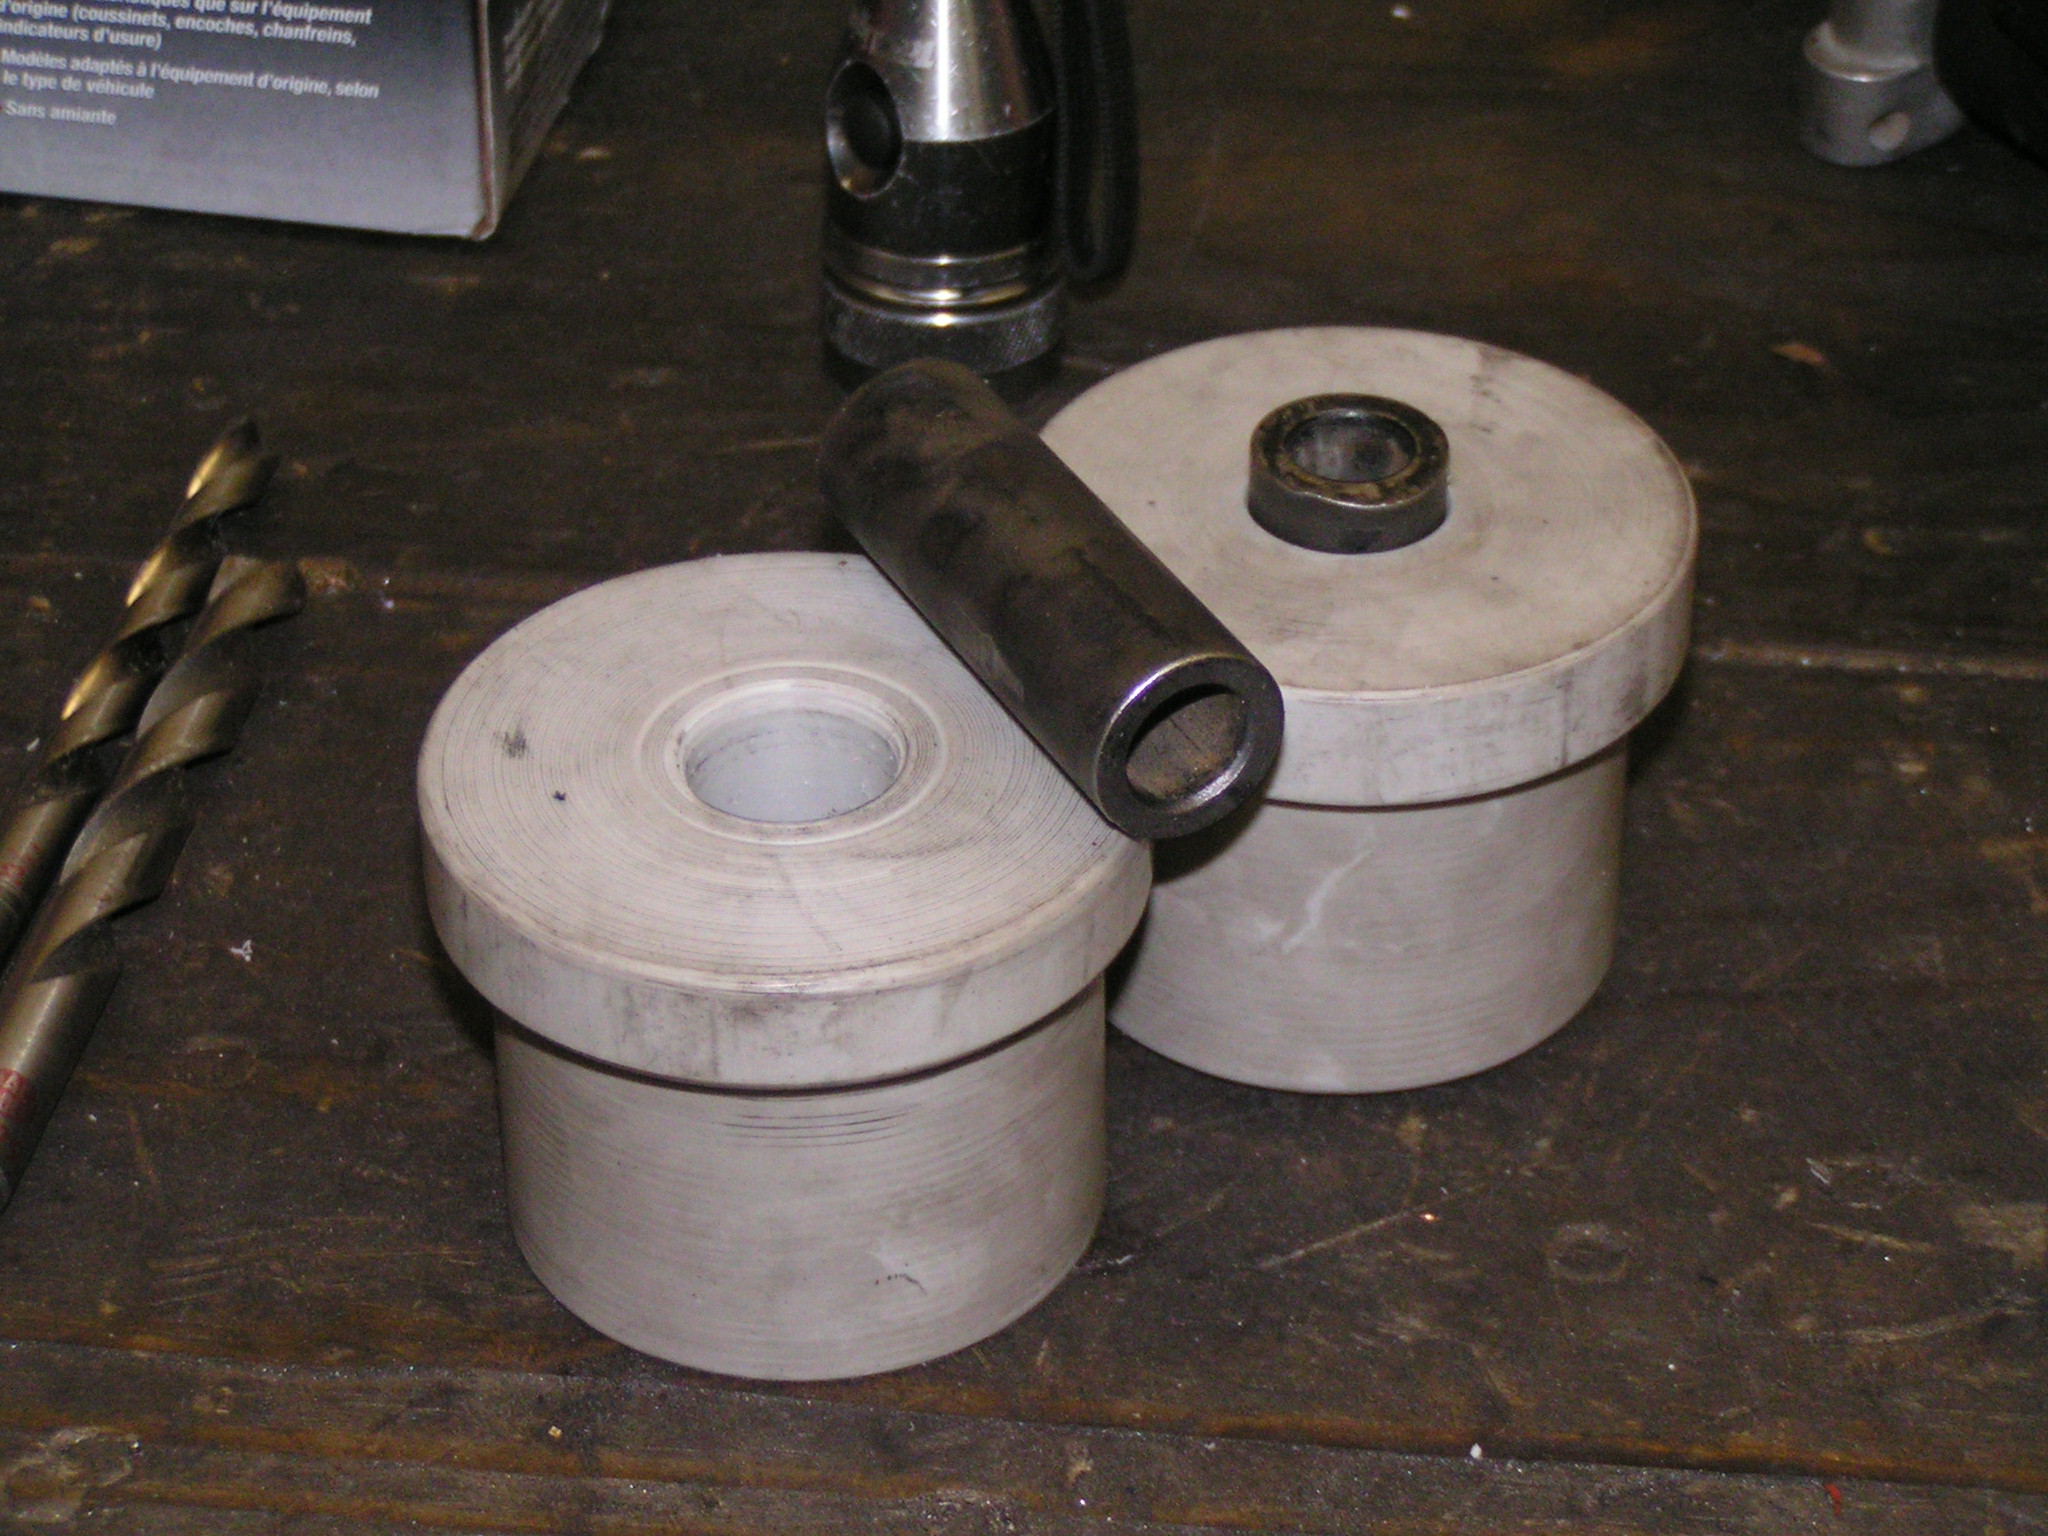
First step was to buy some Aluminum blanks.

From there I turned them down to provide a small lip and allowing for a piece of glass between them. The lights are able to light up Red, Orange or white.

The coolest part is they will hold red but flash orange if a turn signal is lite up. White for reverse lights obviously.

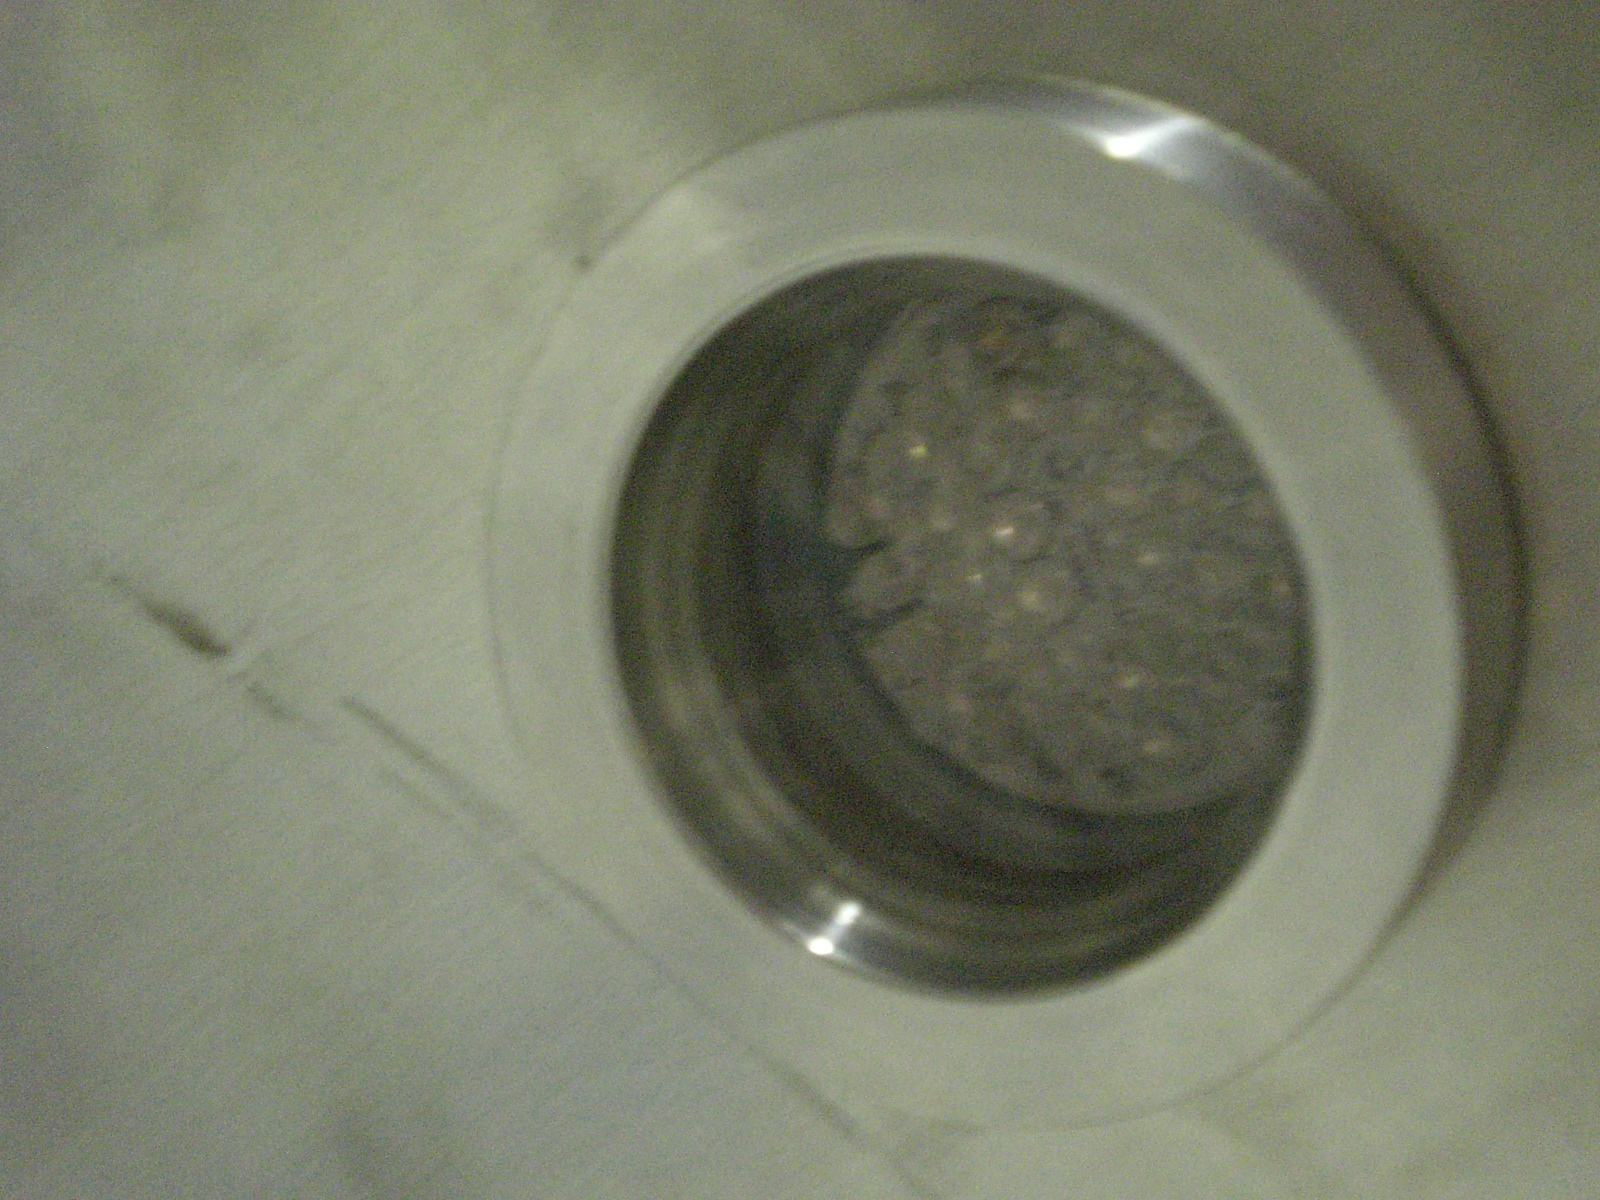
Here is a shot of the turn signal on. I mounted them as high as possible and they are very bright which I hope will help with awareness.

Adding some paint

Here you can see the painted front end. I have added plates for the sway bar to mount as well as the radiator.

Front Radiator mounts and supports

The fuel tank also got strapped in and is ready for the body to get skinned

Fuel Tank in and Painted

Rear fenders were installed with Welting between the body and the fiberglass. The paintwork was done by John Holt at Holtwheels.

The nose was painted to match.

In case you are wondering why silver? I painted it the same color as my S54 BMW M Coupe (Now my fathers..)

Cage Time!

With the car being so low I knew I needed to have some form of protection from other vehicles. While the tall front cage is probably safer I like the look of the low front hoop and the “cocoon” it creates.

I wanted to have a low front hoop but side protection. There are some NASA cars running this type of cage and I really liked it. The strength it adds to the frame is a huge factor as well. Cage is built to SCCA Spec using 1.75″ DOM Tubing.

The front hoop mirrors the scuttle almost perfectly. The lower sections are attached via two points to the chassis and provides really strong side impact protection.

Suspension pieces

One critical piece of the project is the suspension. Depending on how much you know on the subject it could either be overly simplistic or incredibly complex.

Factors like dynamic toe, camber,caster and anti squat are all geometry concerns. Additionally spring rates and dampening round out the subject.

Front lower control arm

Initially I had the shocks set to a radical angle of 45 degrees. That was great in terms of fitment but required crazy spring rates since only half of it would be effective. I later built new mounts that moved the top of the shock out by 6″ and reduced the angle to something in the 20 degree range.

Original inboard upper shock mounting location
Mock up of how the anti roll bar will fit
End result.

We placed the vehicle on a laser mounted alignment rack when finished. The dimensions were absolutely amazing. The variation and setback differences were less than a production car typically exhibits.  I couldn’t be happier with the suspension! It is absolutely fantastic with 300F and 450R springs

Rear differential bushings

One of the Miata shortfalls is the differential bushings. They are pretty soft which can cause movement and ultimately cause case failure.


I bought a 3″ piece of Delrin and made a few sets. Worked like a charm on a small hf lathe.

They dampen some vibration but are pretty much all business!

I am very happy with how they came out!