I now pronounce you engine and transmission…

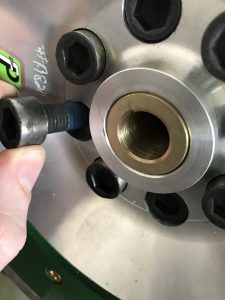
What started and has been a major headache is behind me. I landed up buying factory bolts and intended to have Fidanza drill the holes bigger.


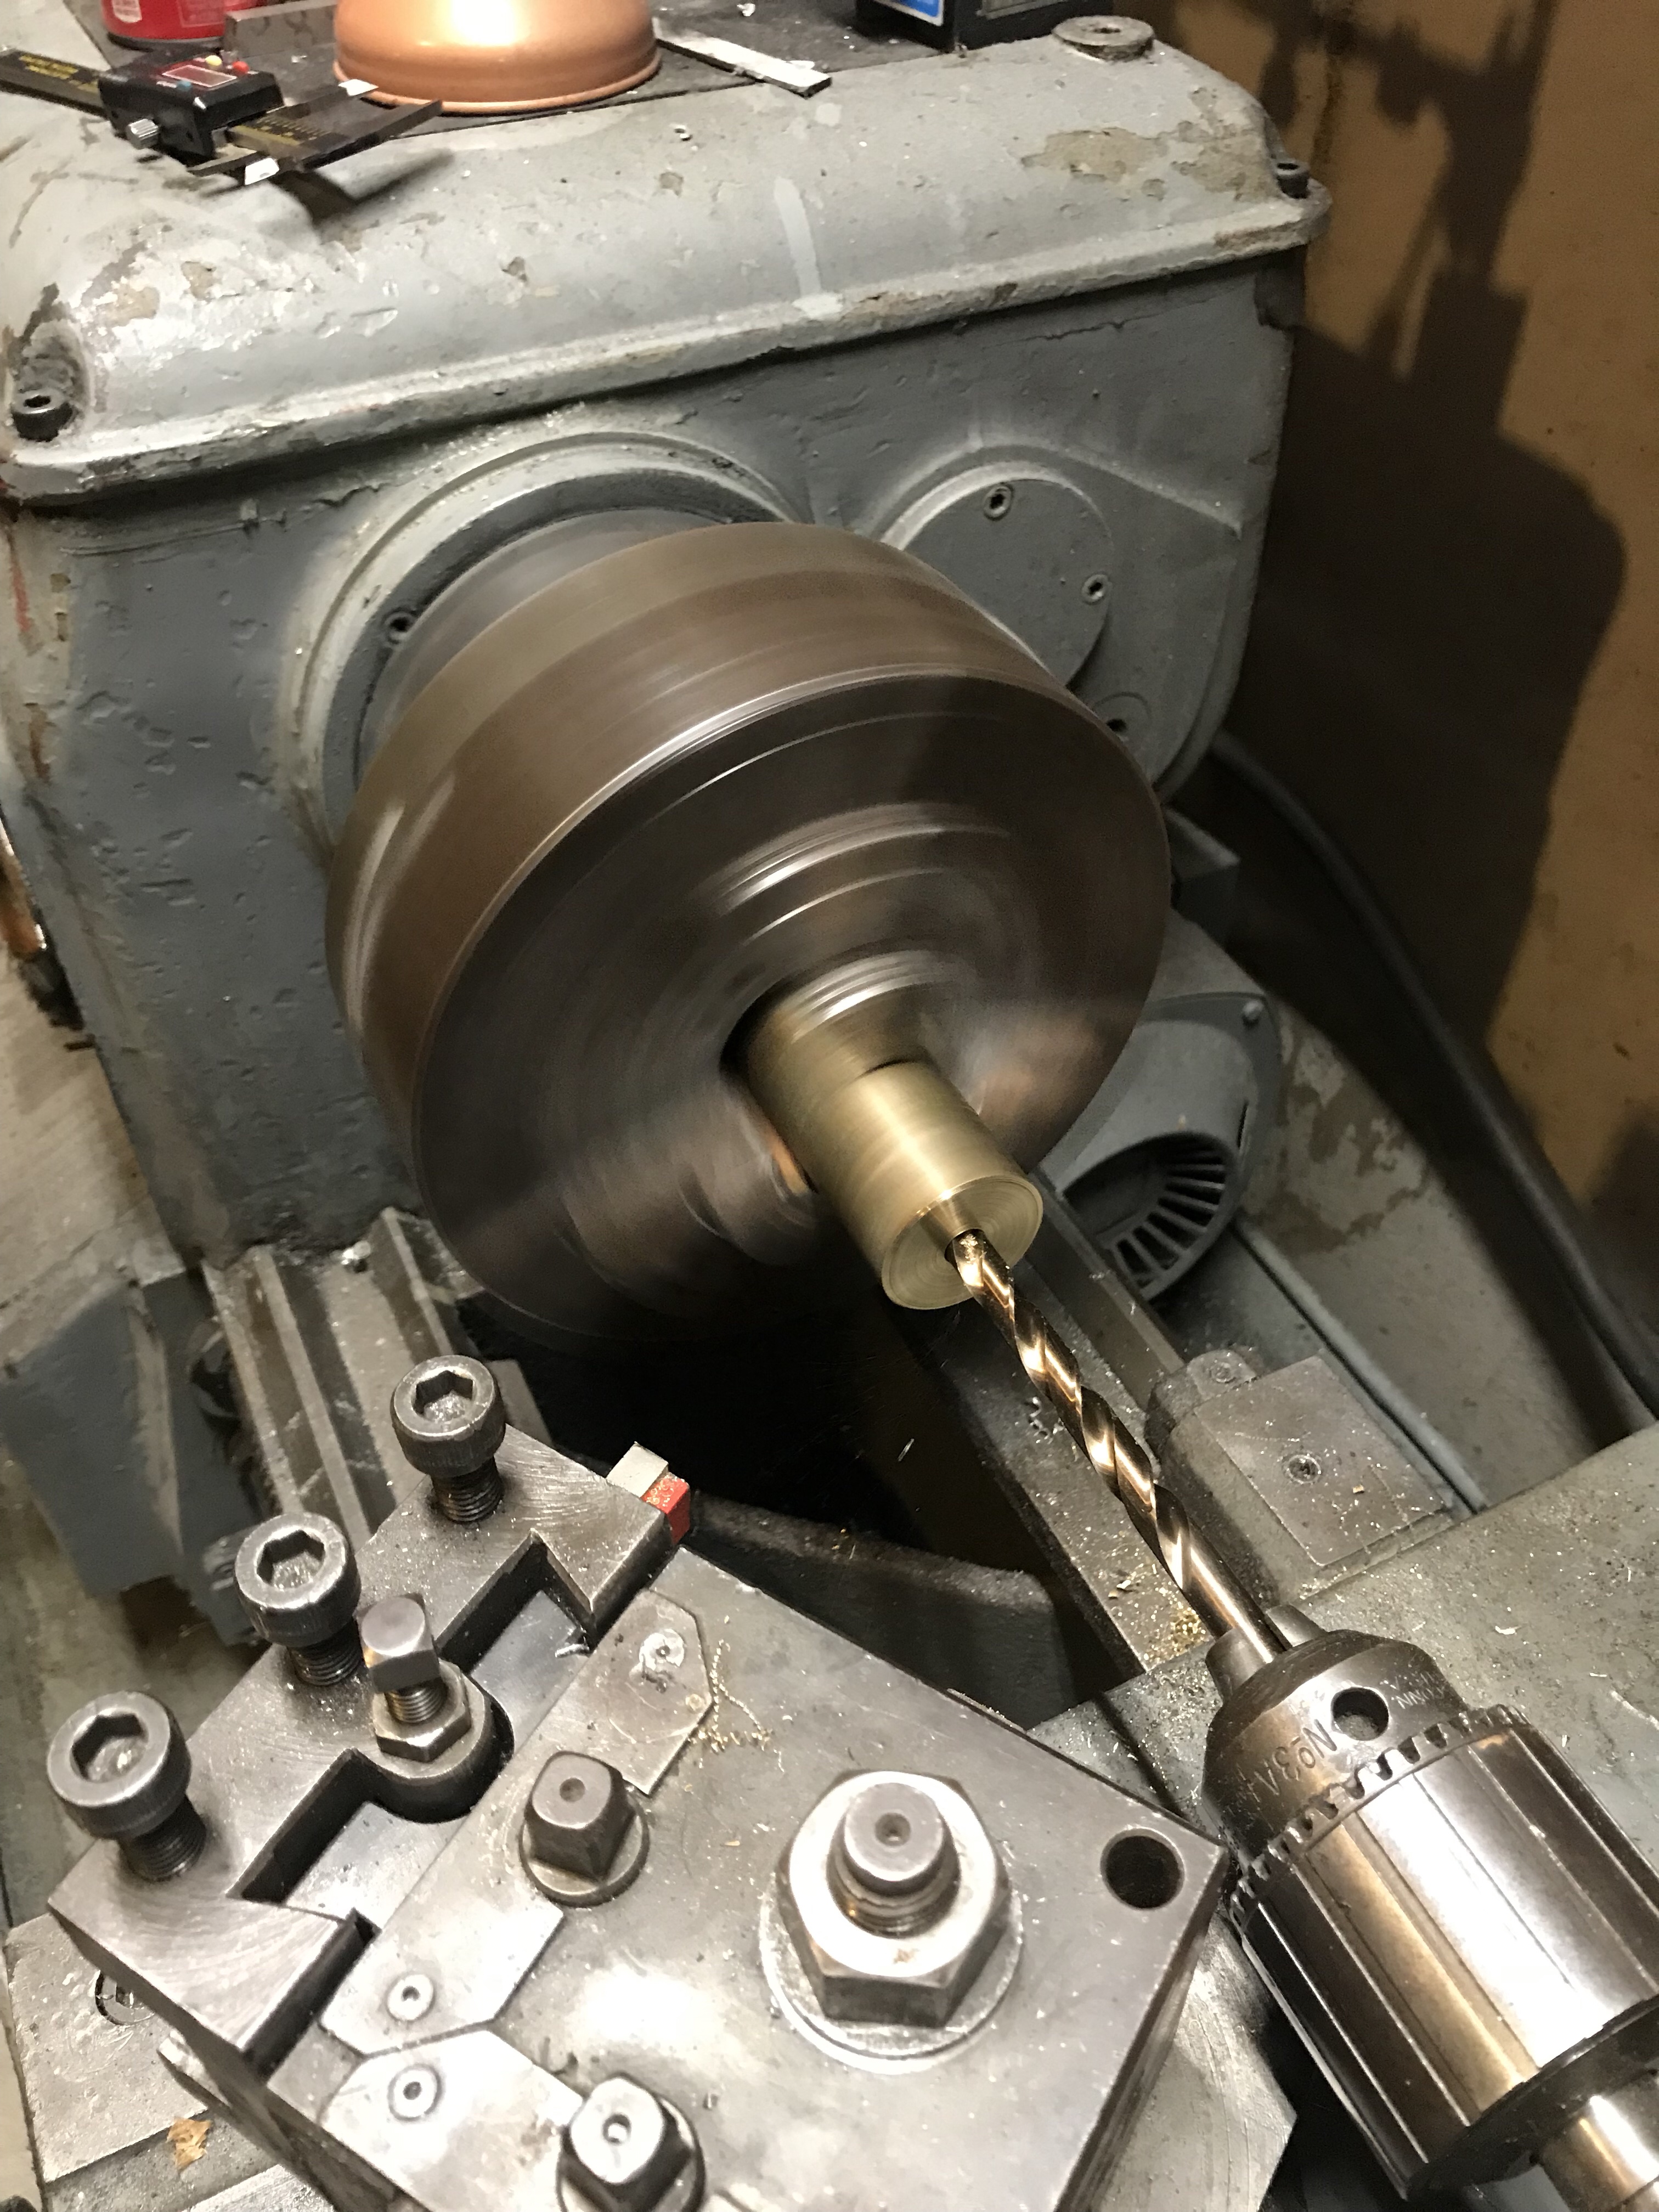
Soon after I received them I thought it might be easier to cut the bolt heads down in the lathe. Thanks to Cawley racing we were able to shrink them down and re blue them. Success!

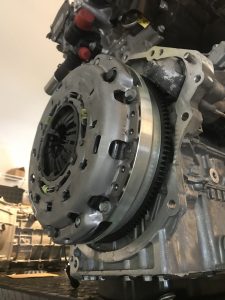
After the install I started on the clutch and pressure plate. With a clutch alignment tool we were quickly in business again.

Up next I man handled the transmission on to the engine and bolted things together. Even the starter motor aligned so it was a good day

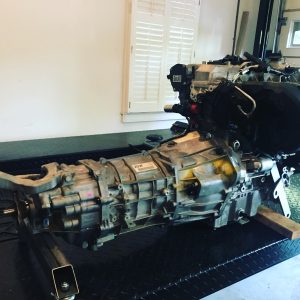
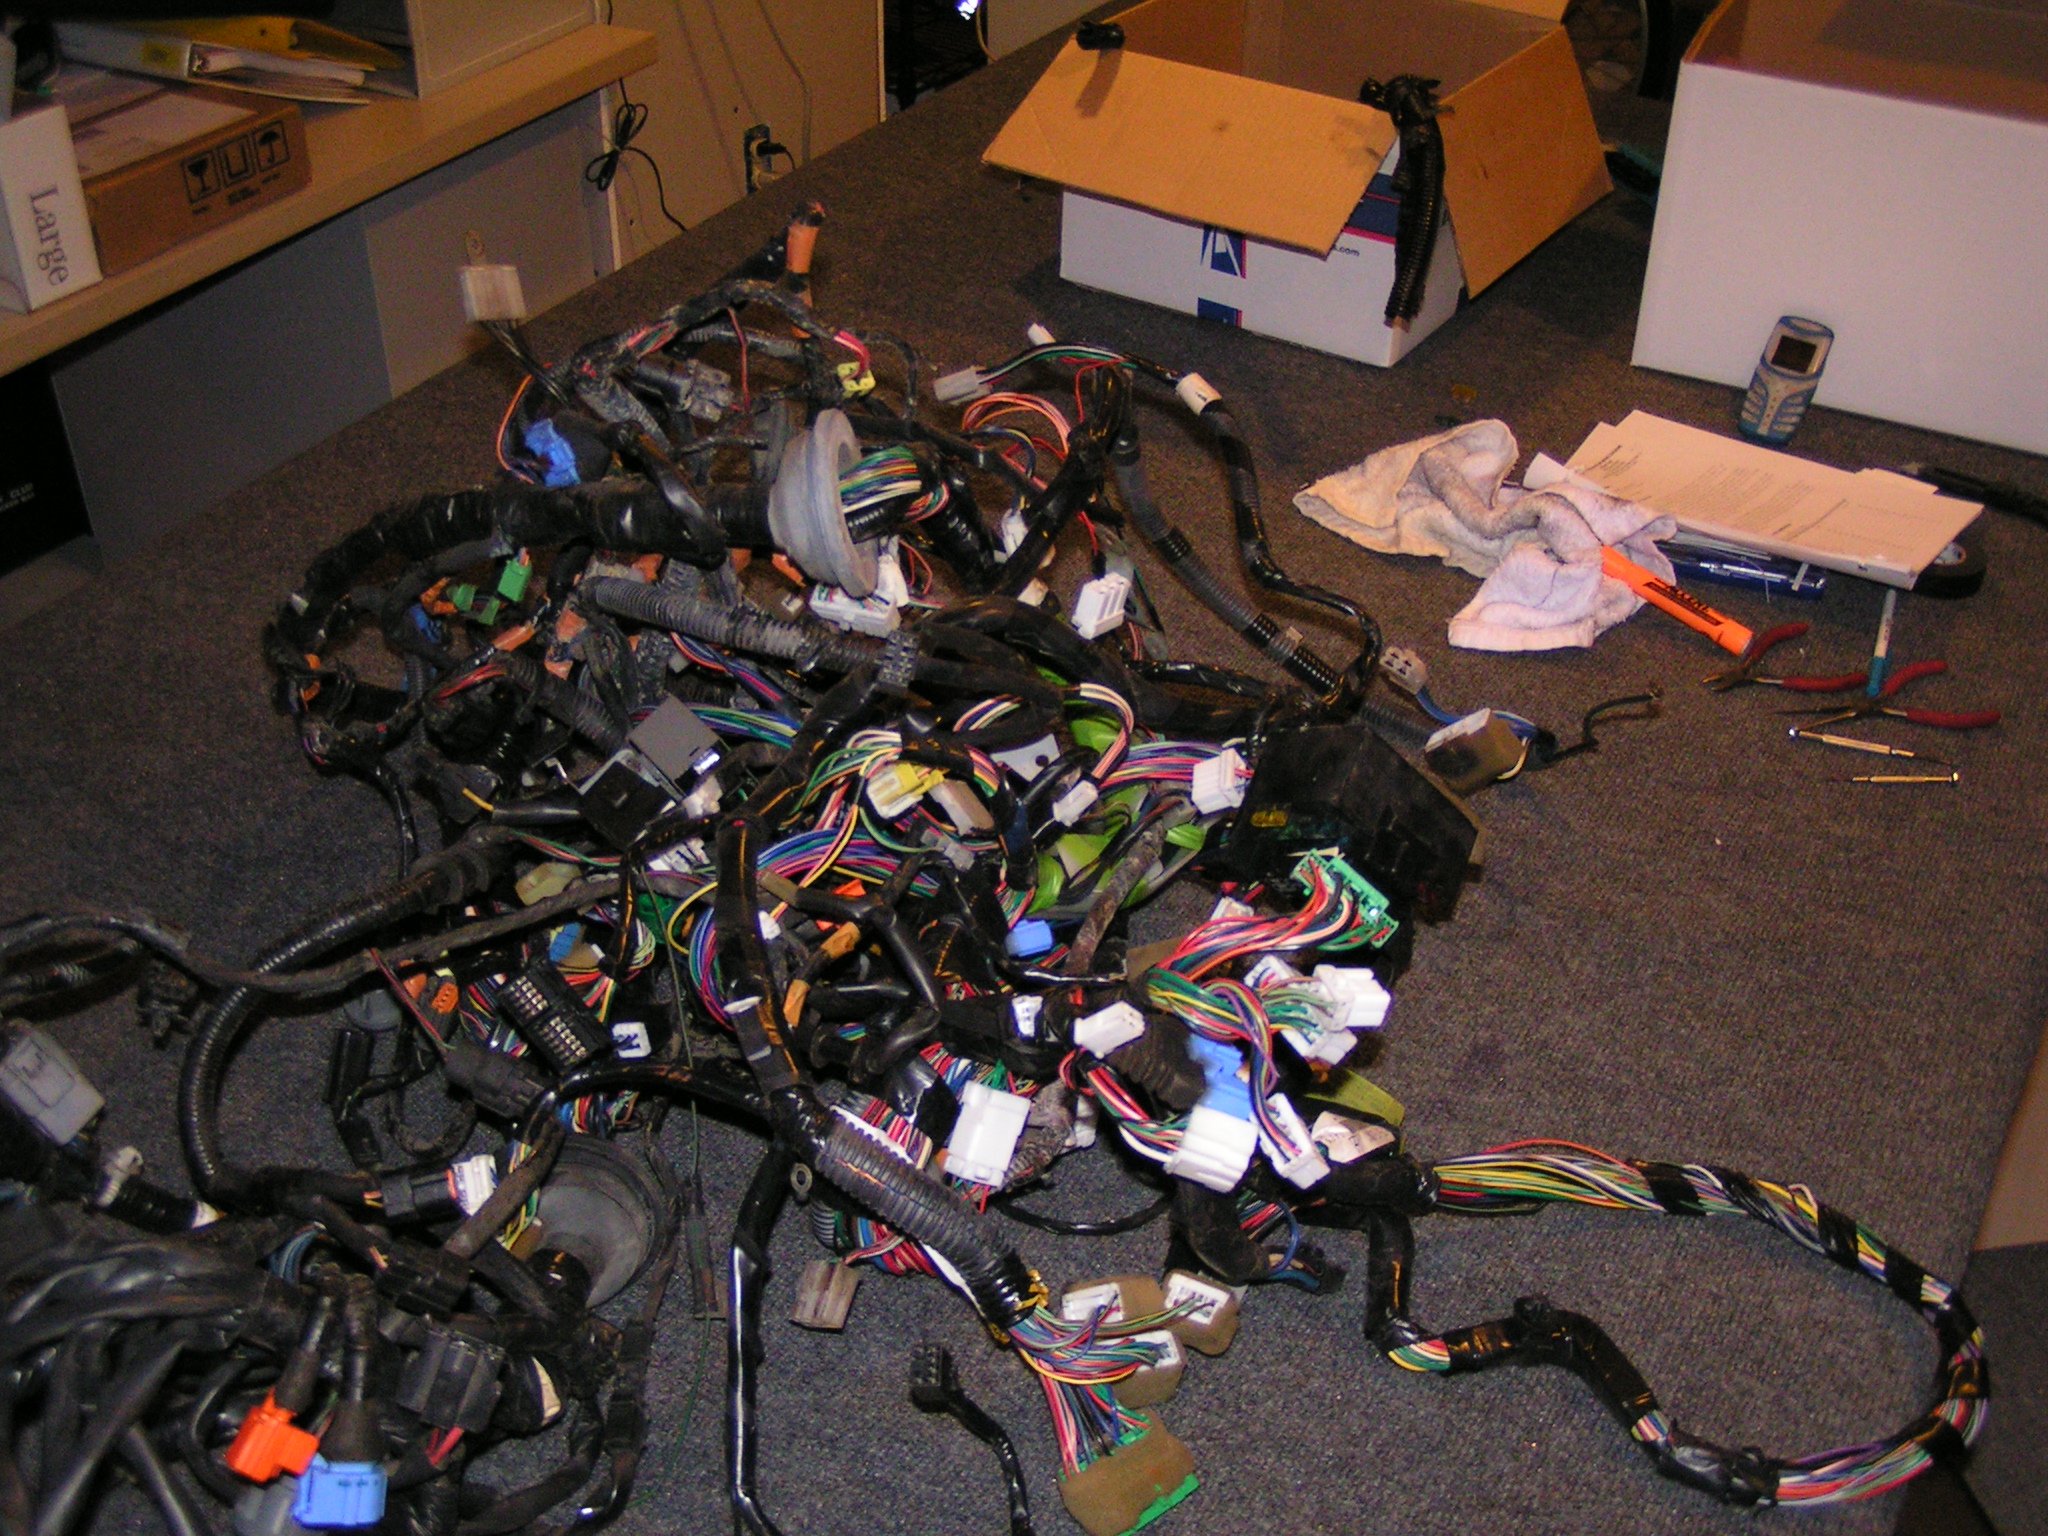
Up Next is the engine wiring. All parts are sent to the harness maker and hopefully I’ll have good news soon and be ready to drop this into the chassis!

Finishing up the front of the engine

To finish the front of the motor I needed to find a way to tension the belt due to the fact I wont have an AC compressor.

To start I went to NAPA to get an Idler and a belt. I wanted to mount the tensioner high up since my engine often sits below the frame rail.

Pulley came from NAPA. It is grooved and part number 409703

This wasn’t the first belt I bought. I think the factory part was 1940mm. I went to 1740mm to get a good fit.

Napa Part number 050685- It is a 5 Rib 1740mm belt.

This shows the belt route and the rough placement I was considering. Note my tensioner is smaller than the factory AC Pulley.

Bracket created using the 2 front bolt holes. It is a solid fit so I didnt feel like I needed to move further back and triangulate.  Note the location is higher than an AC.

This is the side view. It was essentially 2 pieces at right angles with a brace to stop deflection.

This is a close up view of the bracket. I painted it while hot so the paint bubbled. I like the look.

The end result is fairly good. I am happy and things appear to be tracking well and cleanly. I might add a nut to the back of the bolt. Right now I have tapped the steel plate (3/8″ thick) so I think it is good enough.

Flywheel pilot bearing hell!

My personal opinion is that Fidanza shouldn’t be allowed to sell parts with sick half assed support . To get a party they recommended I would have to go to Europe or China but online the part is harder to find than a uniform.

I bought a piece of bronze on what and stayed to machine my own. The dimensions were simple. 16mmID 28mmOD and 26mm in length. It took about an hour to make.

Overall it will get the job done and be fine. That said I am no where near the phase of recommending a fidanza product. Especially after the need for custom bolts!

http://www.exportedafrican.com/wordpress/wp-content/uploads/2018/06/img_8470.mov

Wiring and electronics

When I started I had collected the entire Miata wiring harness and related plugs/modules.  First I removed all of the wire wrap and used a gallon or 2 of degreaser to get the years of adhesive off. Using several wiring diagrams I managed to identify and remove over 35lbs of wire and sensors that I didn’t need anymore. Things like power windows, wipers,emissions crap etc all hit the scrap pile.

Admittedly I was afraid because I didn’t know exactly what the engine and ECU would need to run. I left a few extra wires and plugs when I was unsure.

Wiring Harness before modification

For the taillights I did not want to use anytime similar the original or Caterham- both of those solutions use RV taillights.  After looking around I managed to find some LED’s that would light up in multiple colors.

First step was to buy some Aluminum blanks.

From there I turned them down to provide a small lip and allowing for a piece of glass between them. The lights are able to light up Red, Orange or white.

The coolest part is they will hold red but flash orange if a turn signal is lite up. White for reverse lights obviously.

Here is a shot of the turn signal on. I mounted them as high as possible and they are very bright which I hope will help with awareness.

Suspension pieces

One critical piece of the project is the suspension. Depending on how much you know on the subject it could either be overly simplistic or incredibly complex.

Factors like dynamic toe, camber,caster and anti squat are all geometry concerns. Additionally spring rates and dampening round out the subject.

Front lower control arm

Initially I had the shocks set to a radical angle of 45 degrees. That was great in terms of fitment but required crazy spring rates since only half of it would be effective. I later built new mounts that moved the top of the shock out by 6″ and reduced the angle to something in the 20 degree range.

Original inboard upper shock mounting location
Mock up of how the anti roll bar will fit
End result.

We placed the vehicle on a laser mounted alignment rack when finished. The dimensions were absolutely amazing. The variation and setback differences were less than a production car typically exhibits.  I couldn’t be happier with the suspension! It is absolutely fantastic with 300F and 450R springs

Rear differential bushings

One of the Miata shortfalls is the differential bushings. They are pretty soft which can cause movement and ultimately cause case failure.


I bought a 3″ piece of Delrin and made a few sets. Worked like a charm on a small hf lathe.

They dampen some vibration but are pretty much all business!

I am very happy with how they came out!