Hitting the dyno

The day finally came that I could get the car on the rollers. I’m very thankful to have some fantastic friends that helped me get to this point as well as beyond. My buddy Neil let me borrow his trailer (perfect 7 size!) and Dave that owns Complete Performance has been a friend for years.
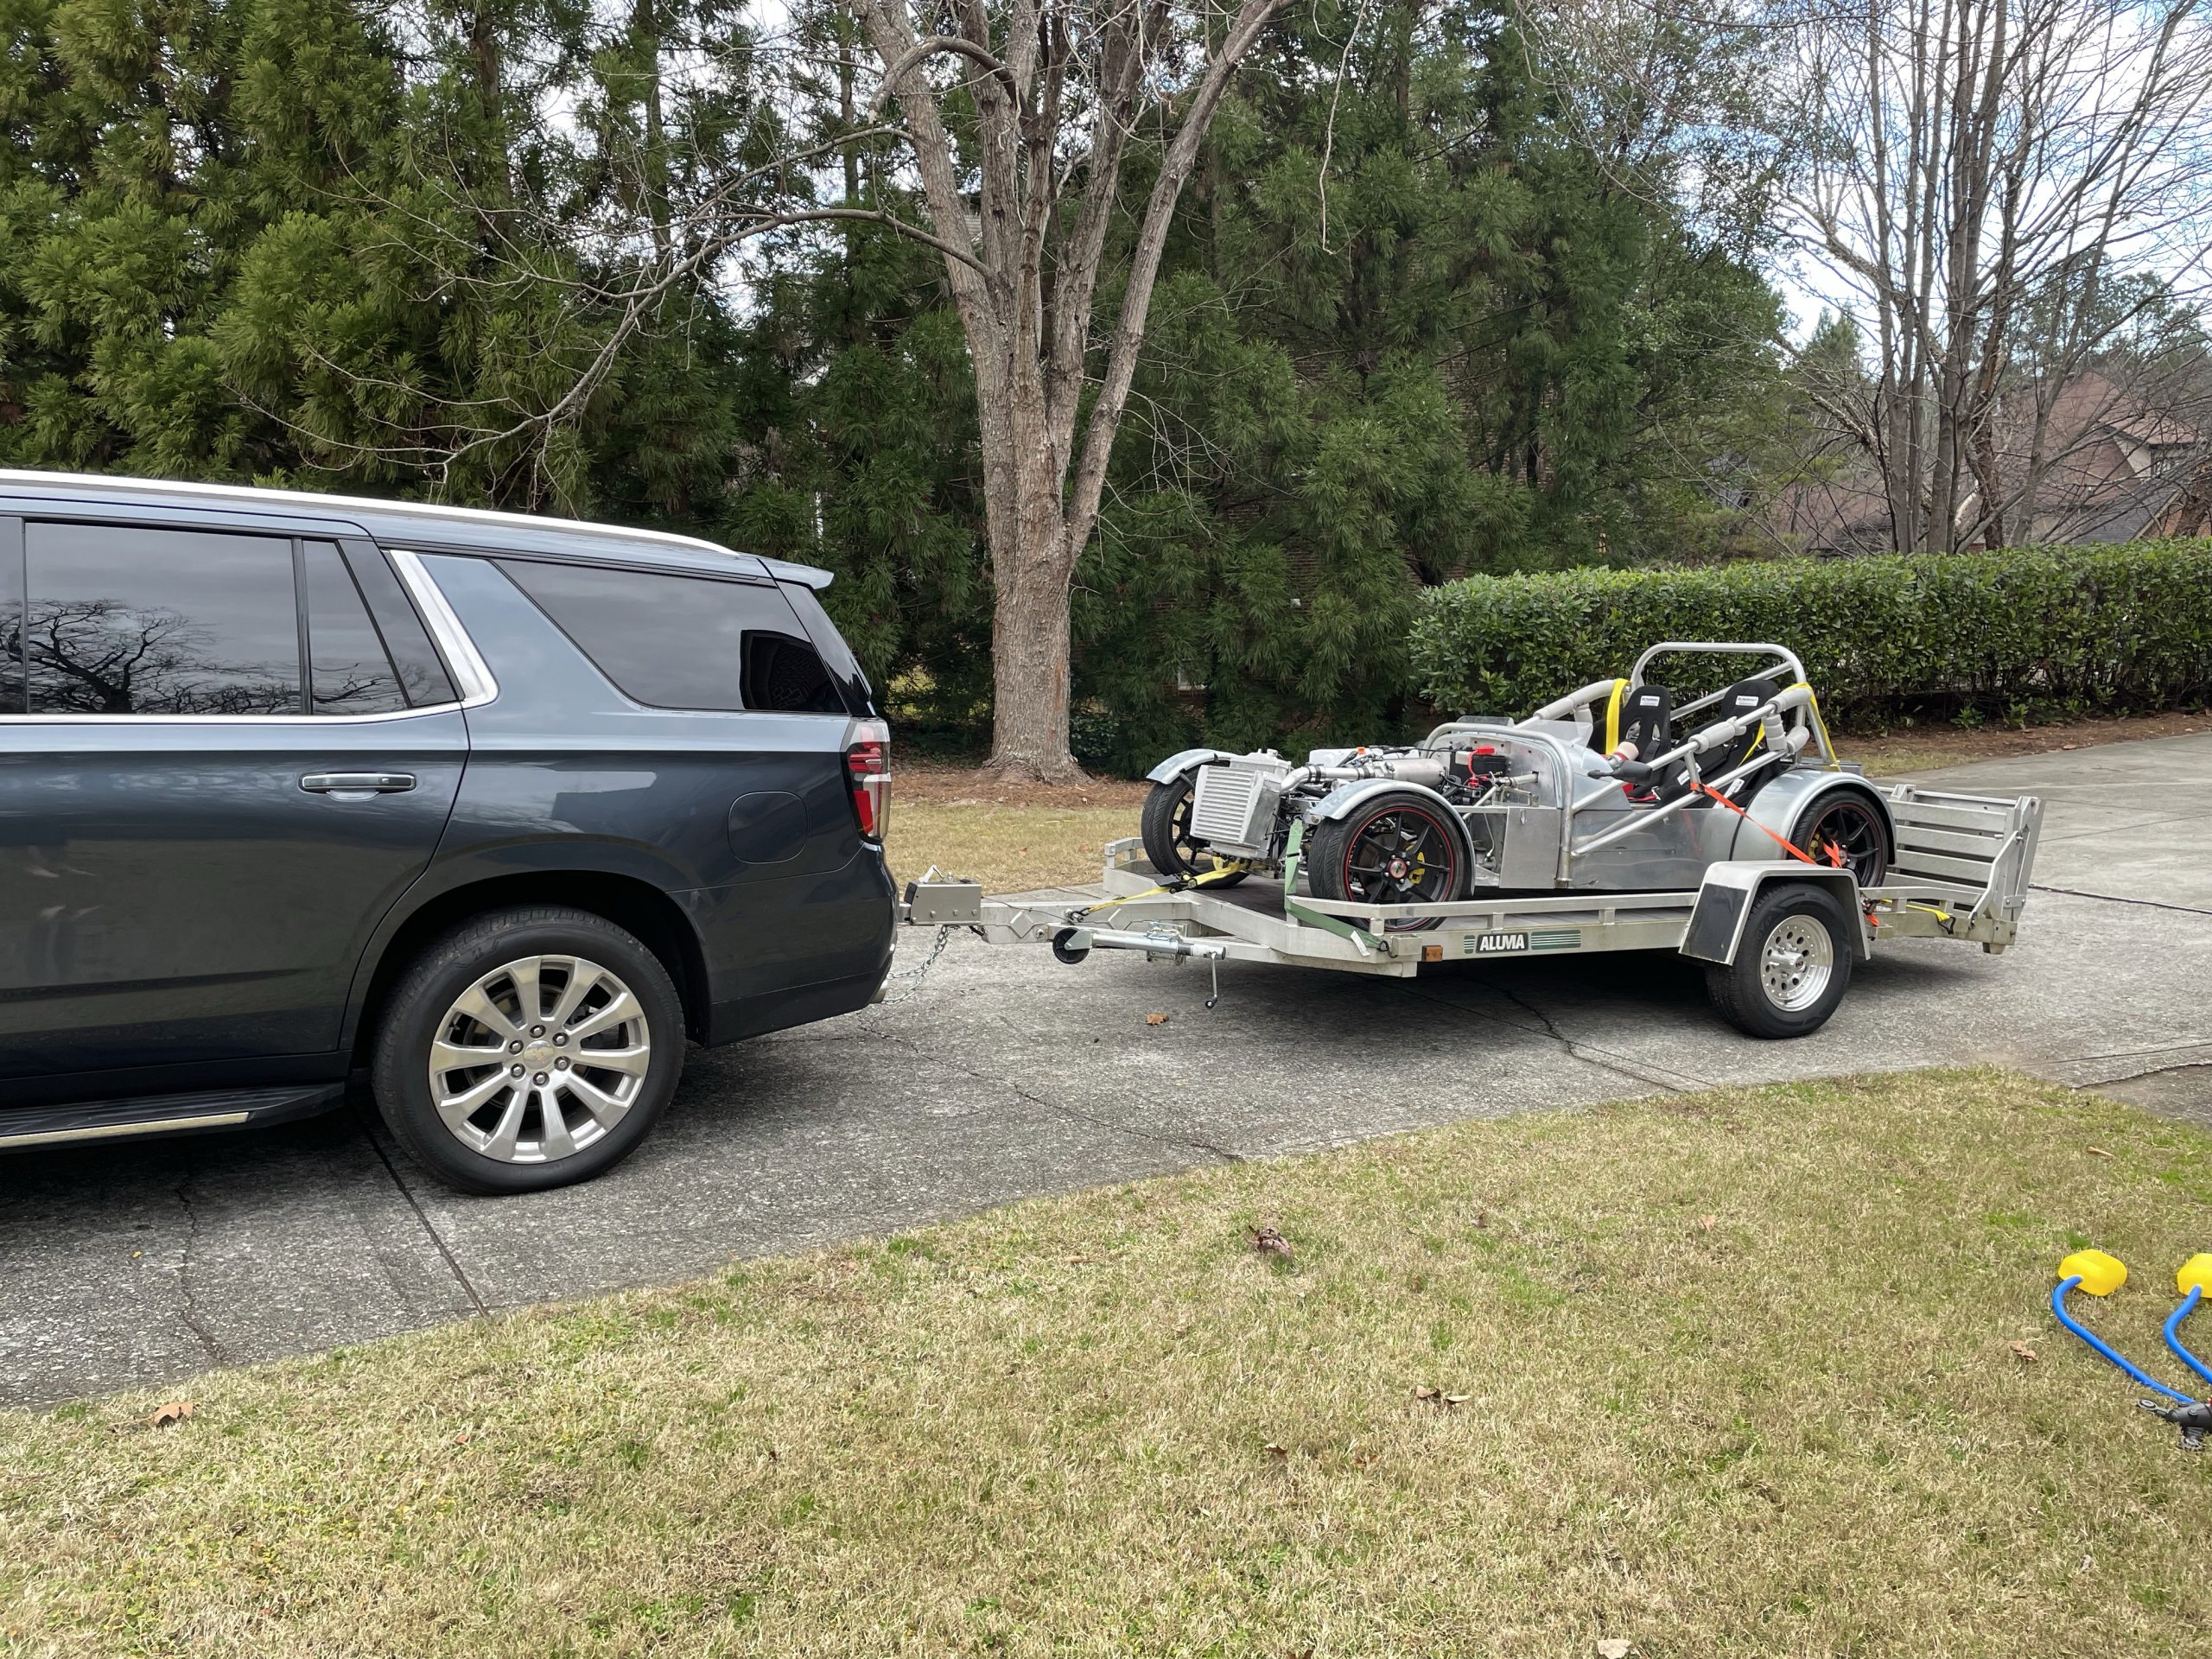
Tahoe doesn’t even notice it back there. The digital rear view mirror was amazing though!

Car fits perfectly on the trailer Neil uses for his radical.

Admittedly the car wasn’t behaving when it went on the trailer. My attempt to change base fuel pressure was not perfect and resulted in a very soaked set of plugs.

Thankfully Dave has been around these issues and quickly helped diagnose the problem and a new set of plugs got us going again at 43.5psi of fuel pressure. Up next was to do some basic pulls to 4000rpm. Our goal was to check that everything worked together and we didn’t have surprises.

Like with any car that has not been tested we found a few bugs. The first was an issue in which we made 12psi of boost-twice what the watergate spring was supposed to make. Dave quickly found the push lock line I used was too close to the turbo and has melted into the heat sleeve. Effectively we had no watergate connection and the tune would have gone to the moon.

The next problem was a water leak. The one thermostat housing has a connector that was an ORB connection. Unfortunately it’s poorly machined and it spits the o ring out. As a result we had a leak. The AN wrench helped us get it tight enough and not leaking. I will be replacing this soon (and probably adding Hondabond).
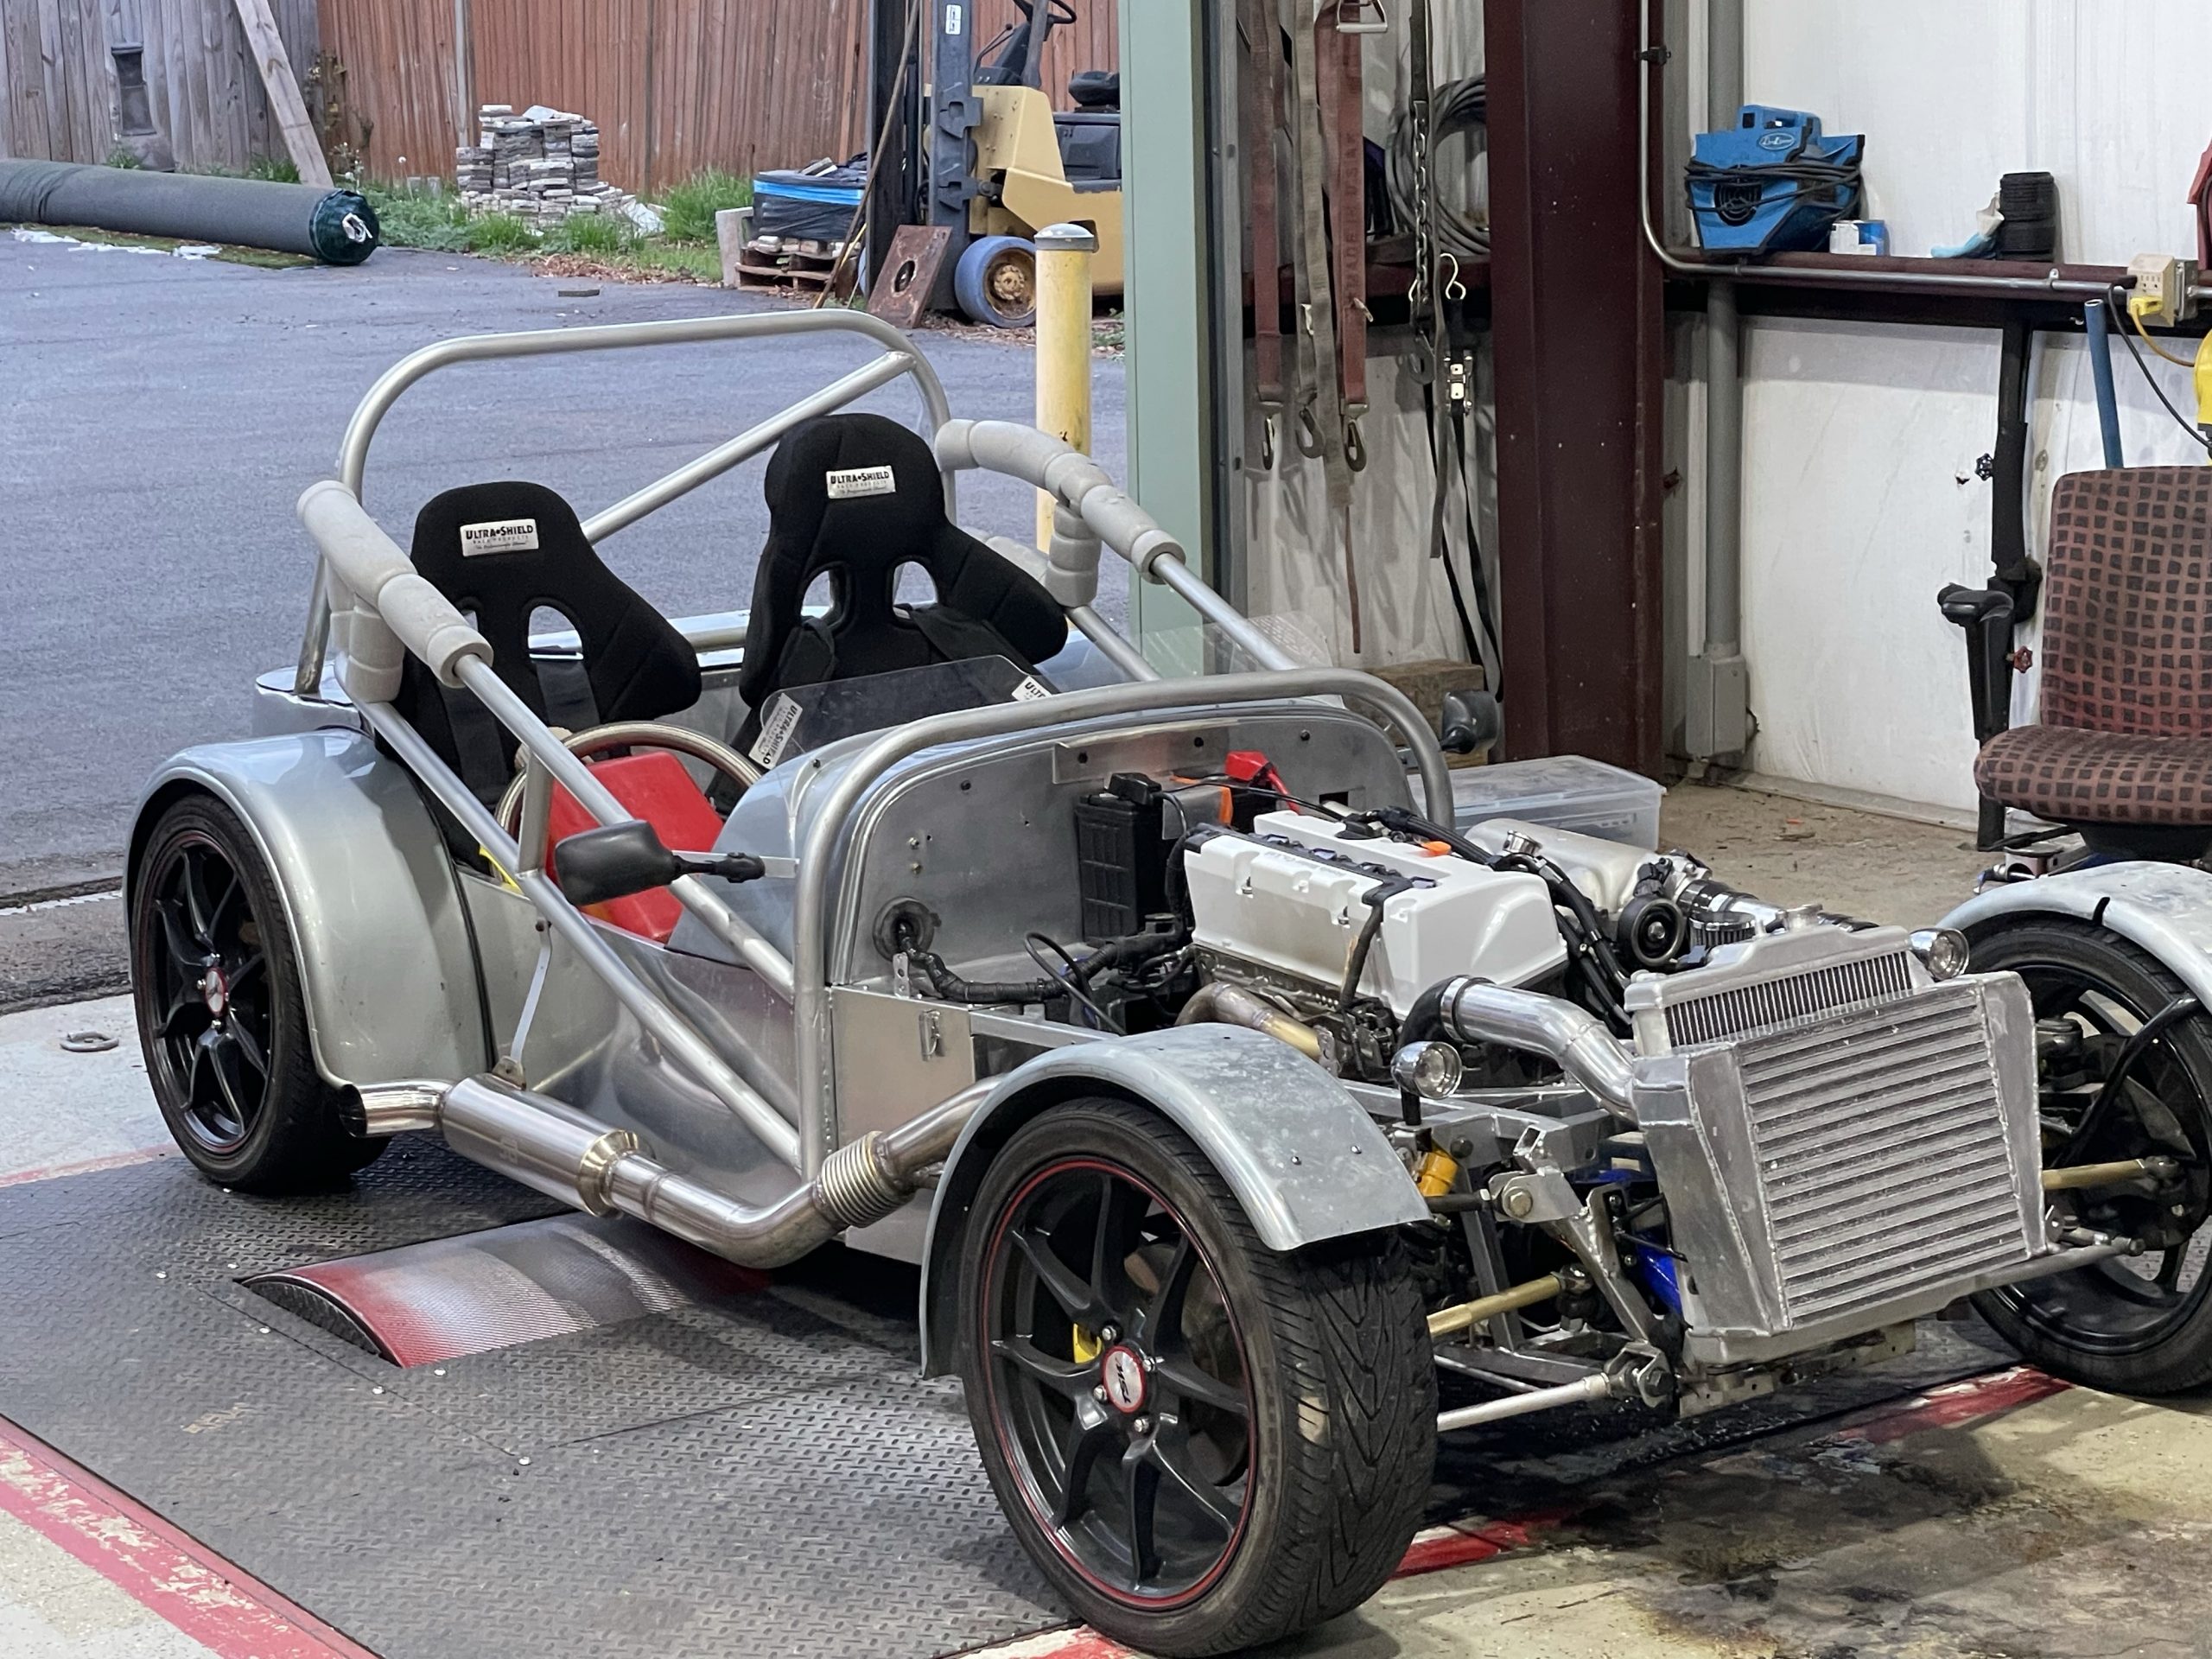
The next issue is one we haven’t fully understood but after a pull when the clutch is pushed in a spark would appear. I suspect the throw out bearing is not enjoying its kissing the pressure plate at 8500rpm

Ultimately we struggled to get the Hondata ecu to add and remove fuel as expected. Additionally learning in this area will be needed. A vtec code also emerged and you could heard a noise at the vtec cut over.

It isnt fuel. Only water on the ground

All in all a good day and I’m appreciative of the help and where it got me.

Video link is here –
https://youtu.be/InbHv2kdRBY

Dashboard Complete

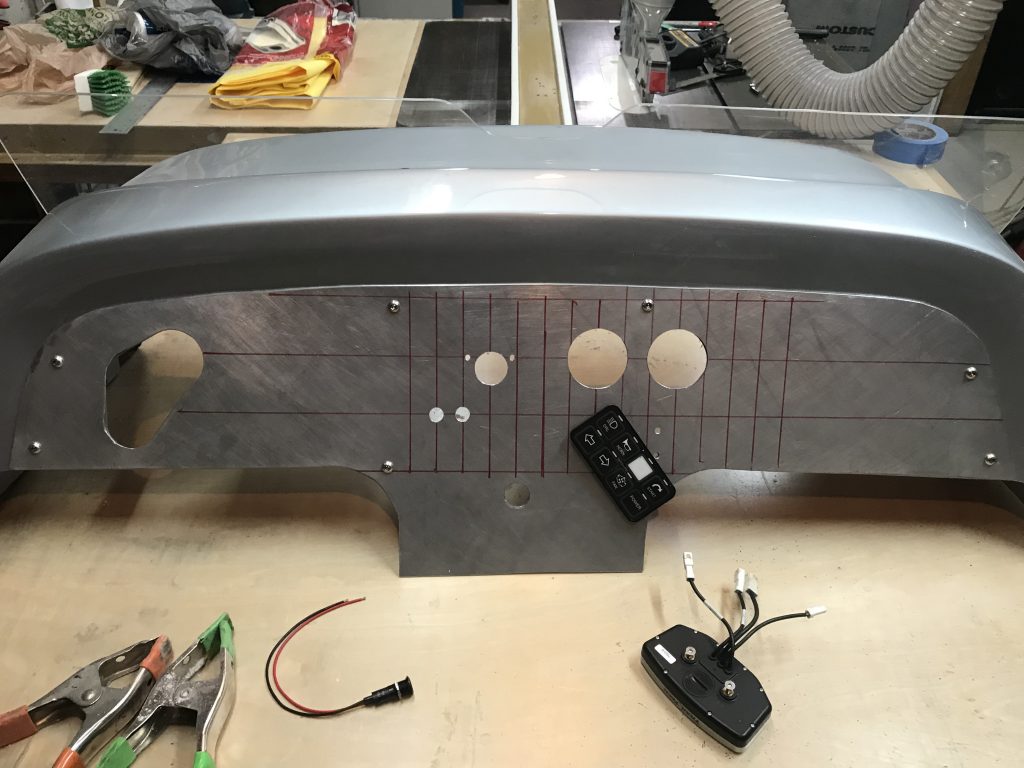
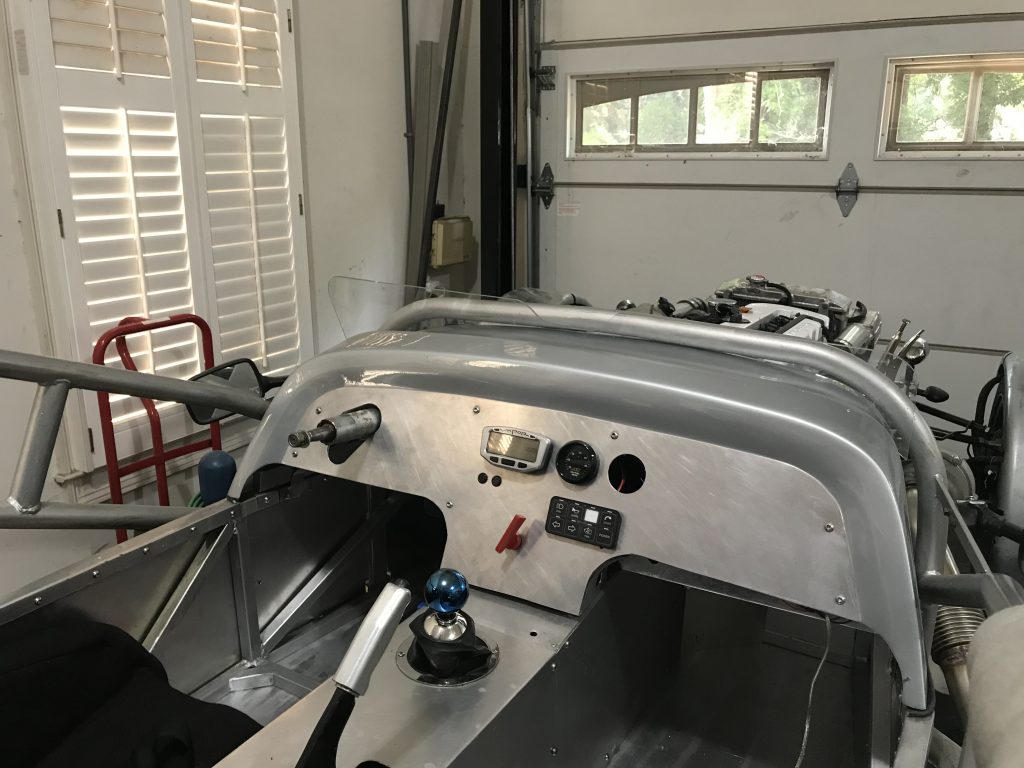
After much work we have a dashboard in place! By changing the engine I needed to change the gauge cluster. Unfortunately there were some large holes from the Mazda unit and so I opted to replace it with a sheet of aluminum.

Taking a marker and creating some grid lines I was able to work out spacing and placement

New cluster uses the same Trailtech Speedo and Rev Counter. We have 2 new lights for a Check Engine light and one for low oil pressure. 2 Gauges are for boost pressure and the wideband O2 sensor.

I am pretty happy with the results. If I find it to be too bright I will just wrap it with vinyl. I will say that after using the K Pro mobile app I would be happier with a tablet in the middle… That day may be coming sooner than I thought.. Their performance is good and pricing is low!

Turbo Time!

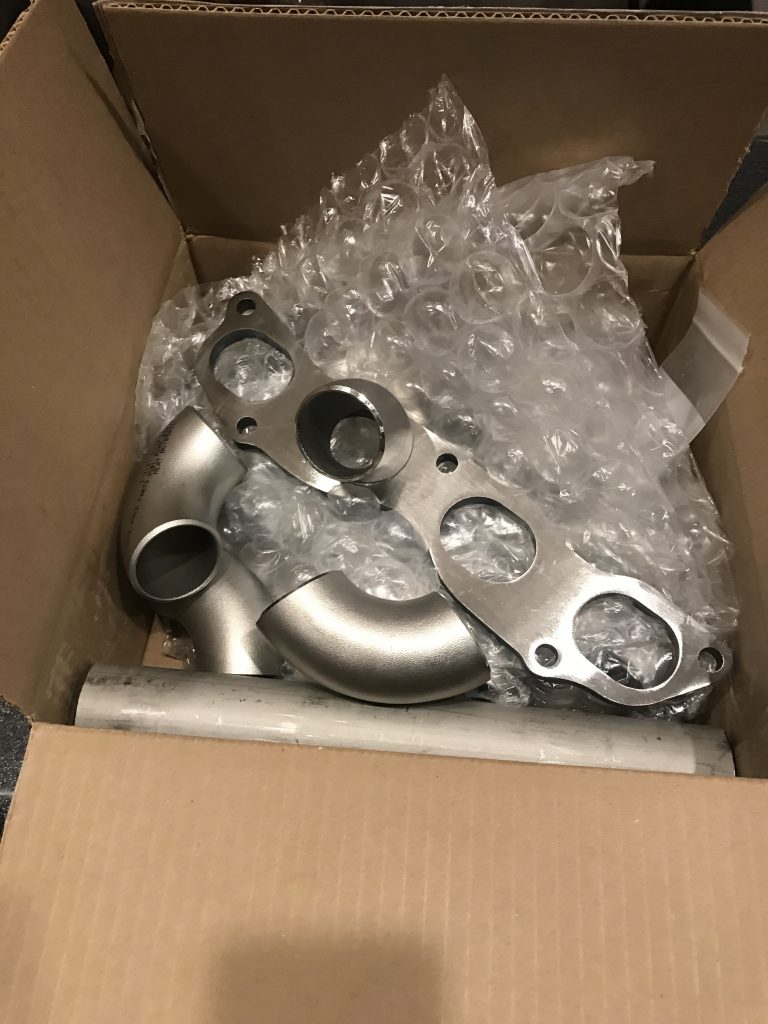
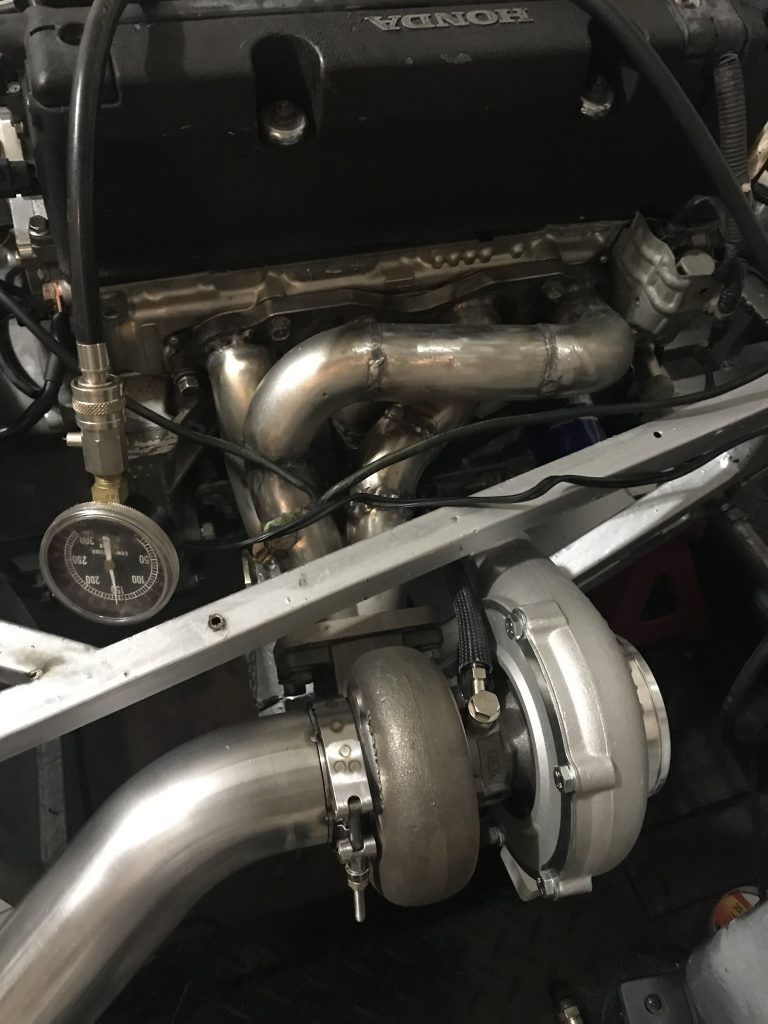
From the beginning I knew I wanted to turbocharge the 7. I started looking online and bought all the pieces from Ace Race Parts and started cutting, chopping and grinding to get a manifold together. Initially I had the manifold pictured but landed up replacing it with one that accepted round tubes directly.

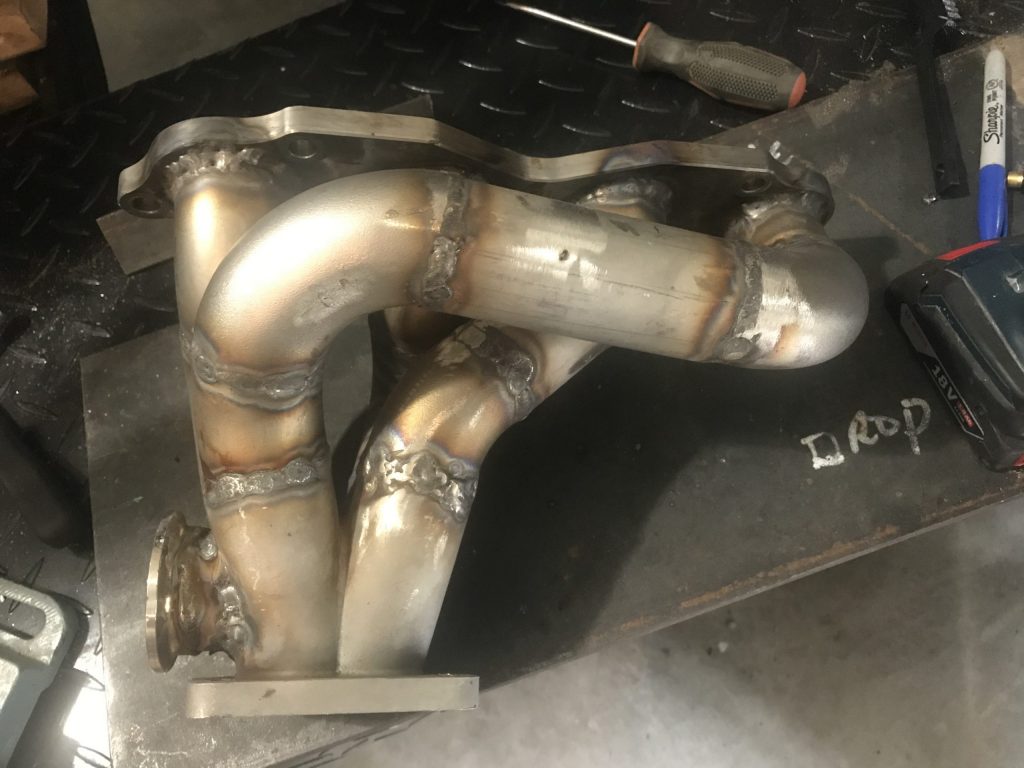
Above shows where we started but the finished manifold is seen below.

I got some great tips from my friend Jim and should have used a bigger cup. Lesson for next time! I did backpurge the manifold and the inside loops perfect! You can see the wastegate flange off the side. It isn’t optimal but they are oversized to do what they can about the gases.

Pictured is the GT3076 Garrett turbo charger. It wouldn’t fit inside the body work very well so I opted to put it outside the bodywork.

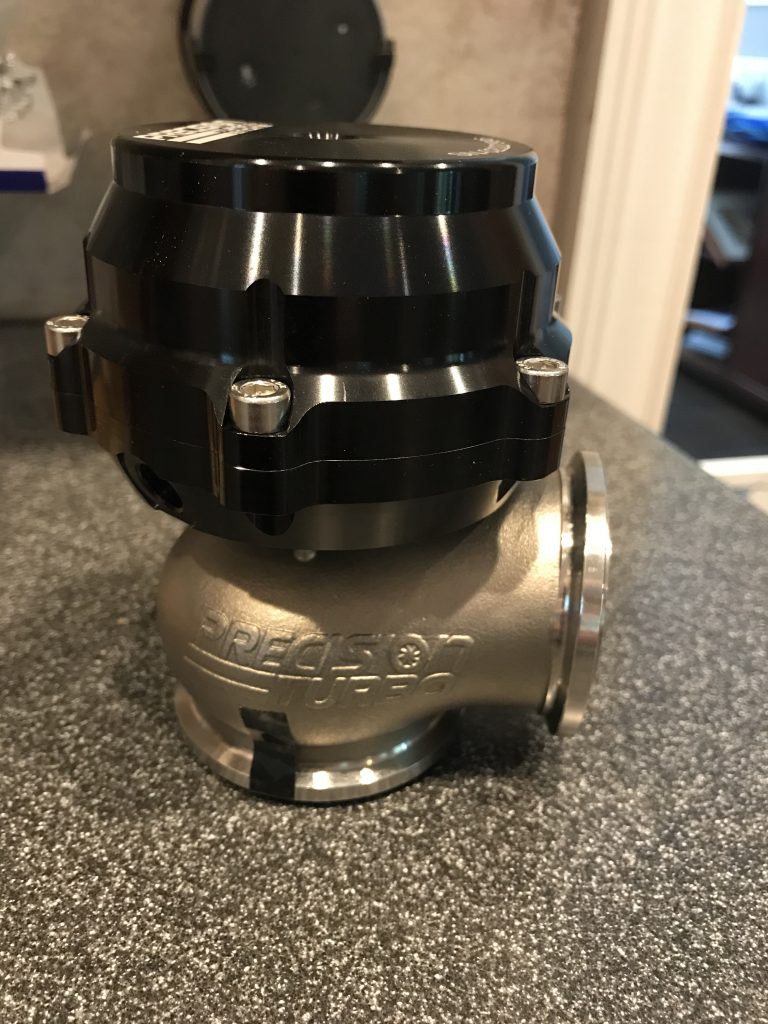
The Precision 46mm gate was picked to keep tabs on the gases. I considered the ebay generics which are substantially cheaper but opted to “buy once and cry once”after the intake manifold situation.

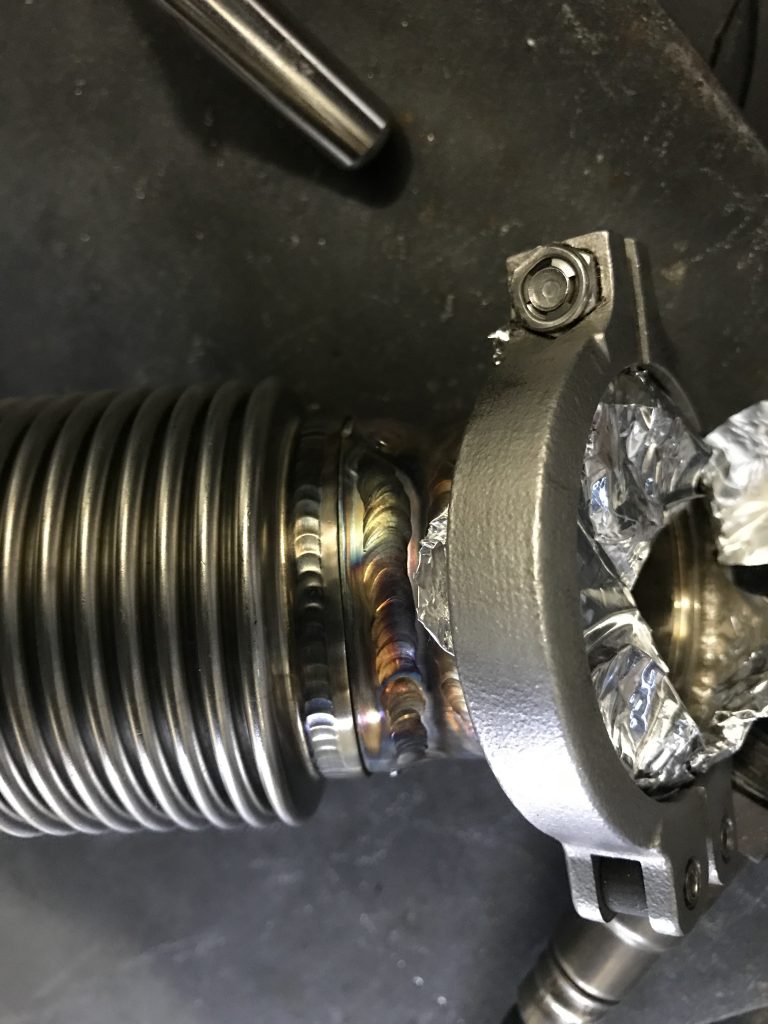
Thanks to Jim I got my welds to look much better. Flexible bellows were installed on the downpipe and the wastegate tube that merged back into it.

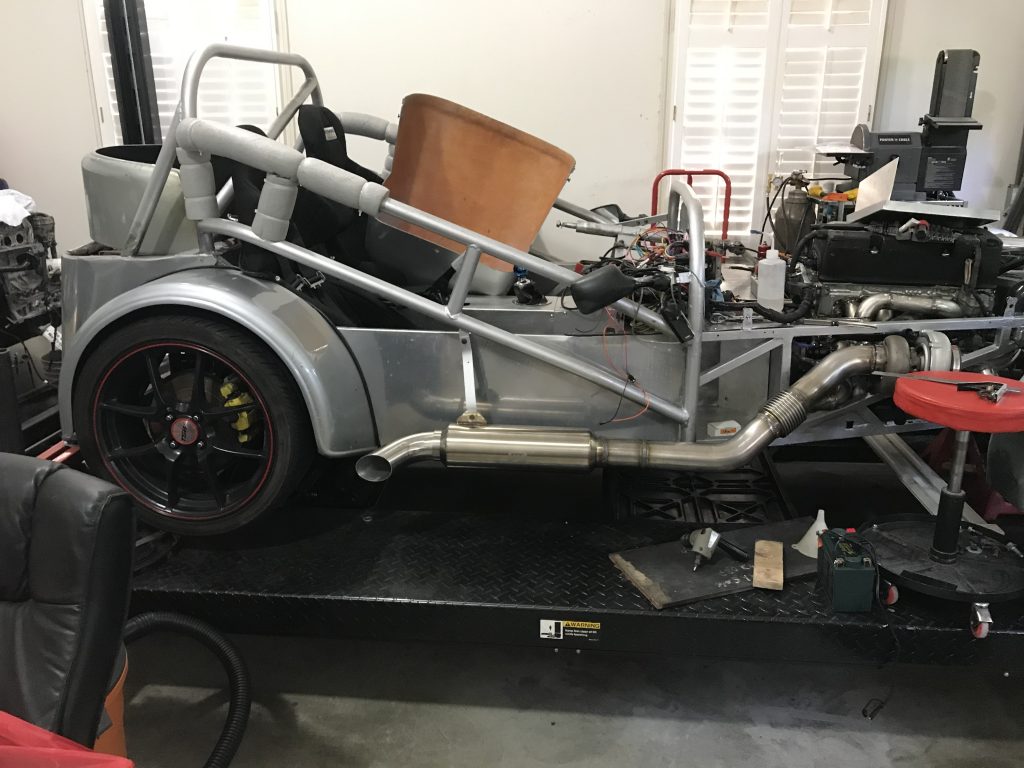
Above is the finished exhaust. The muffler tip was cut back further but all in all it sounds great and looks great in person. Up next the intake piping and intercooler work

Intake Manifold Adventures

After lots of fighting with the intake manifold I decided to stop being cheap and throw money at the problem. What was the problem you say ?

Pardon the dirty alternator..

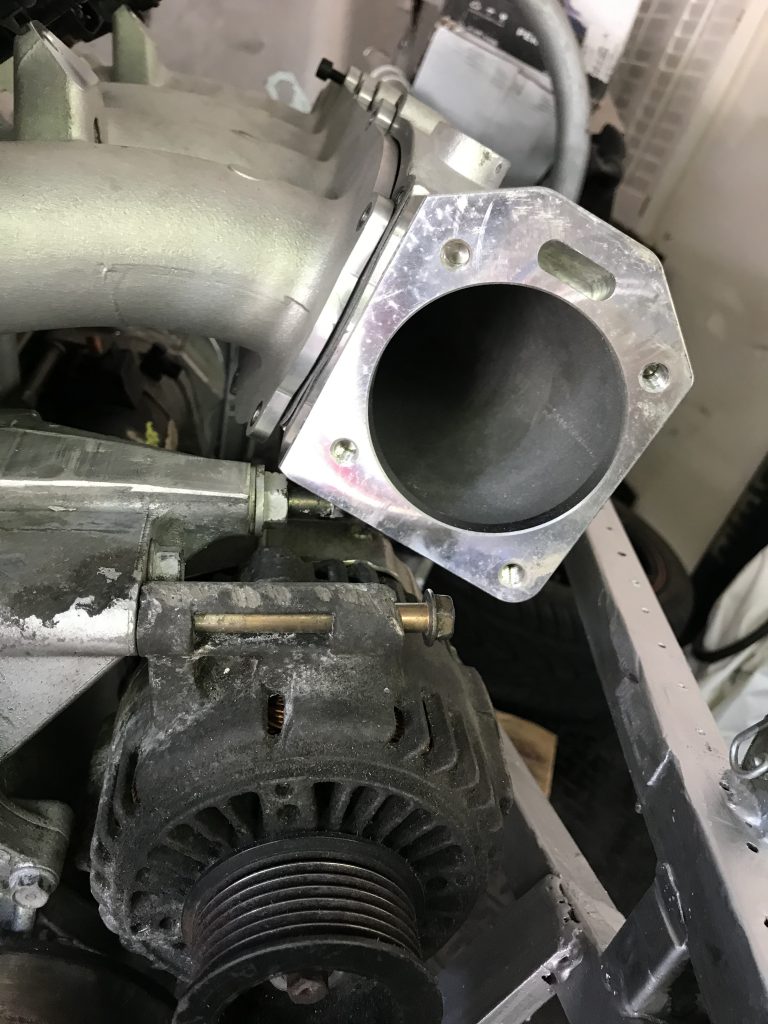
So the Skunk 2 intake manifold was never designed to be flipped for a RWD configuration. It has the modular design but the flipping is better suited to a K24 than a K20 because of the shorter deck height by 1″.

The intake manifold was a disaster from day 1! It requires that you cut the water pump housing to make it fit and then use spacers/washers to tension the alternator. After hacking up the housing I found that I was still likely to hit the alternator. The solution? I tried to buy the spacer that makes a B series throttle body work on the K series intake. I never attempted to install it and landed up selling it and the intake and ordering the Kmiata intake manifold and throttle body. It was backordered but worth the wait. I did follow the recommended guidance and bought the misalignment spacers due to the flanges not being parallel.

The manifold had the water passage built in which was a nice change and something I didn’t need to buy another part. Generally the fitment is good, the IAC did need a new part (from ebay) but that fitted nicely. All in all it was something I should have done from the beginning.

Out with the old… in with the new..

The work to remove the motor and transmission was fairly straight forward 

I removed the body panels on the front,the scuttle, nose, hood, side panel, dashboard etc and then removed the exhaust exposing the engine.

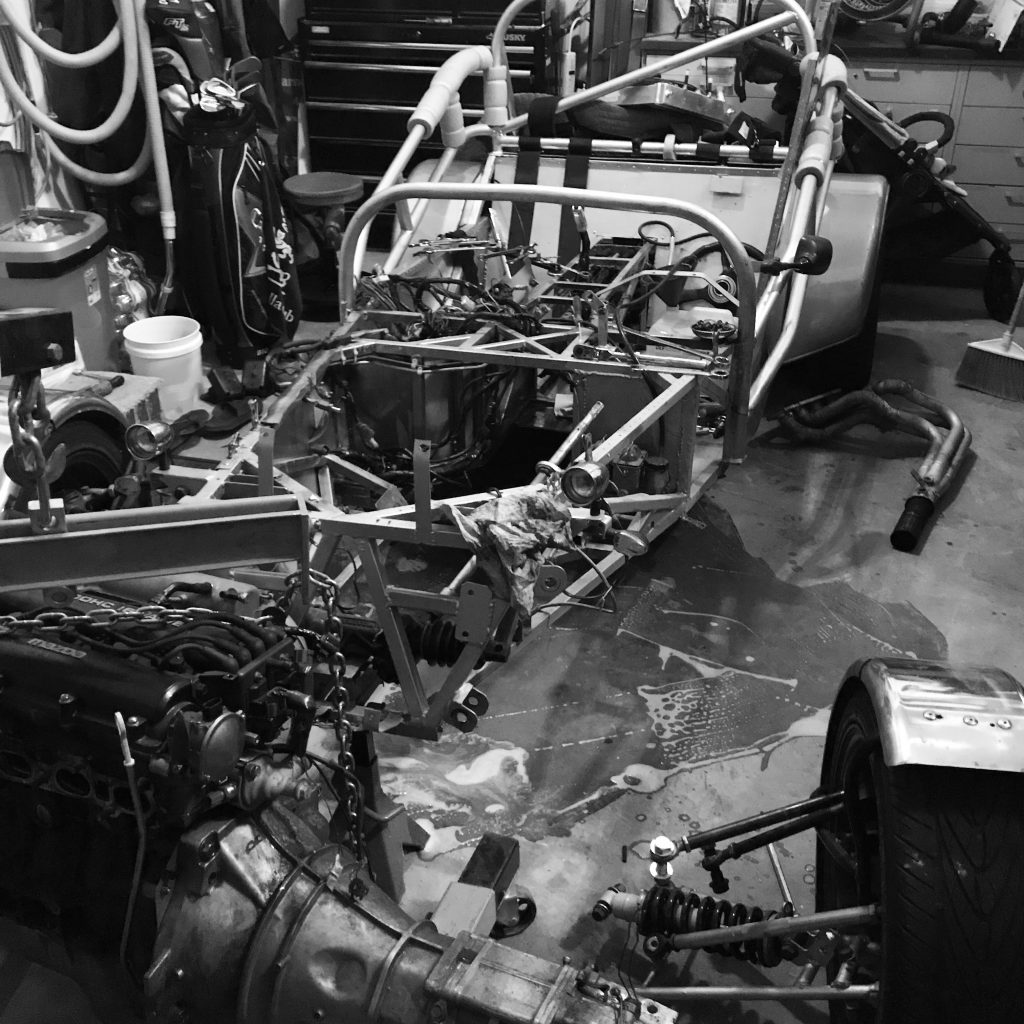
Up next- we pulled the engine (Drain all of the fluids before ever pulling an engine..) and made a big mess.  Shockingly it came out quite easily.

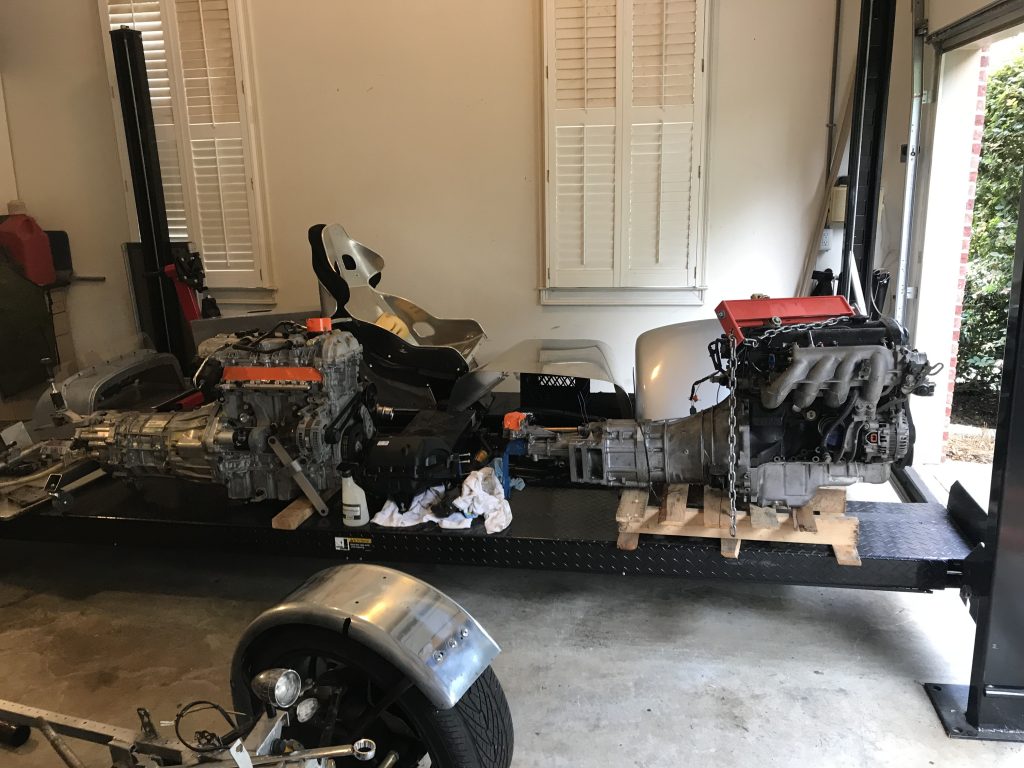
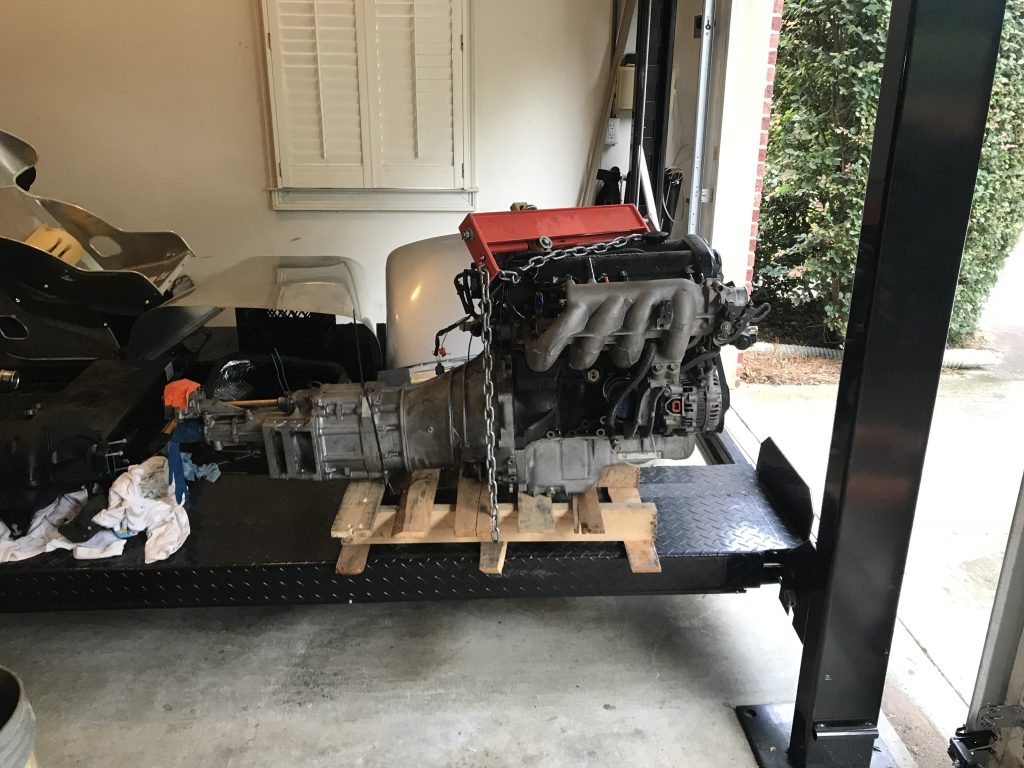
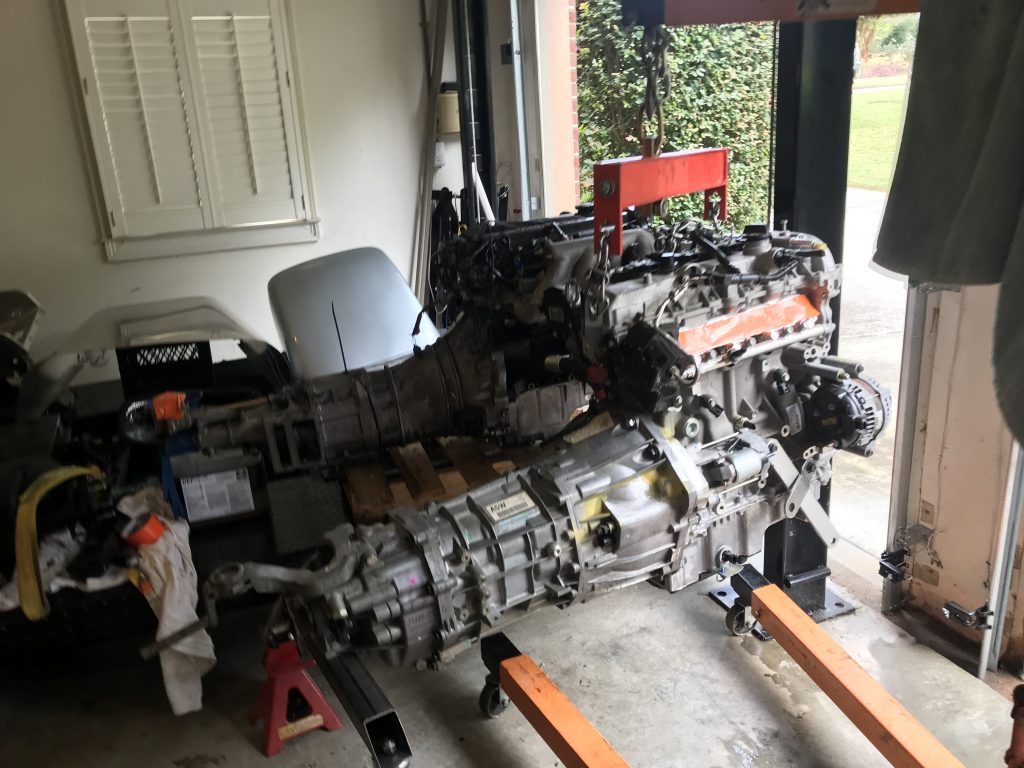
On the left- The ecotec engine.  On the right- The Miata engine. (note the miata engine is on a pallet which lifts the height.  The transmission on the ecotec is about 2″ shorter so the shifting location isn’t idea.

Anyone want a miata engine? I have a deal 🙂  94 Miata with about 80k on it.

Side by side View. Ecotec in the front.

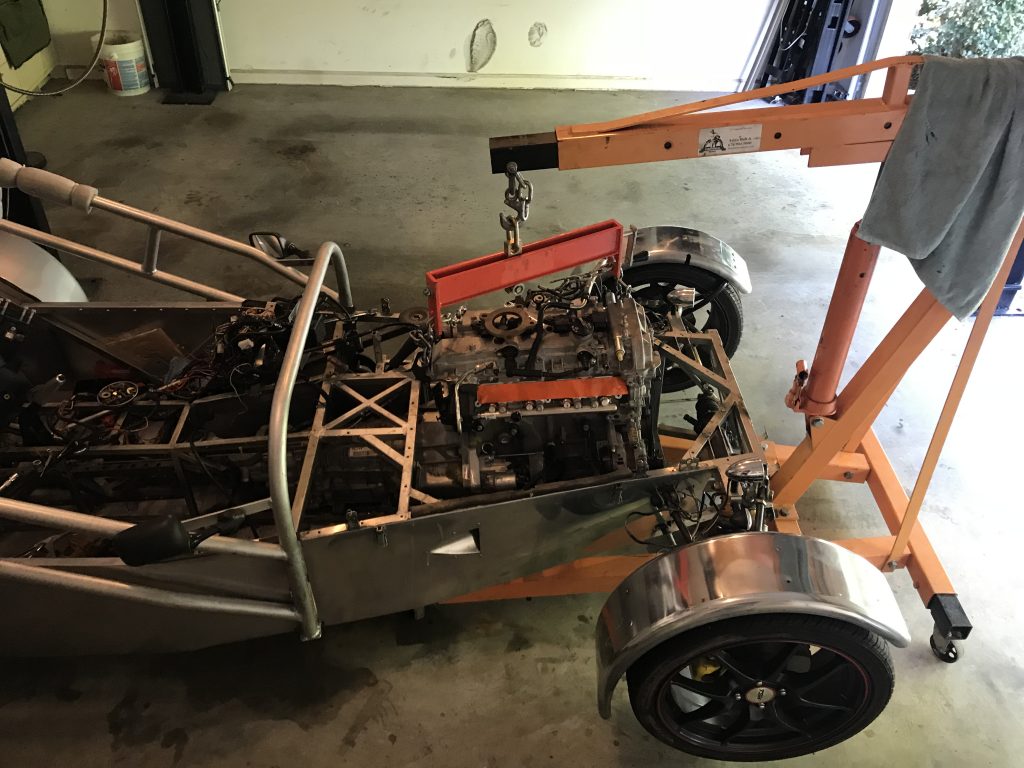
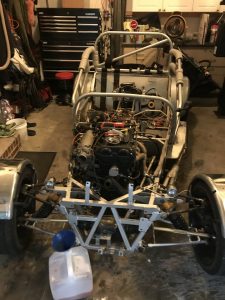
New engine in.. Kinda! I had to cut out some trans tunnel bars. The engine is a bit wider and taller. Taller was expected. Wider not as much. There will need to be some modifications made to get this to work.. The fight isnt over!

Here is a video of the walk around

The disassembly begins….

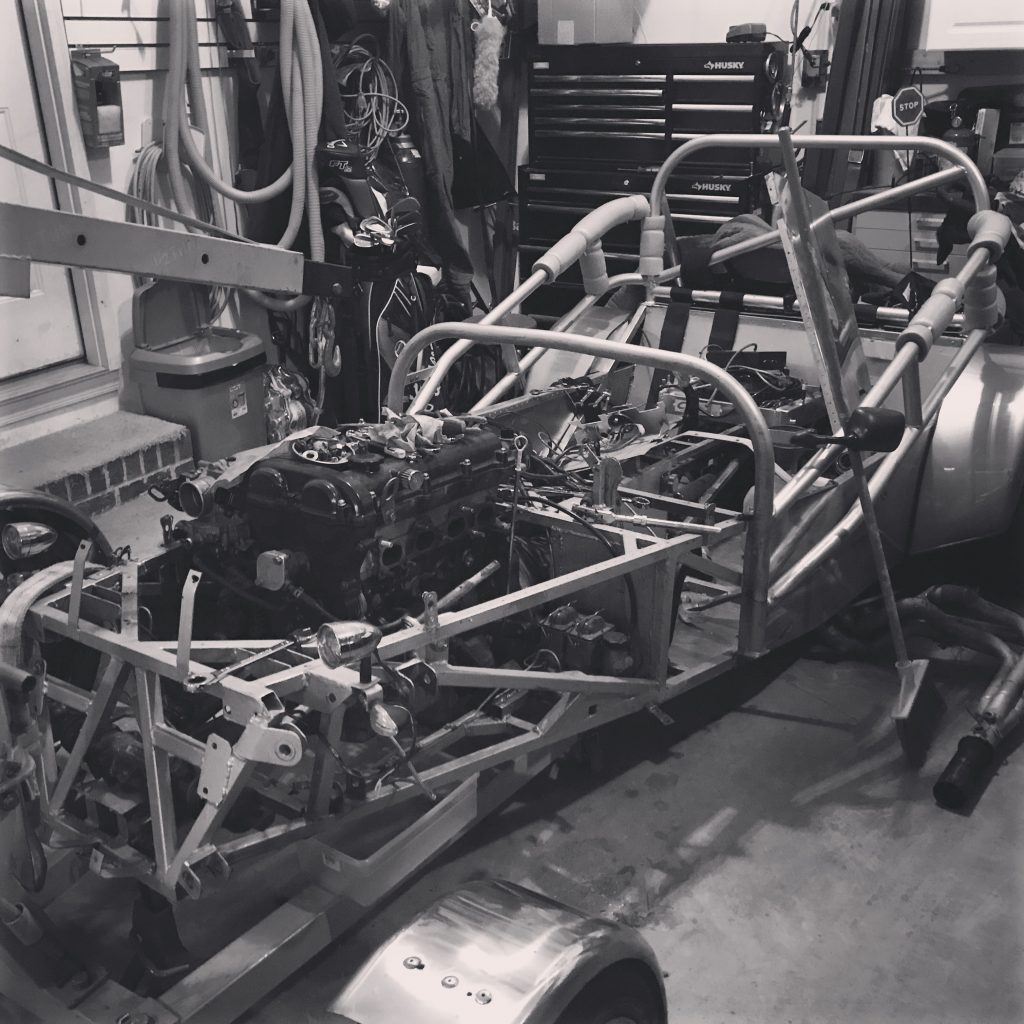
After many months of collecting parts I believe I am finally in a position to start pulling the car apart in preparation for the engine swap.  For those who haven’t seen or heard- I will be removing the Miata Engine and replacing it with a 2.0 GM Ecotec engine (with Turbocharger and direct injection..)


Here is a short video on the overview : https://www.youtube.com/watch?v=IajZ-zl0AzY


I will admit- I had a large amount of anxiety (and still do..) about pulling apart a car that was driving and running quite well. Especially not knowing if this new engine would fit or how many modifications are needed.

Starting with the seats, then the transmission tunnel, Radiator, scuttle and some sheet metal I started to pull off the covers and find things to remove- There certainly is no shortage.

The radiator was long overdue for a flushing, the seats had crap under them from 2010 and the questions continue. I also made the decision to remove the installed Halon Fire system and replace it with a single hand held unit in future. There are a few pounds I feel we can save!

Looking at all the wiring and I certainly think there is a good 40 or 50lbs of wiring that will be coming out of the already trimmed down harness

Mitch from Swap Time recently did a video about the harness. It is set to arrive on Wednesday of this week. Following that I will probably try find an hour or 2 to pull the engine this weekend and see if the new one fits!

Here was a video of the harness he made- https://www.youtube.com/watch?v=1jGzw7sIMFI

I suspect I will need to wire in headlights, tail lights and turn signals as well. The goal there is to keep them all as minimal as possible

Subscribe if you wish to follow along. The YouTube video channel as well as this webpage should both see a few updates in the coming weeks!

Last show of 2018

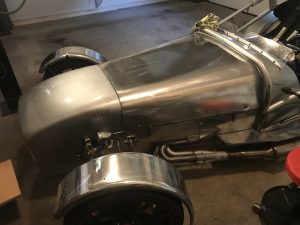
There was a single show in 2018 left on the Calendar and foolishly I thought I would give it the royal treatment. I pulled many pieces off of the car, polished it with high speed buffers and turned my hands and face into a filthy mess.


Unfortunately the idea to wax the sheetmetal afterwards was a mistake. It left streaks and dulled the image. In future I wont be waxing the car… actually I have decided to wrap it after getting its new engine.
 

Surprisingly the trailer fenders really respond well to being polished. They shined like crazy! Who would have thought that a Galvanized boat trailer fender could look so good?
Finishing up the front of the engine

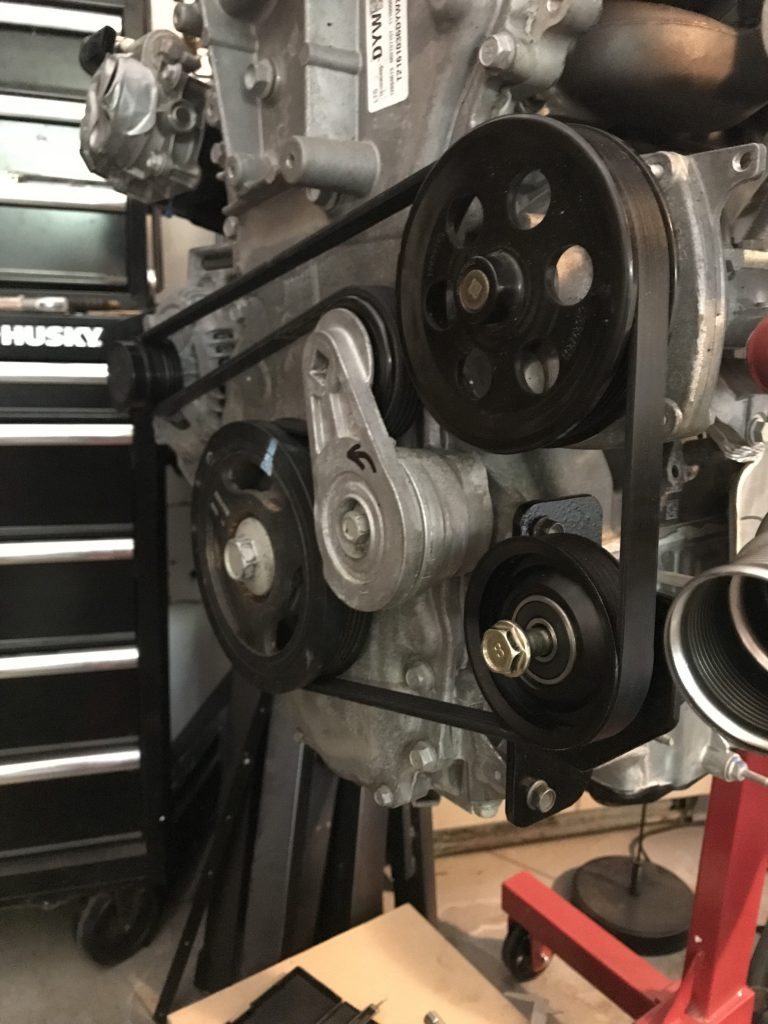
To finish the front of the motor I needed to find a way to tension the belt due to the fact I wont have an AC compressor.

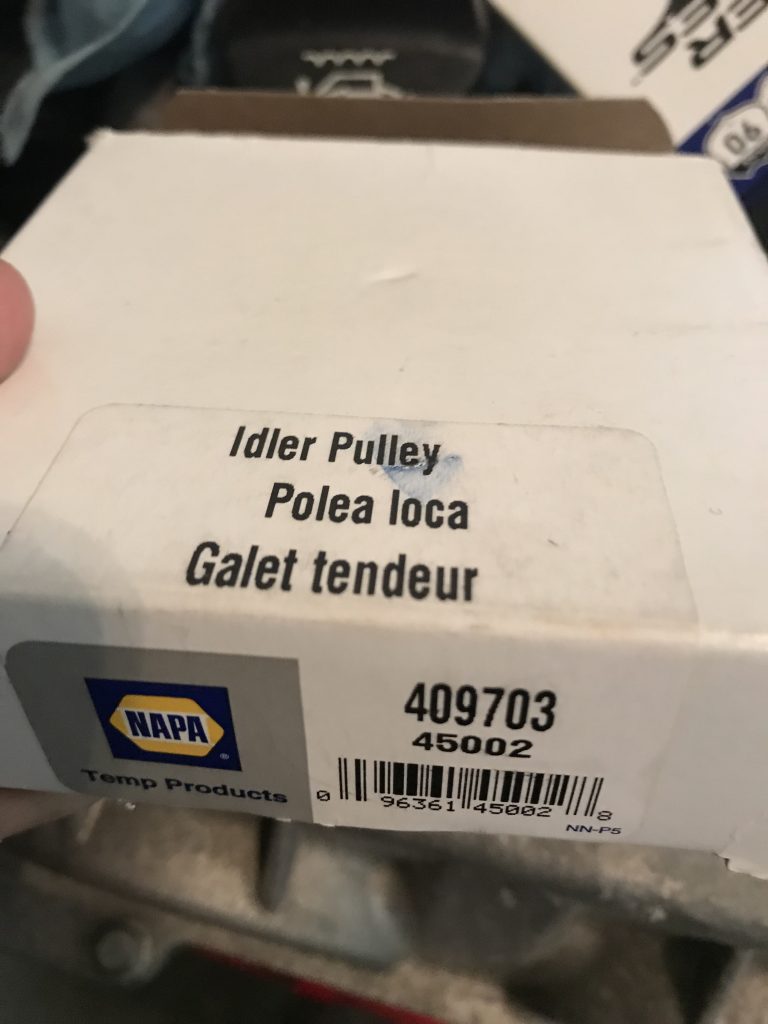
To start I went to NAPA to get an Idler and a belt. I wanted to mount the tensioner high up since my engine often sits below the frame rail.

Pulley came from NAPA. It is grooved and part number 409703

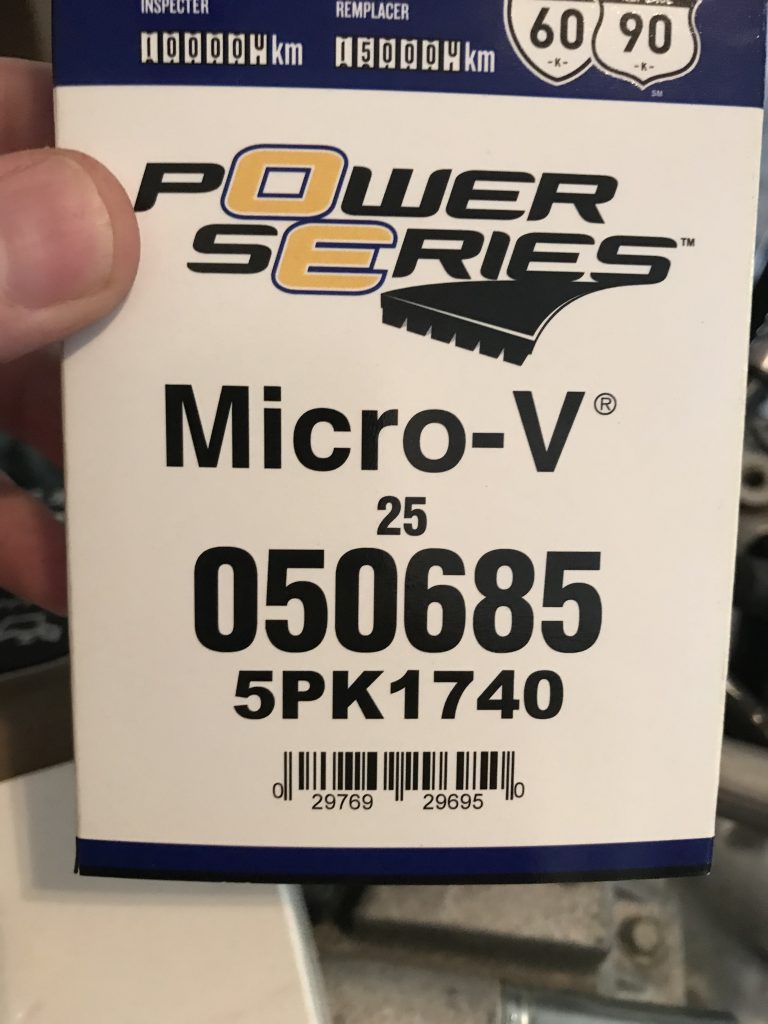
This wasn’t the first belt I bought. I think the factory part was 1940mm. I went to 1740mm to get a good fit.

Napa Part number 050685- It is a 5 Rib 1740mm belt.

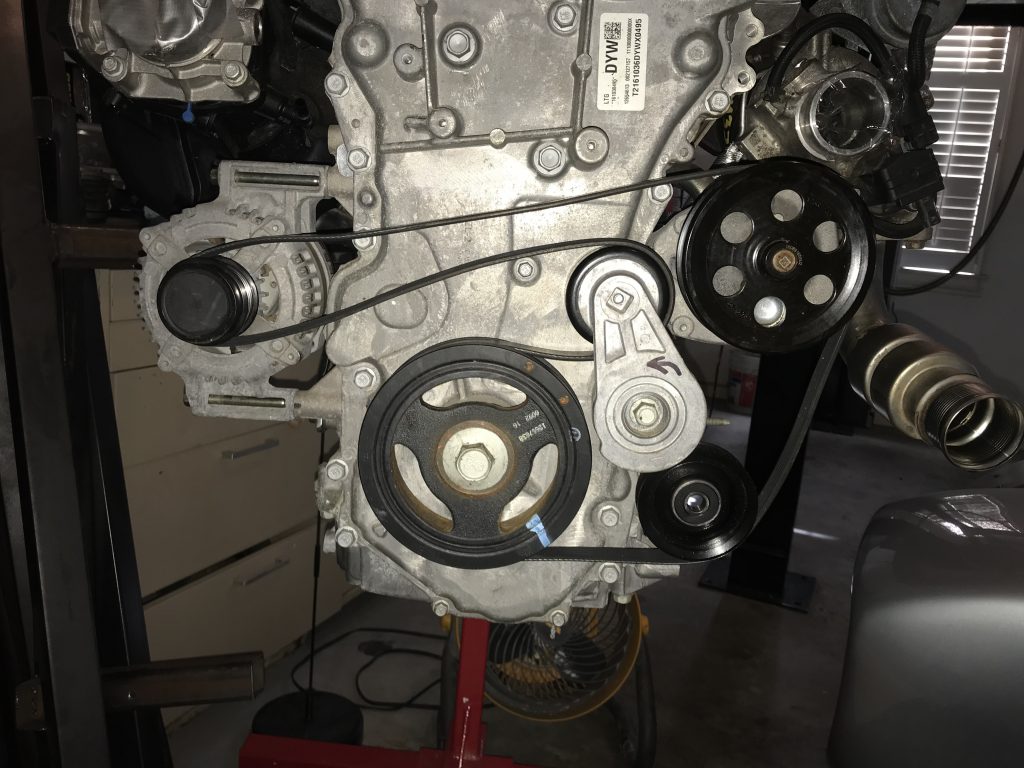
This shows the belt route and the rough placement I was considering. Note my tensioner is smaller than the factory AC Pulley.

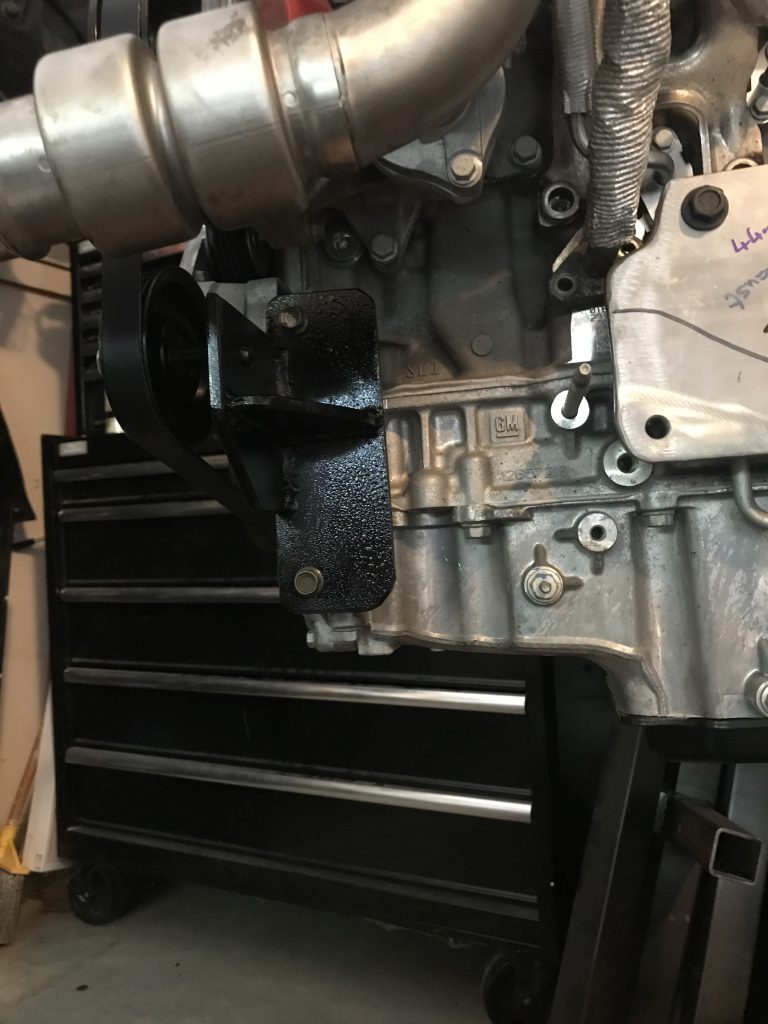
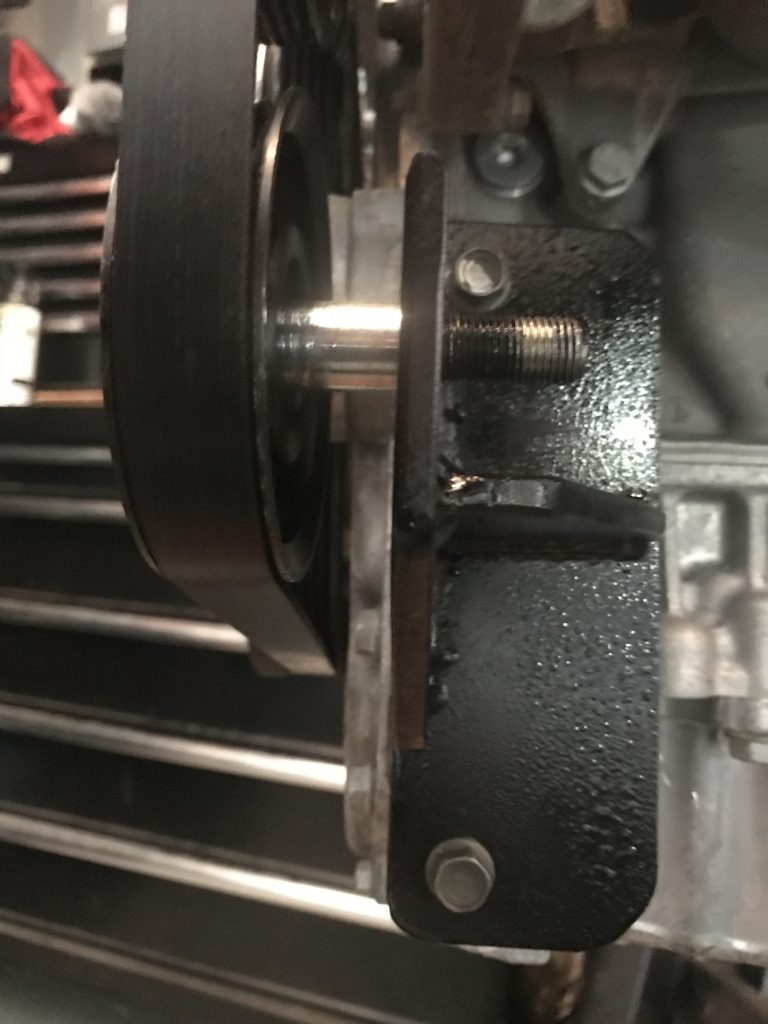
Bracket created using the 2 front bolt holes. It is a solid fit so I didnt feel like I needed to move further back and triangulate.  Note the location is higher than an AC.

This is the side view. It was essentially 2 pieces at right angles with a brace to stop deflection.

This is a close up view of the bracket. I painted it while hot so the paint bubbled. I like the look.

The end result is fairly good. I am happy and things appear to be tracking well and cleanly. I might add a nut to the back of the bolt. Right now I have tapped the steel plate (3/8″ thick) so I think it is good enough.

Clutch Parts needed to make a braided Line

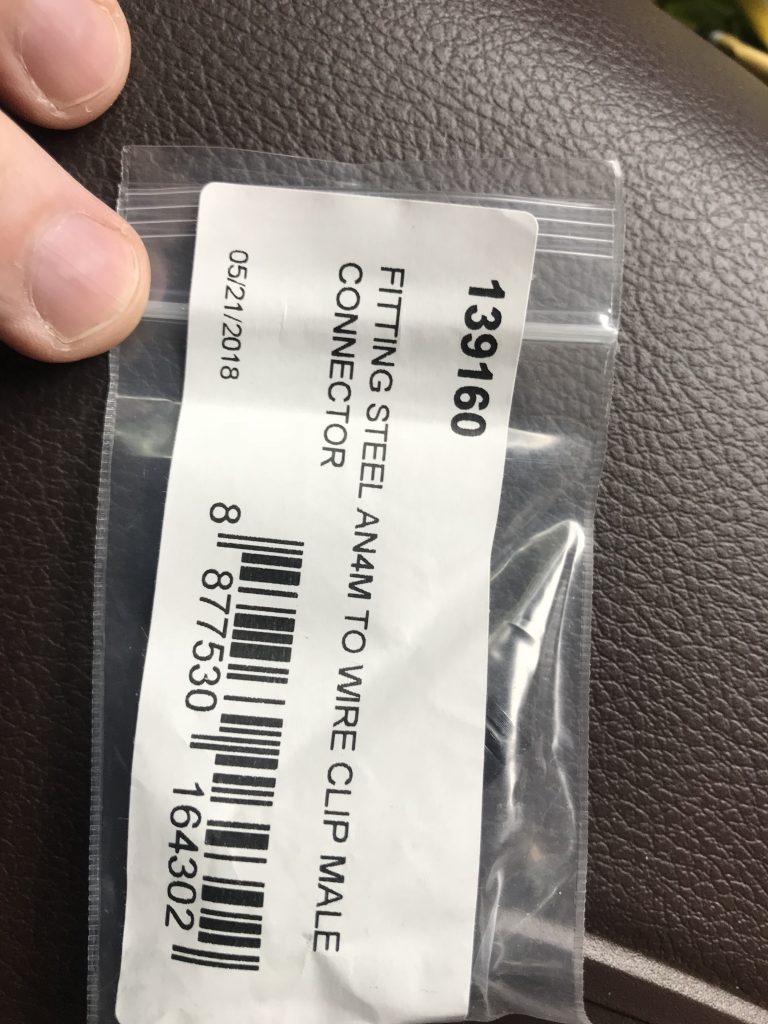
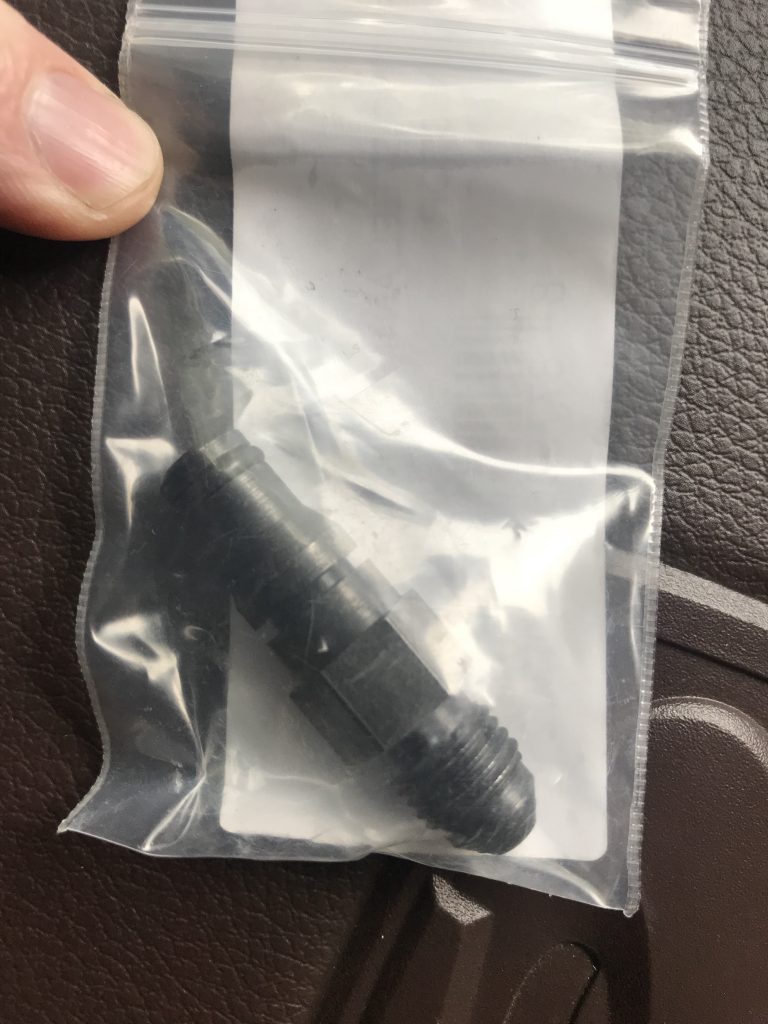
If you own a Camaro or ATS chances are you have the same transmission I am using.  The one piece I will be using is the stock throw out bearing.  Unfortunately The clutch hose I received was cut and my car actually has a steel braided AN line today. I plan to simply unscrew the -4 fitting that attaches to the miata slave cylinder and thread this piece on. That should be all that is needed to operate the hydraulic clutch for the LTG.

Part Number 139160 from Summit Racing

Flywheel pilot bearing hell!

My personal opinion is that Fidanza shouldn’t be allowed to sell parts with sick half assed support . To get a party they recommended I would have to go to Europe or China but online the part is harder to find than a uniform.

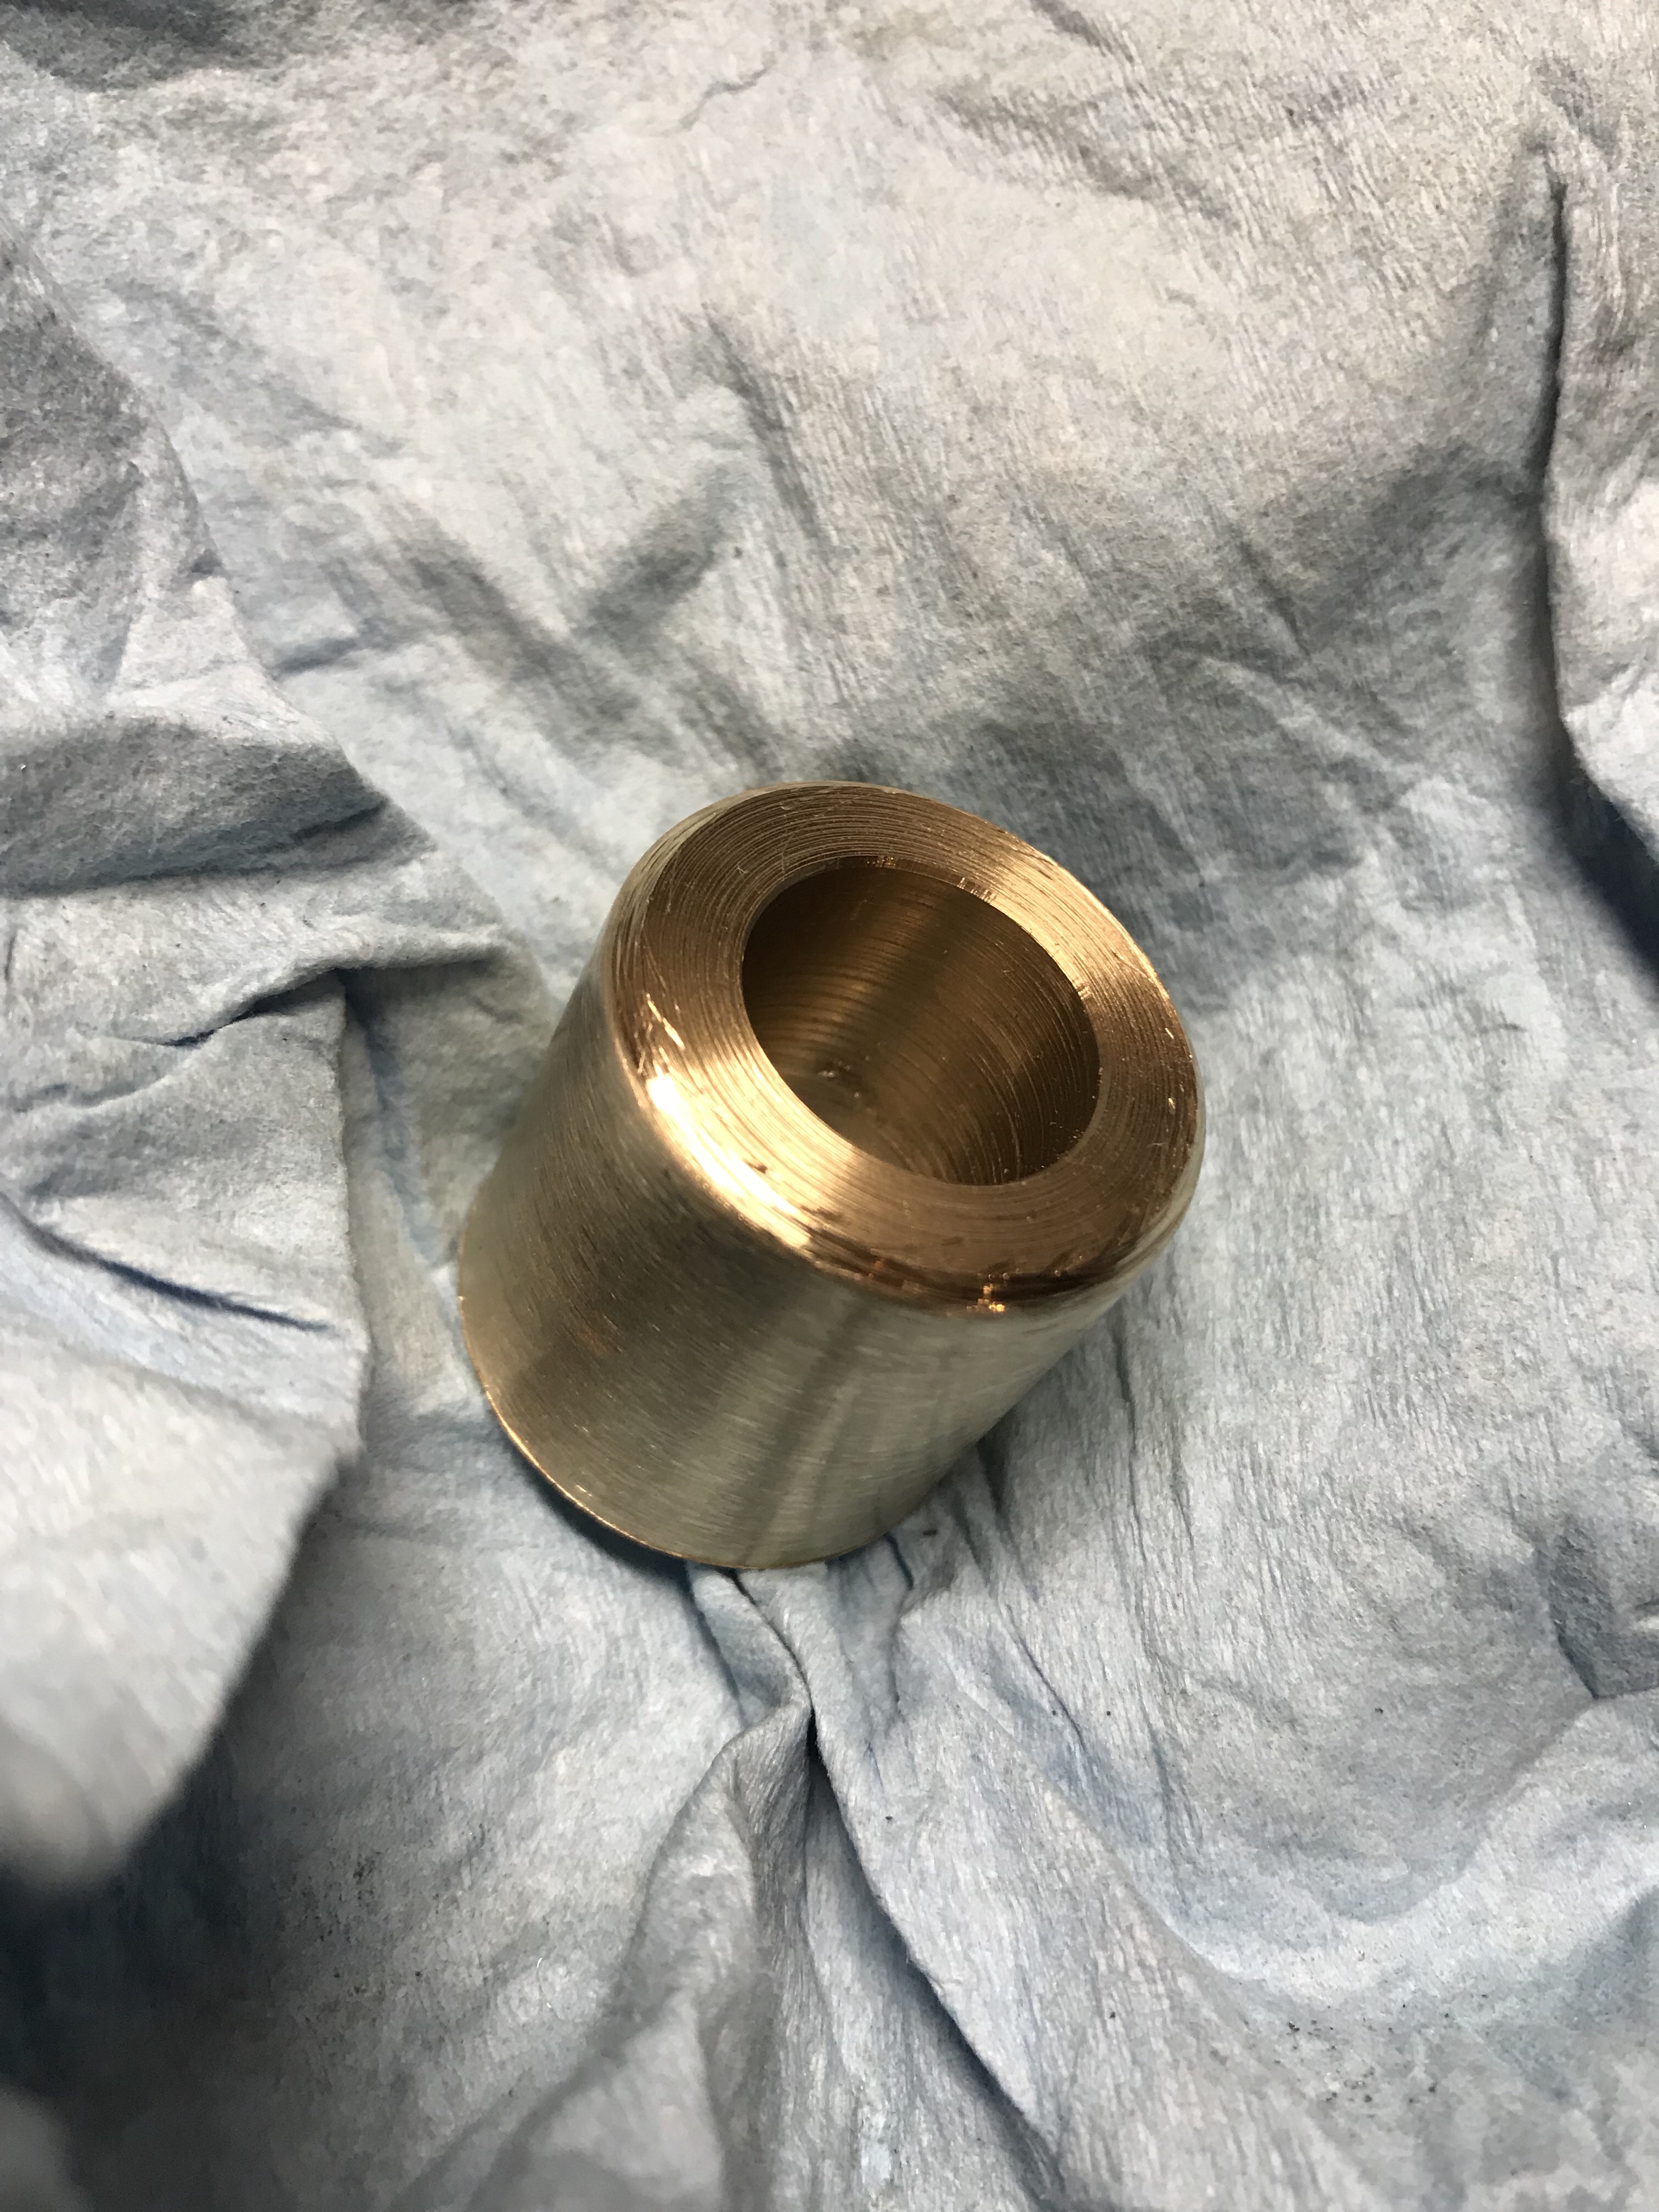
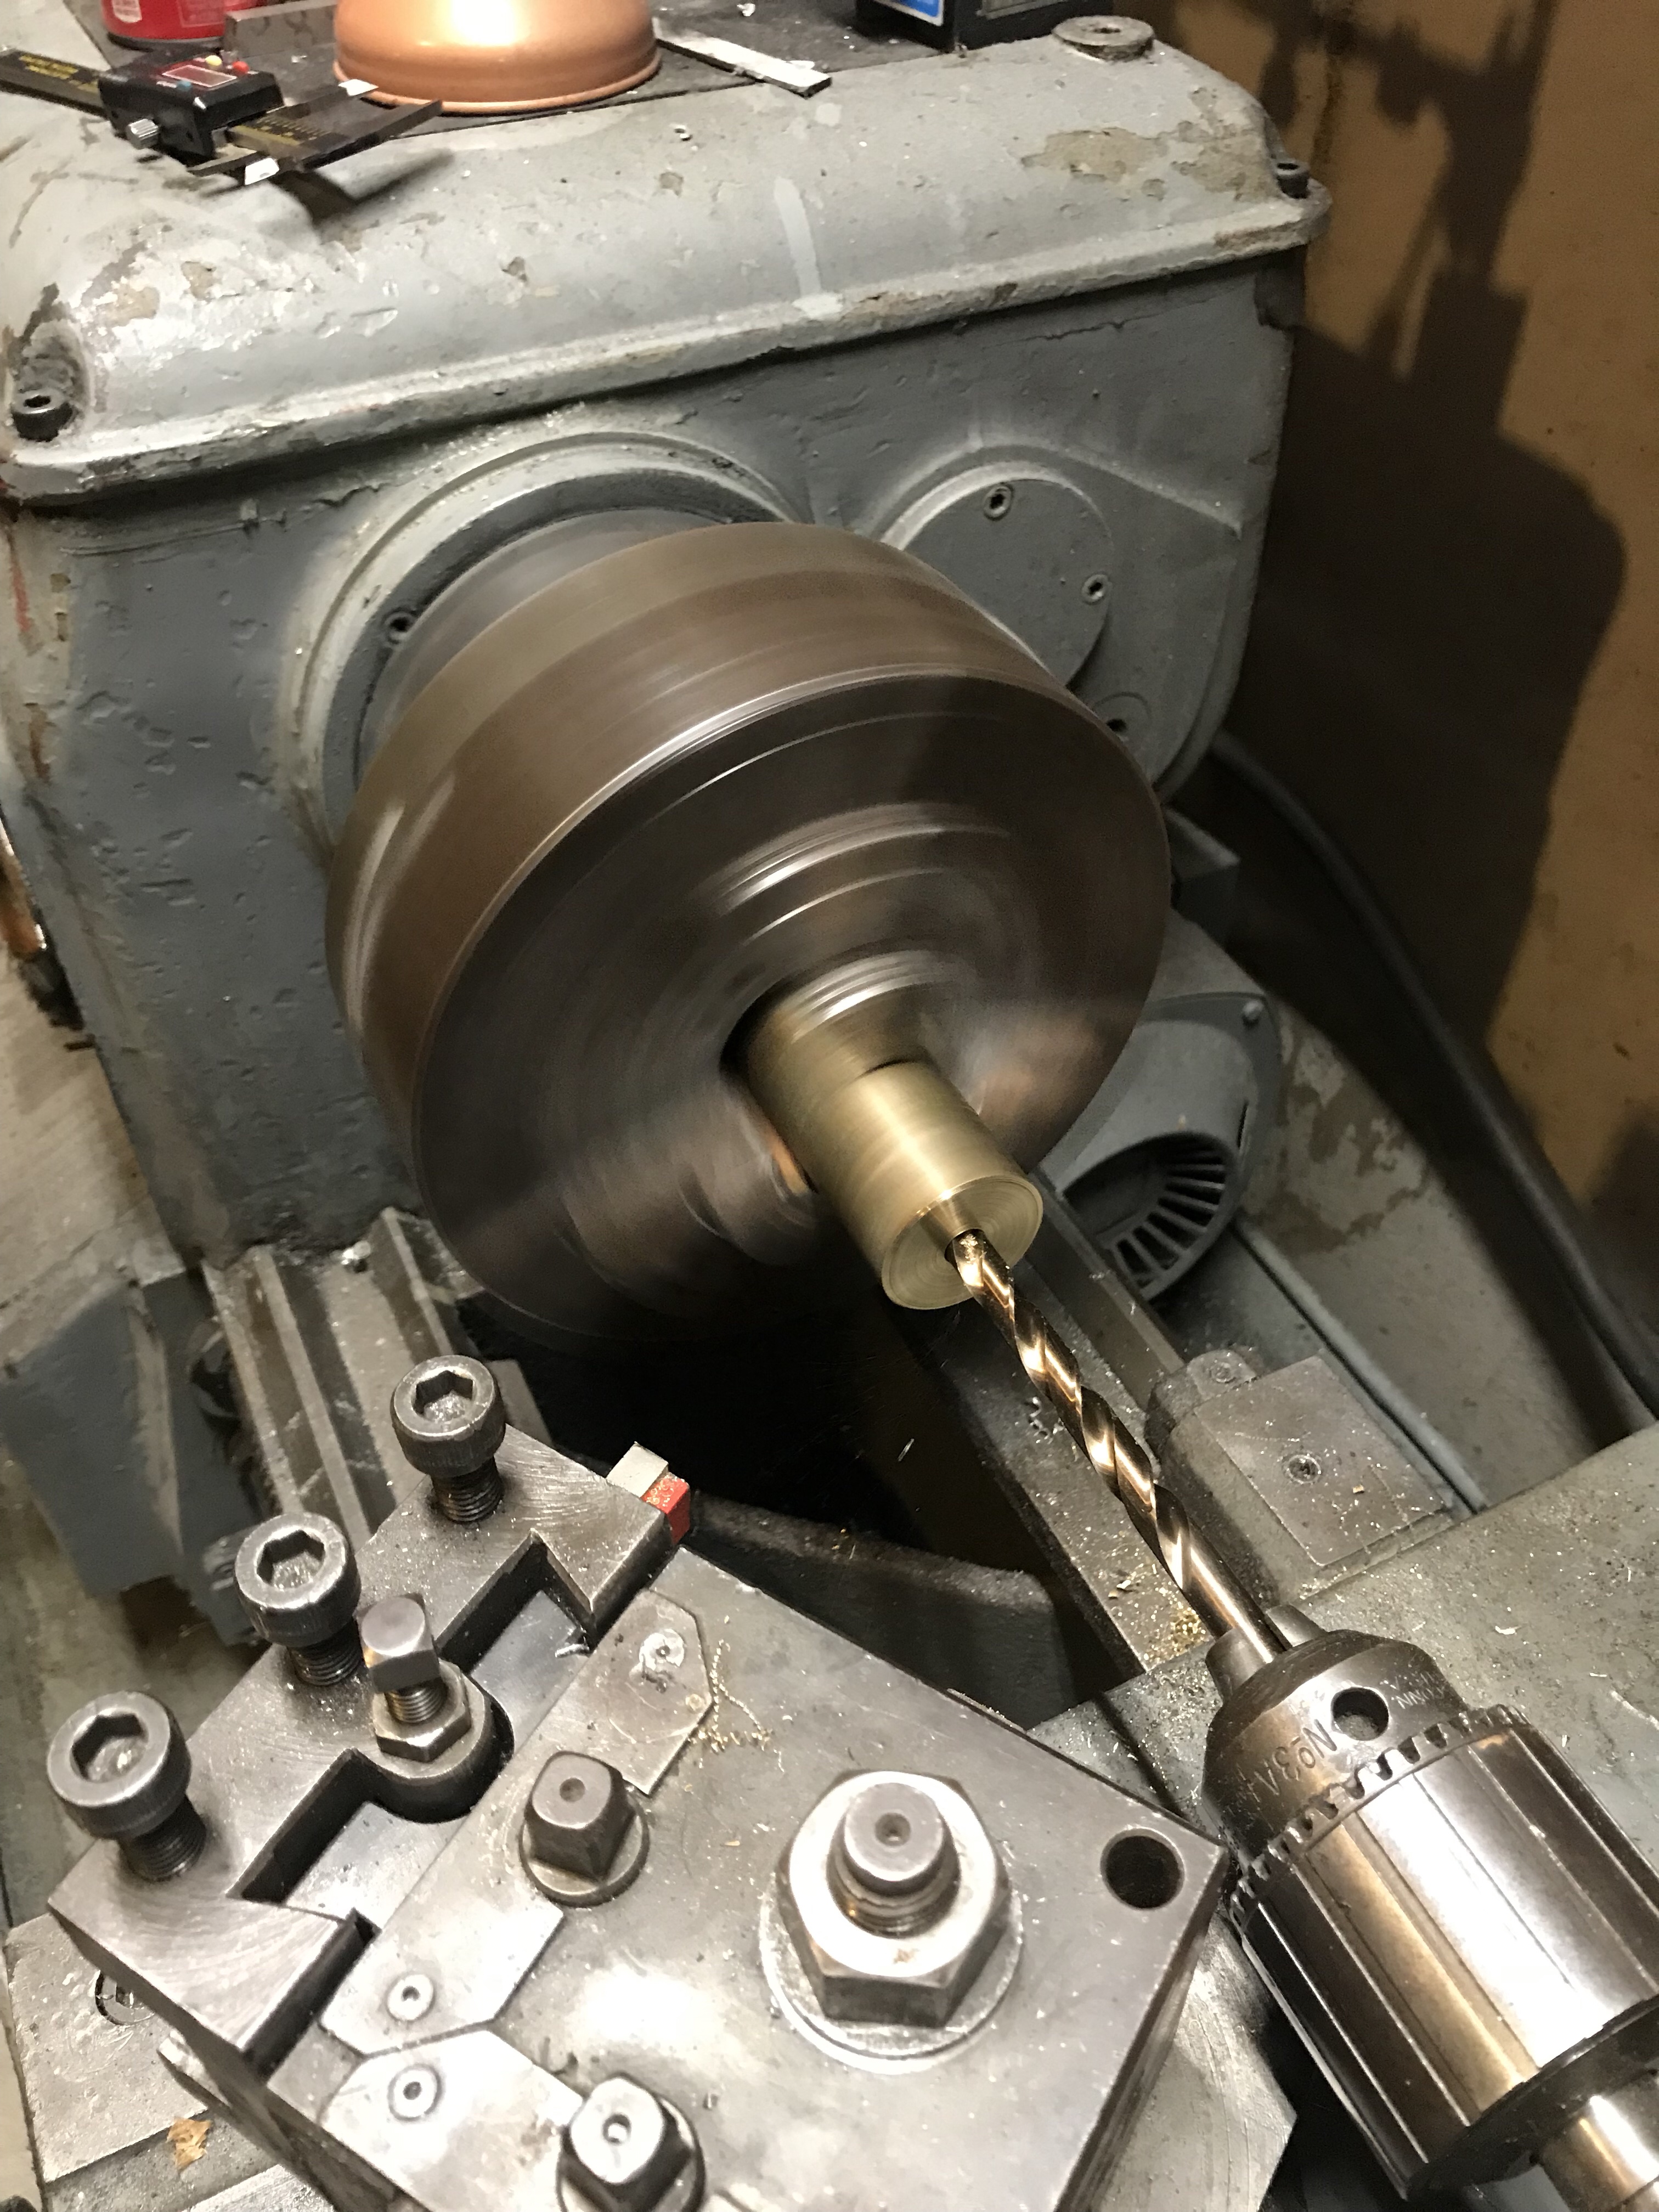
I bought a piece of bronze on what and stayed to machine my own. The dimensions were simple. 16mmID 28mmOD and 26mm in length. It took about an hour to make.

Overall it will get the job done and be fine. That said I am no where near the phase of recommending a fidanza product. Especially after the need for custom bolts!

http://www.exportedafrican.com/wordpress/wp-content/uploads/2018/06/img_8470.mov